Does Liquid Nails Stick to Painted Surfaces?

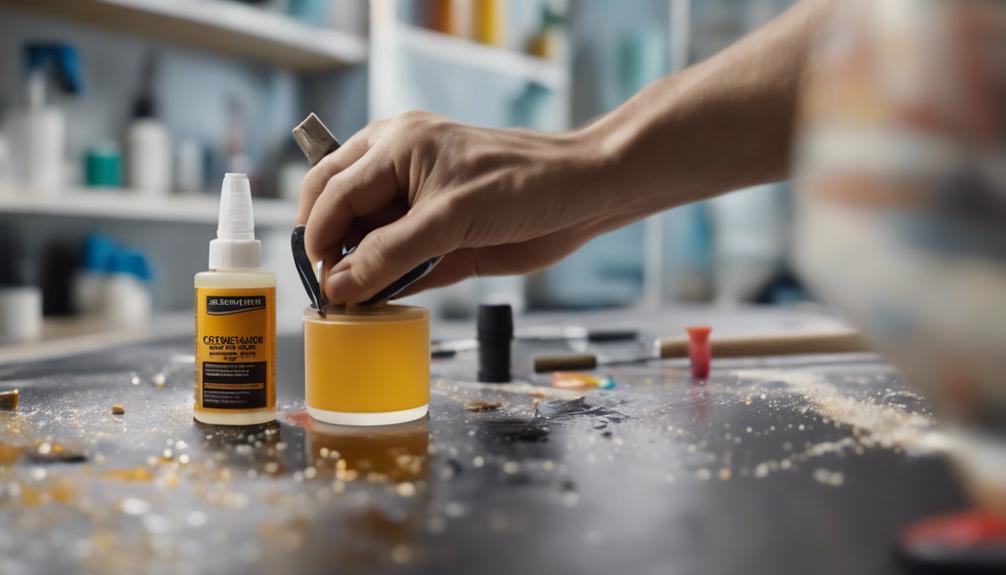
Liquid Nails can adhere well to painted surfaces if prepared properly. Factors affecting adhesion include the type and quality of paint, surface cleanliness, and primer compatibility. To optimize bonding, clean and sand the surface, then apply in a zig-zag pattern. Testing adhesion requires following instructions and allowing proper drying time. For long-lasting results, choose the right adhesive, apply evenly, and allow for curing time. Proper preparation and application significantly impact the bond strength. Remember, surface preparation and choosing the correct type of Liquid Nails are crucial for successful adhesion on painted surfaces.
Key Takeaways
- Properly prepare the painted surface for optimal adhesion.
- Choose the right type of Liquid Nails for the specific paint.
- Apply the adhesive following recommended techniques and quantities.
- Allow sufficient curing time for a strong bond to form.
- Test the bond over time to ensure durability and reliability.
Factors Affecting Adhesion to Painted Surfaces
What key factors influence the adhesion of Liquid Nails to painted surfaces? When considering the adhesion of Liquid Nails to painted surfaces, several critical factors play a significant role in determining the success of the bond. The type and quality of the paint used on the surface are crucial. Paints with low sheen or gloss tend to provide a better surface for adhesion compared to high-gloss paints. Additionally, the cleanliness of the painted surface is paramount. Any dirt, dust, or grease can hinder the adhesive from forming a strong bond.
Moreover, the age of the paint can impact adhesion. Freshly painted surfaces may not allow for optimal bonding as the paint needs time to cure fully. Furthermore, the composition of the paint, such as whether it is latex-based or oil-based, can influence how well Liquid Nails adheres to the surface. Understanding these key factors is essential for achieving a strong and durable bond when using Liquid Nails on painted surfaces.
Surface Preparation for Optimal Bonding
Effective surface preparation is essential to ensure optimal bonding when using Liquid Nails on painted surfaces. To achieve the best results, follow these key steps:
- Clean the Surface: Remove any dirt, dust, or grease from the painted surface. Use a mild detergent or a suitable cleaner to ensure a clean and smooth bonding surface.
- Sand the Surface: Lightly sand the painted surface to create a rough texture. This will help the Liquid Nails adhere better to the surface, enhancing the overall bond strength.
- Prime the Surface: Apply a suitable primer that is compatible with both the paint and the Liquid Nails. Priming the surface helps promote adhesion and ensures a strong bond between the painted surface and the adhesive.
Tips for Using Liquid Nails on Paint
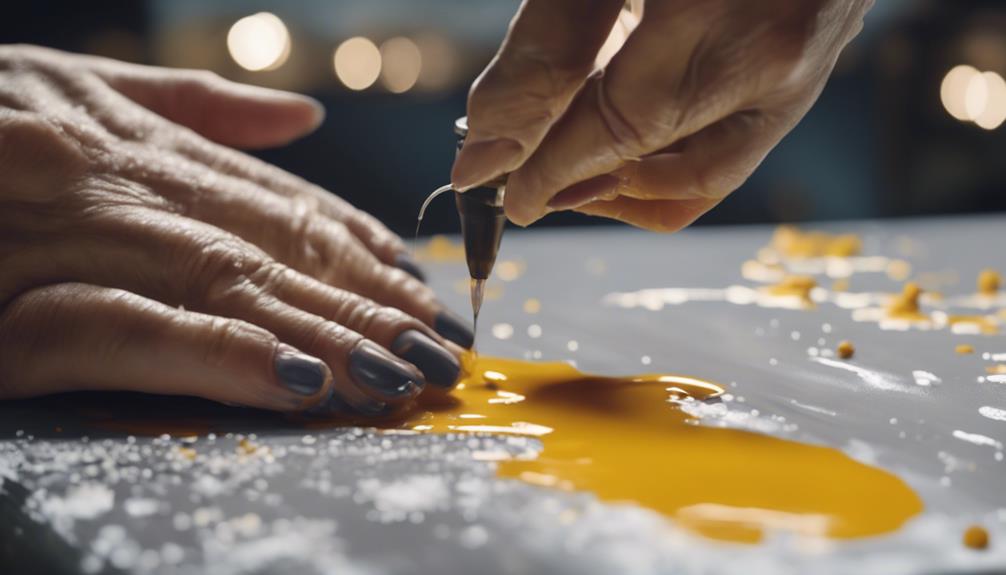
For optimal results when using Liquid Nails on painted surfaces, consider implementing these practical tips. Firstly, ensure that the painted surface is clean, dry, and free of any dust, grease, or debris. Properly preparing the surface will promote better adhesion and longevity of the bond. Secondly, roughen the painted surface slightly using sandpaper to improve the grip of the Liquid Nails. This step enhances the mechanical bond between the adhesive and the paint, leading to a stronger hold. Additionally, apply the Liquid Nails in a zig-zag pattern or a series of dots rather than a straight line. This method helps distribute the adhesive evenly, ensuring maximum contact and adhesion. Moreover, avoid applying too much adhesive as excess product may squeeze out when pressure is applied, leading to a messy finish. Lastly, allow sufficient time for the Liquid Nails to cure according to the manufacturer's instructions before subjecting the bond to any stress or weight. Following these tips will help you achieve a secure and durable bond when using Liquid Nails on painted surfaces.
Testing Adhesion on Painted Surfaces
To assess the adhesion of Liquid Nails on painted surfaces, conducting a thorough test is essential for determining the strength and reliability of the bond. This test should involve the following steps:
- Surface Preparation: Begin by ensuring that the painted surface is clean, dry, and free of any dust, dirt, or debris that could affect the adhesion of the Liquid Nails.
- Application Technique: Apply the Liquid Nails to the painted surface following the manufacturer's instructions carefully, ensuring proper coverage and distribution of the adhesive.
- Drying and Curing Time: Allow sufficient time for the Liquid Nails to dry and cure fully before subjecting the bond to any stress or weight. This will help evaluate the long-term adhesion strength of the adhesive on the painted surface.
Best Practices for Long-Lasting Results
Building a strong bond between Liquid Nails and painted surfaces relies heavily on implementing optimal practices for ensuring durability and longevity. To achieve long-lasting results, start by preparing the painted surface thoroughly. Clean the area to remove any dirt, dust, or grease that could hinder adhesion. Roughening the painted surface with sandpaper can also enhance the bond by providing a better gripping surface for the adhesive. Additionally, selecting the right type of Liquid Nails for the specific project is crucial. Different formulations cater to various materials and conditions, so choosing the appropriate one can significantly impact the bond strength.
Moreover, applying the adhesive in a consistent and even manner across the painted surface is essential. Be sure to follow the manufacturer's instructions regarding the recommended application technique and drying times. Finally, allowing sufficient curing time for the Liquid Nails to set and bond properly is vital for achieving the best results. By following these best practices, you can ensure a strong and durable bond between Liquid Nails and painted surfaces, leading to successful and long-lasting outcomes.
Frequently Asked Questions
Can Liquid Nails Be Used on All Types of Painted Surfaces, or Are There Specific Types of Paint It Works Best With?
When considering the compatibility of Liquid Nails with painted surfaces, it's crucial to assess the type of paint used. Different paints might impact the adhesive properties of Liquid Nails. Understanding paint compositions can optimize bonding results.
Is It Necessary to Roughen up the Painted Surface Before Applying Liquid Nails for Better Adhesion?
Roughening up a painted surface before applying Liquid Nails can significantly enhance adhesion. This process creates a better surface for the adhesive to grip onto, increasing the bond strength and ensuring a more durable and reliable attachment.
How Long Should I Wait Before Applying Weight or Pressure to an Object Bonded With Liquid Nails on a Painted Surface?
The ideal waiting time before applying weight or pressure to an object bonded with Liquid Nails on a painted surface is typically around 24 hours. This duration allows the adhesive to fully cure and ensure a strong bond.
Can Liquid Nails Be Painted Over Once It Has Dried on a Painted Surface?
Like a canvas awaiting an artist's touch, Liquid Nails dried on a painted surface can be painted over, offering a fresh palette for further creativity. This innovative feature allows for seamless integration of new design elements.
Are There Any Special Considerations to Keep in Mind When Using Liquid Nails on Painted Surfaces in High Humidity or Extreme Temperature Conditions?
When using Liquid Nails on painted surfaces in high humidity or extreme temperature conditions, consider ensuring the surface is clean and dry, applying the adhesive evenly, and allowing ample drying time for optimal bonding strength and durability.