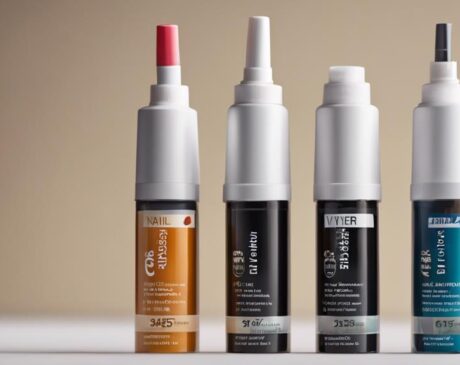
How Do You Make Nail Glue at Home?
Creating nail glue at home involves mixing gelatin, water, and vinegar for a natural and cost-effective solution. Options like gelatin-based, flour-based, or cornstarch nail glue offer strong adhesive properties with customization. To use it effectively, apply thin layers on clean nails, press artificial nails firmly, and enhance durability with a top coat. Prioritize safety with proper ventilation, gloves, and keeping ingredients away from children. Store the homemade glue in a cool, dry place for optimal results. For more details on methods, tips, and precautions, explore the comprehensive guide provided.
Key Takeaways
- Gelatin, water, vinegar are essential for homemade nail glue.
- Mix ingredients thoroughly for proper adhesive properties.
- Adjust consistency with vinegar and water for desired texture.
- Store in a cool, dry place away from sunlight.
- Follow safety precautions like wearing protective gear and labeling containers.
Ingredients for DIY Nail Glue
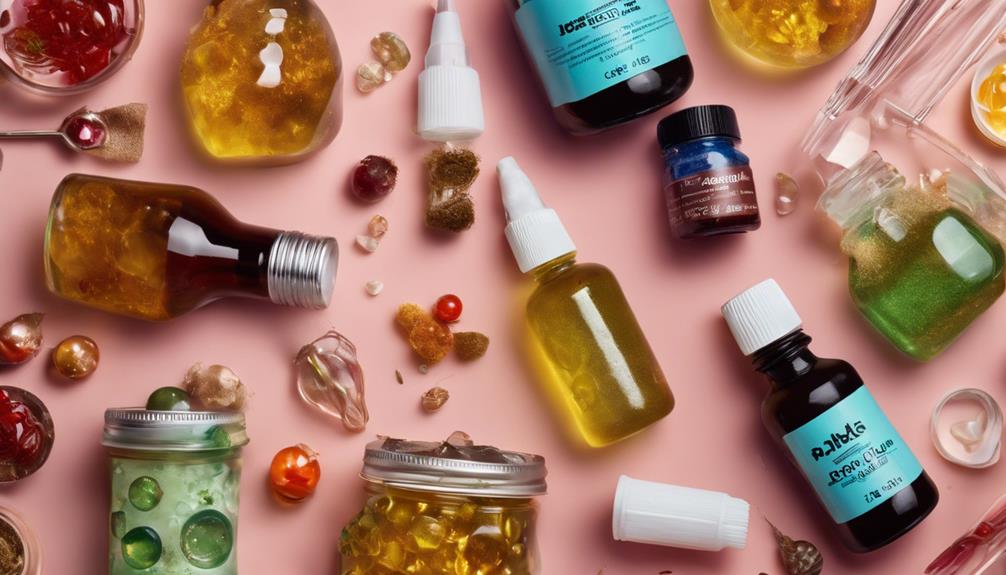
When creating your own nail glue at home, it is essential to gather the necessary ingredients to ensure a successful DIY project. Innovation in the beauty industry has led to the exploration of various alternatives to commercial nail glue, making DIY nail glue a popular choice for those seeking natural and customizable options. To embark on this creative journey, you will need ingredients that are easily accessible and safe for use on your nails.
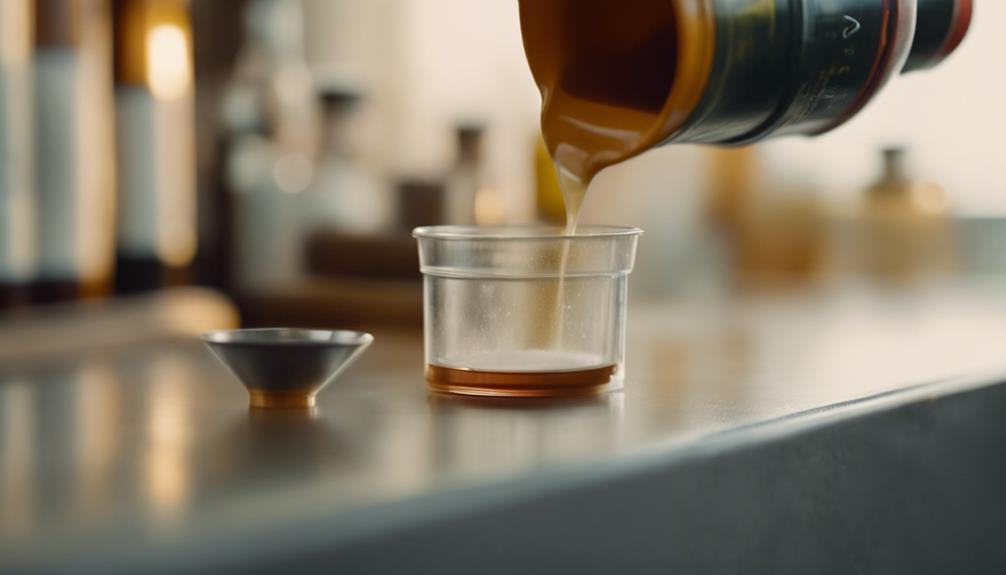
One key ingredient for DIY nail glue is gelatin, known for its adhesive properties and flexibility when dry. Gelatin serves as the base for many homemade nail glue recipes, providing a strong bond without harsh chemicals. Additionally, water is crucial for dissolving the gelatin and achieving the desired consistency for the glue. Vinegar, another common household item, can be used to adjust the pH level of the glue mixture, ensuring it is nail-friendly.
Method 1: Gelatin-Based Nail Glue
Introducing the gelatin-based nail glue method; a cost-effective and simple solution for DIY nail adhesive. By following the gelatin glue recipe provided in this article, you can create a homemade nail glue that is both effective and convenient. Stay tuned for step-by-step directions on how to make and apply this gelatin-based nail adhesive.
Gelatin Glue Recipe
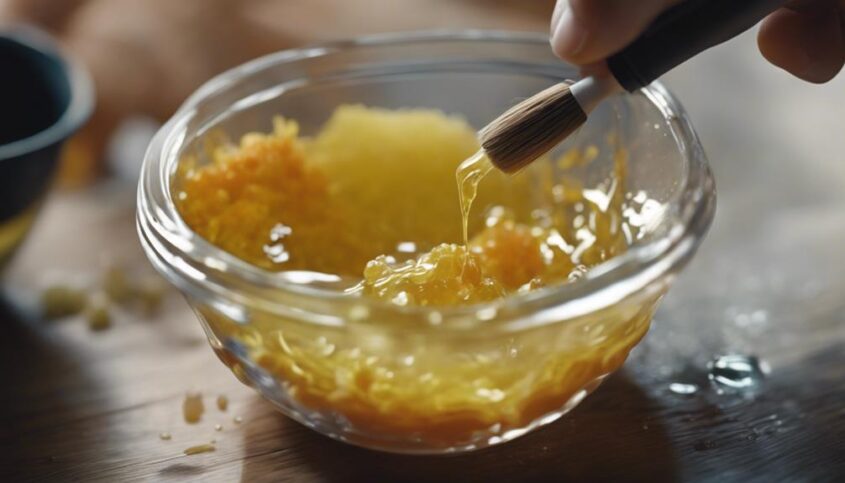
For those looking to create nail glue at home, one effective method to consider is crafting a gelatin-based nail glue. Gelatin, a versatile ingredient, can be utilized to create a strong adhesive suitable for nail applications. To make gelatin glue, you will need gelatin powder, water, and vinegar. Follow these simple steps to create your homemade gelatin nail glue:
| Ingredients | Measurements |
|---|---|
| Gelatin Powder | 1 tablespoon |
| Water | 1 tablespoon |
| Vinegar | 1 drop |
This gelatin-based nail glue provides a natural and cost-effective alternative to store-bought options. Experiment with this DIY approach to nail care and enjoy the innovative results it brings.
Homemade Nail Adhesive
Crafting a gelatin-based nail glue at home offers a cost-effective and natural alternative to store-bought options for those seeking to create their own adhesive for nail applications. This innovative method involves combining unflavored gelatin with water and glycerin to form a strong yet flexible adhesive perfect for securing nail art or false nails. To create this homemade nail adhesive, simply mix one tablespoon of unflavored gelatin with a tablespoon of water and a few drops of glycerin. Heat the mixture until the gelatin dissolves, then let it cool slightly before applying it to your nails. This DIY gelatin-based nail glue provides a reliable solution for those looking to personalize their nail care routine with a touch of creativity and sustainability.
Method 2: Flour-Based Nail Glue
Let's explore an alternative method for making nail glue at home using flour as the main ingredient. This DIY flour-based nail glue recipe offers an affordable and accessible option for those looking to create their own adhesive. Additionally, we will provide some practical tips for applying and using this homemade nail glue effectively.
Flour Glue Recipe
When considering a cost-effective and homemade solution for nail glue, exploring a flour-based recipe offers a practical alternative. To create a flour-based nail glue, start by mixing one tablespoon of all-purpose flour with a few drops of water to form a thick paste. This paste can be applied to the nails before attaching artificial tips or repairing a broken nail. The flour glue sets firmly once dried, providing a strong bond for your nail enhancements. This innovative approach not only saves money but also allows for customization by adjusting the paste's consistency to suit different nail repair needs. Experimenting with this flour-based nail glue recipe can lead to creative solutions for your nail care routine.
Application Tips
To effectively apply the flour-based nail glue for optimal results, ensure the paste is evenly distributed on the nail surface before attaching artificial tips or repairing any nail imperfections. This method provides a natural alternative for those seeking innovative nail solutions. Below are some application tips to help you achieve the best outcome:
| Application Tips | Description |
|---|---|
| Apply Thin Layers | Ensure to apply thin, even layers of the flour-based glue to prevent clumping or uneven application. |
| Press Firmly | After attaching the artificial tips or repairing imperfections, press firmly to secure the bond and remove any air bubbles. |
| Allow Drying Time | Allow the glue to dry completely before applying any polish or additional nail art to avoid smudging or lifting. |
| Use Nail Primer | For enhanced adhesion, consider using a nail primer before applying the flour-based glue. |
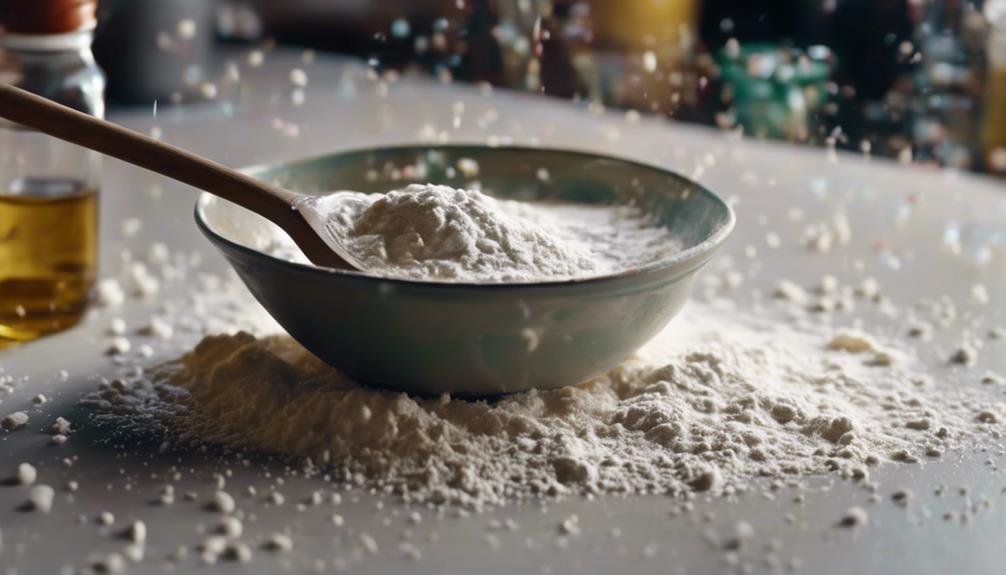
Method 3: Cornstarch Nail Glue
Cornstarch can be utilized as a key ingredient in creating a homemade nail glue solution. This method offers a natural and cost-effective alternative to commercial nail glues. Here are three simple steps to make cornstarch nail glue:
- Gather Your Ingredients:
- Cornstarch: The main component that will provide the adhesive properties.
- Water: Used to create a paste-like consistency when mixed with cornstarch.
- Small Mixing Bowl: To combine the ingredients thoroughly.
- Mixing the Ingredients:
- Start by adding a small amount of cornstarch to the mixing bowl.
- Slowly pour in water while stirring the mixture until it forms a thick paste.
- Continue stirring until there are no lumps and the consistency is smooth.
- Application:
- Apply a small amount of the cornstarch nail glue to the nail bed.
- Press the false nail onto the glue and hold it in place for a few seconds to ensure it adheres properly.
- Allow the glue to dry completely before trimming or filing the nails.
This DIY cornstarch nail glue provides a natural option for those looking to avoid harsh chemicals in traditional nail adhesives.
Tips for Using Homemade Nail Glue
For enhanced adherence and longevity of your homemade nail glue application, consider applying a thin, even layer of the adhesive to the nail bed. This technique ensures better contact between the natural nail and the artificial nail, promoting a stronger bond. Additionally, before applying the homemade nail glue, make sure to thoroughly clean and dry your nails to remove any oils or debris that could hinder adhesion.
Another tip for using homemade nail glue is to press the artificial nail firmly onto the natural nail after applying the adhesive. This pressure helps to eliminate air bubbles and ensures a snug fit, reducing the risk of the nail lifting or coming loose prematurely.
Furthermore, if you are looking to enhance the durability of your homemade nail glue, consider applying a top coat over the artificial nail once the glue has dried completely. This additional layer can provide extra protection against chipping and peeling, extending the life of your DIY manicure.
Safety Precautions and Storage Instructions
As you explore the realm of making nail glue at home, it is imperative to prioritize safety precautions and adhere to proper storage instructions to ensure the longevity and effectiveness of your homemade adhesive. To guarantee a safe and successful DIY nail glue experience, consider the following:
- Ventilation: Ensure adequate ventilation in your workspace when making nail glue at home. Proper airflow can help dissipate fumes from the ingredients used in the adhesive, preventing respiratory issues and promoting a healthier environment.
- Protective Gear: Wear appropriate protective gear such as gloves and safety goggles to shield your skin and eyes from potential irritants present in the ingredients. Safety should always be a top priority when working with chemicals to create nail glue.
- Storage: Store your homemade nail glue in a cool, dry place away from direct sunlight and heat sources. Proper storage can extend the shelf life of the adhesive and maintain its adhesive properties for future use. By following these safety precautions and storage guidelines, you can craft nail glue at home effectively and safely.
Frequently Asked Questions
Can Homemade Nail Glue Be Used for Artificial Nails or Only for Repairing Natural Nails?
Homemade nail glue can be suitable for both artificial nails and repairing natural nails. Crafted with care, it may offer a cost-effective and convenient solution. However, ensure its effectiveness and safety by following a reliable recipe.
How Long Does Homemade Nail Glue Typically Last Before It Needs to Be Replaced?
Homemade nail glue typically lasts for about 1-2 weeks before needing replacement. Factors such as exposure to water, oils, and activities can affect its longevity. Regular maintenance and touch-ups can help extend its lifespan.
Can Homemade Nail Glue Be Easily Removed With Regular Nail Polish Remover?
While homemade nail glue can be removed with regular nail polish remover, the process might require more time and effort compared to commercial nail glues. The effectiveness of removal can vary based on the ingredients used in the homemade glue.
Are There Any Specific Nail Shapes or Sizes That Homemade Nail Glue Works Best For?
When considering nail shapes or sizes that homemade nail glue works best for, factors like nail length, surface area, and curvature play a role. Experimenting with different shapes can help determine the adhesive's effectiveness and durability.
Can Scented Oils or Other Additives Be Mixed Into Homemade Nail Glue for a Customized Scent or Effect?
Scented oils and other additives can be mixed into homemade nail glue to customize the scent or effect. This innovative approach allows for a personalized touch to nail care routines, enhancing the overall experience for users seeking unique and aromatic options.