How Do You Make Press on Nails Look Like Salon?
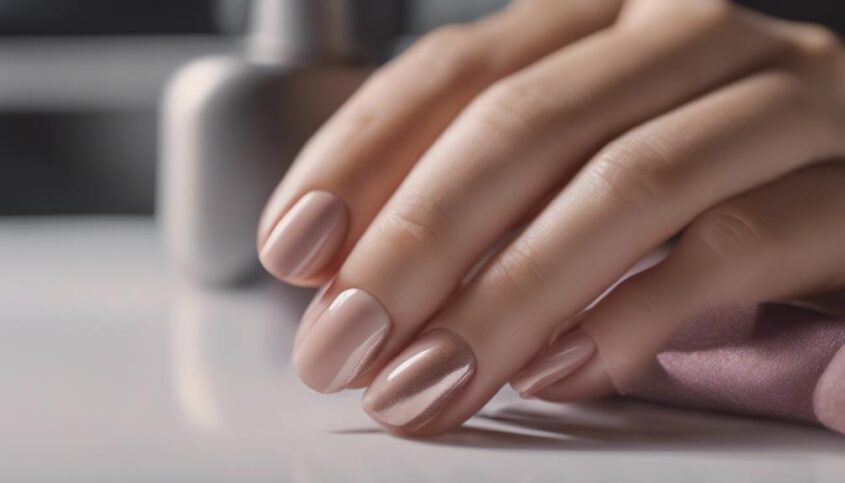
To make press-on nails look salon-worthy, start with proper nail preparation by pushing back cuticles and shaping nails. Customize the press-ons for a perfect fit by trimming accurately. Master application techniques like using glue correctly and applying a top coat for longevity. Finish with cuticle oil and high-quality sealant for a polished look. Focus on precision and attention to detail for professional results. Mastering these steps will elevate your at-home nail game.
Key Takeaways
- Master nail preparation for a flawless base.
- Customize and trim press-ons for a perfect fit.
- Apply glue correctly and seal nails for longevity.
- Finish with a top coat for a salon-like shine.
- Regular maintenance and sealing methods enhance durability.
Nail Preparation
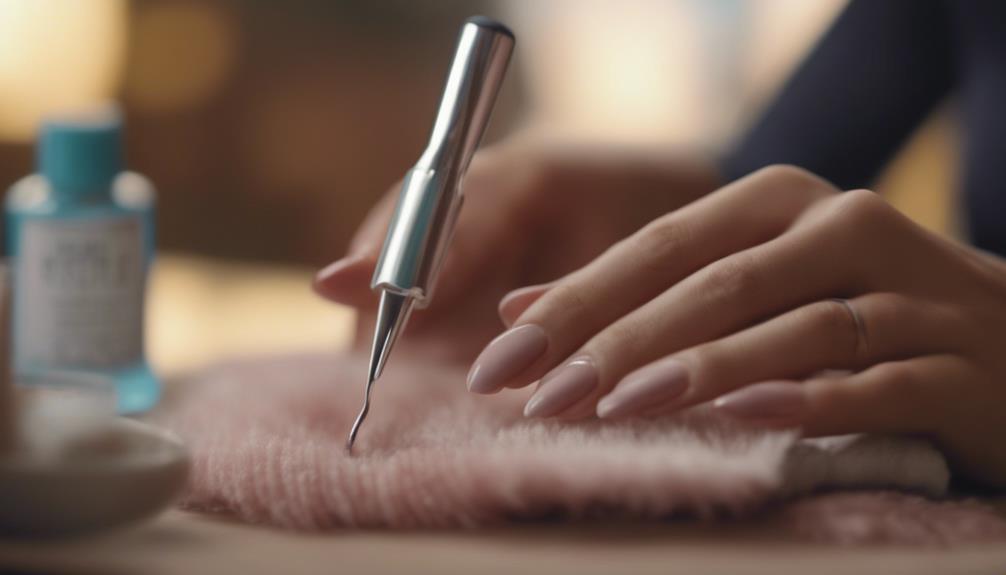
To ensure a professional and long-lasting finish, meticulous nail preparation is paramount when applying press-on nails. Begin by gently pushing back cuticles using a cuticle pusher to create a clean canvas for the press-ons. Next, lightly buff the surface of the natural nails to remove any oils or residues that could hinder adhesion. This step enhances the grip of the glue, promoting durability. It is advisable to cleanse the nails with a gentle nail polish remover to eliminate any remaining impurities.
Furthermore, shaping the nails to the desired length and style before applying the press-ons ensures a seamless and natural look. Whether opting for a square, round, almond, or coffin shape, precision is key. Additionally, measuring the press-ons against each natural nail before adhering them can prevent errors and ensure a perfect fit.
Cuticle Care
Ensuring healthy and well-nourished cuticles is essential for maintaining the overall appearance and longevity of your press-on nails. Cuticle care is a crucial step in the nail preparation process that is often overlooked but can significantly impact the final look of your manicure. To achieve salon-quality results at home, start by gently pushing back your cuticles using a cuticle pusher or orange stick. This helps create a clean and even surface for the press-on nails to adhere to, ensuring a smooth and professional finish.
After pushing back your cuticles, it's important to hydrate and nourish them to prevent dryness and promote healthy nail growth. Consider using a cuticle oil or cream enriched with vitamins and moisturizing ingredients to keep your cuticles soft and supple. Regularly massaging these products into your cuticles will not only improve the appearance of your nails but also contribute to their overall health and resilience.
Perfect Fit
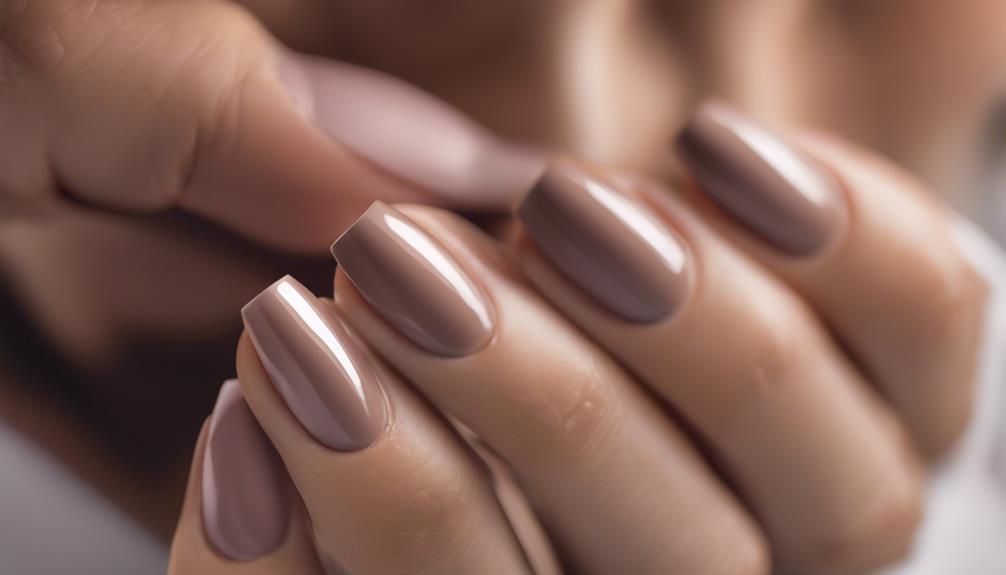
Maintaining a precise fit is key to achieving a polished and professional look when applying press-on nails. To ensure your press-on nails fit perfectly, consider the following tips:
- Customization: Tailor the size and shape of the press-on nails to match your natural nail beds for a seamless blend.
- Precision: Take time to measure and trim the press-on nails to fit each individual nail accurately.
- Comfort: A perfect fit not only looks great but also feels comfortable to wear throughout the day.
- Durability: Securely adhering the press-on nails to your natural nails ensures they stay in place for an extended period.
- Confidence: When your press-on nails fit flawlessly, it boosts your confidence and leaves a lasting impression.
Application Techniques
In mastering the application techniques for press-on nails, understanding nail prep essentials, proper glue application, and sealing for longevity are key components. Nail prep ensures a smooth surface for adherence, while applying the right amount of glue is crucial for a secure bond. Sealing the nails properly not only enhances their appearance but also prolongs their wear time.
Nail Prep Essentials
Before applying press-on nails, it is crucial to properly prepare your natural nails to ensure a flawless and long-lasting application. To achieve salon-like results, consider the following nail prep essentials:
- Gentle Buffing: Smooth out any ridges on the nail surface.
- Cuticle Care: Push back and trim cuticles for a clean canvas.
- Dehydrating Solution: Use a dehydrator to remove excess oils for better adhesion.
- Nail Shape: File nails to your desired shape for a polished look.
- Base Coat: Apply a base coat to protect your natural nails and enhance the longevity of the press-on nails.
Proper Glue Application
For a flawless application of press-on nails, mastering the proper glue application techniques is essential. To begin, ensure your nails are clean and dry before applying a small amount of nail glue to the natural nail bed. Avoid using too much glue, as this can lead to a messy application and potential damage to your nails. When attaching the press-on nail, gently press and hold it in place for a few seconds to allow the glue to bond securely. For a more secure hold, consider applying a small bead of glue along the edges of the press-on nail. This technique will help prevent lifting and ensure your press-on nails last longer with a professional finish.
Sealing for Longevity
To enhance the longevity of press-on nails, employing effective sealing techniques after application is crucial for maintaining a professional and lasting finish. Here are some innovative sealing methods to ensure your press-on nails look salon-worthy:
- Top Coat Magic: Seal the nails with a high-quality top coat for added protection.
- Cuticle Oil Love: Apply cuticle oil around the edges to prevent lifting and maintain hydration.
- UV Shield: Use a UV top coat to shield the nails from fading or yellowing.
- Sealant Strips: Utilize nail sealant strips for a secure and long-lasting hold.
- Glossy Finish: Finish off with a glossy top coat for a shiny and polished look.
Finishing Touches
Upon completing the application of press-on nails, attention to detail in the final steps enhances the overall salon-like appearance. To achieve a flawless finish, consider the following finishing touches:
| Finishing Touches | Description |
|---|---|
| Cuticle Oil | Apply a drop of cuticle oil around the edges of the nails to moisturize the skin and create a polished look. |
| Nail Buffer | Gently buff the surface of the nails to smooth out any imperfections and create a uniform base for polish or nail art. |
| Top Coat | Finish off your press-on nails with a high-quality top coat to seal in the design, add shine, and prolong the wear time of your manicure. |
Longevity Tips
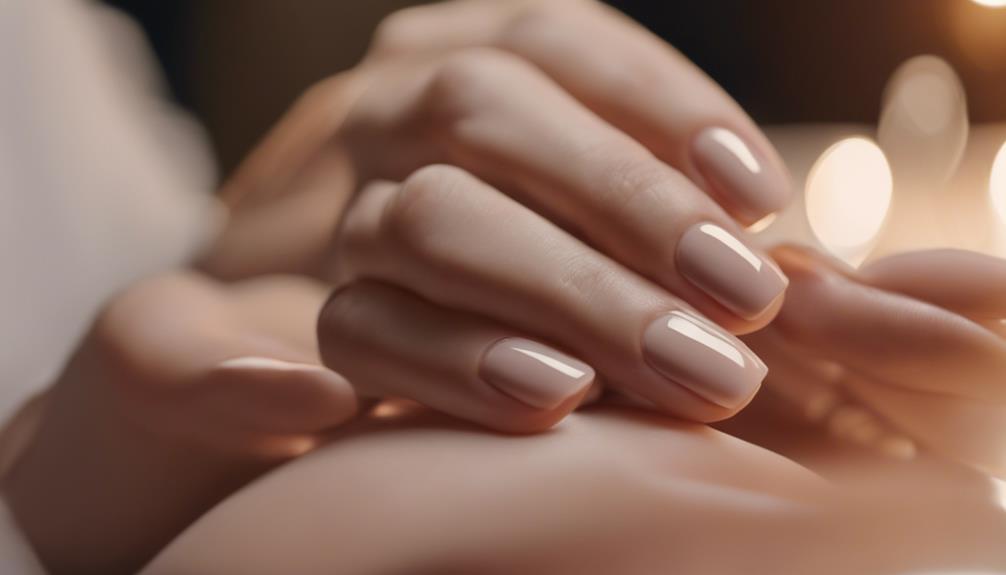
To maintain the pristine appearance of press-on nails, mastering the application techniques, ensuring proper nail preparation, and employing an effective sealing method are crucial. These three key points form the foundation for enhancing the longevity and durability of press-on nails, replicating the professional salon look. By focusing on these aspects, one can achieve salon-quality results that last longer and look impeccable.
Application Techniques
For a prolonged wear of press-on nails that resembles a salon finish, mastering the application techniques is essential. To ensure your press-on nails stay flawless and last longer, consider the following tips:
- Precision is Key: Carefully align the press-on nails with your natural nail bed for a seamless look.
- Adhesive Application: Apply the nail glue evenly to prevent premature lifting of the press-on nails.
- Avoid Water Exposure: Minimize prolonged water exposure to maintain the adhesive bond.
- Gentle Handling: Be gentle with your hands to prevent accidental breakage or chipping.
- Seal the Edges: Apply a clear top coat around the edges to secure the press-on nails in place for an extended period.
Proper Nail Prep
Effective longevity of press-on nails starts with meticulous nail preparation to ensure a secure and durable application. Begin by gently pushing back cuticles and lightly buffing the natural nail to create a smooth surface for optimal adhesion. It is crucial to cleanse the nails thoroughly to remove any oils or residues that could hinder the longevity of the press-ons. Consider using a nail dehydrator or rubbing alcohol to prep the nail bed, promoting better adherence of the press-on nails. Additionally, sizing the press-ons correctly and ensuring they fit snugly against the natural nail can prevent premature lifting or chipping. By following these nail prep steps diligently, you set the foundation for a flawless and long-lasting press-on nail application.
Sealing Method
Implementing a meticulous sealing method is essential for enhancing the longevity of press-on nails, ensuring a secure and enduring wear. To achieve salon-worthy results at home, consider the following tips:
- Precision is Key: Carefully apply the sealant to the edges of the nails to prevent lifting.
- Top-Quality Sealants: Invest in high-quality topcoats or sealants for a professional finish.
- Layering Technique: Apply multiple thin layers of sealant for added protection and durability.
- Seal the Tips: Seal the tips of the nails to prevent water and debris from getting underneath.
- Regular Maintenance: Schedule regular touch-ups and reapplications to maintain the integrity of the seal and prolong the wear time.
Frequently Asked Questions
Can Press on Nails Be Reused?
Press on nails can indeed be reused with proper care and maintenance. Ensure to gently remove them, clean any adhesive residue, and store them properly. This will extend their lifespan, making them a sustainable and cost-effective beauty option.
How Often Should Press on Nails Be Replaced?
Press on nails should be replaced every 1-2 weeks to maintain optimal appearance and nail health. Regular replacements prevent yellowing, lifting, or bacterial growth. Embrace this innovative approach to nail care for a fresh, salon-worthy look.
Can Press on Nails Damage Natural Nails?
Press on nails can potentially damage natural nails if not applied or removed properly. Excessive force during removal or using low-quality products may harm the nail bed. It's essential to follow instructions carefully and prioritize nail health.
Can Press on Nails Be Customized or Painted Over?
Press on nails can indeed be customized and painted over to achieve a personalized look. By utilizing creative techniques such as nail art, decals, and unique color combinations, individuals can elevate their press on nails to reflect their style and preferences.
Are There Any Tips for Removing Press on Nails Without Damaging Natural Nails?
To safely remove press-on nails without harming natural nails, soak nails in warm, soapy water to loosen adhesive. Gently lift edges with a cuticle stick and avoid forceful removal. Moisturize nails post-removal to restore hydration and strength.

