How Do You Use Kiss Press on Nails Without Glue?
To use Kiss Press-On Nails without glue, select the right size for your nails carefully. Prepare your natural nails by pushing back cuticles and cleansing them. Apply the press-on nails by peeling off the backing and pressing them from cuticle to tip. Secure them in place by pressing firmly and checking for any looseness. Finish with a top coat for shine. For more detailed steps on using Kiss Press-On Nails without glue, follow the outlined directions.
Key Takeaways
- Select correct nail size from Kiss Press-On Nails variety for each finger.
- Prepare natural nails by pushing back cuticles and cleansing with non-acetone remover.
- Apply press-on nails by peeling off backing and pressing from cuticle to tip.
- Secure nails by pressing firmly, checking for looseness, and reinforcing bond if needed.
- Finish with top coat, avoid harsh chemicals, and maintain by checking for lifting or damage regularly.
Select the Right Nail Size
When using Kiss Press-On Nails without glue, it is crucial to accurately select the appropriate nail size for each finger to ensure a secure and natural-looking fit. The key to achieving a flawless manicure lies in the precision of choosing the right size for each nail. Kiss Press-On Nails offer a variety of sizes to cater to different nail shapes and sizes, providing a custom-like fit for a seamless finish.
To start, carefully measure the width of your natural nails and compare them to the sizing guide provided with the Kiss Press-On Nails. It's essential to match the width of your natural nail to the press-on nail size that best aligns with it. Remember, it's better to opt for a slightly smaller size rather than a larger one to prevent lifting or misalignment.
Prep Your Natural Nails
Before applying the Kiss Press-On Nails, properly preparing your natural nails is essential to ensure a smooth and long-lasting wear. Start by gently pushing back your cuticles using a cuticle pusher or a wooden stick, ensuring they are neatly trimmed for a clean application. Next, lightly buff the surface of your nails to remove any excess oils or residue, creating a better base for the press-on nails to adhere to. It is crucial to cleanse your nails with a non-acetone nail polish remover to eliminate any remaining oils and dirt that could hinder the adhesion of the press-on nails. Additionally, ensure your nails are dry before proceeding to the next step to prevent any moisture from affecting the longevity of the press-on nails. By properly prepping your natural nails, you set the foundation for a flawless and durable Kiss Press-On Nails application.
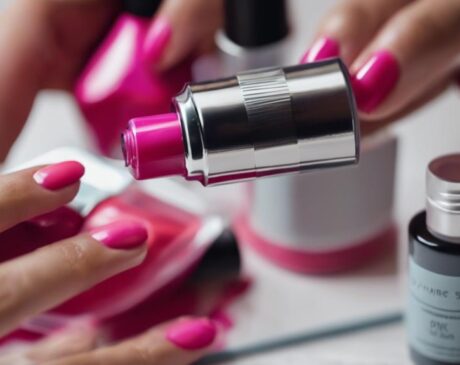
Apply the Press-On Nails
To properly apply the Kiss Press-On Nails without the use of glue, follow these precise steps for a secure and lasting hold.
- Select the Correct Size: Match each press-on nail to the corresponding natural nail for the best fit and appearance.
- Peel Off the Backing: Gently remove the backing from the press-on nail, being careful not to touch the adhesive.
- Align and Press: Align the press-on nail with your cuticle and gently press down from the cuticle to the tip of the nail for a secure bond.
- Smooth Out Air Bubbles: Smooth out any air bubbles by pressing the nail firmly onto your natural nail.
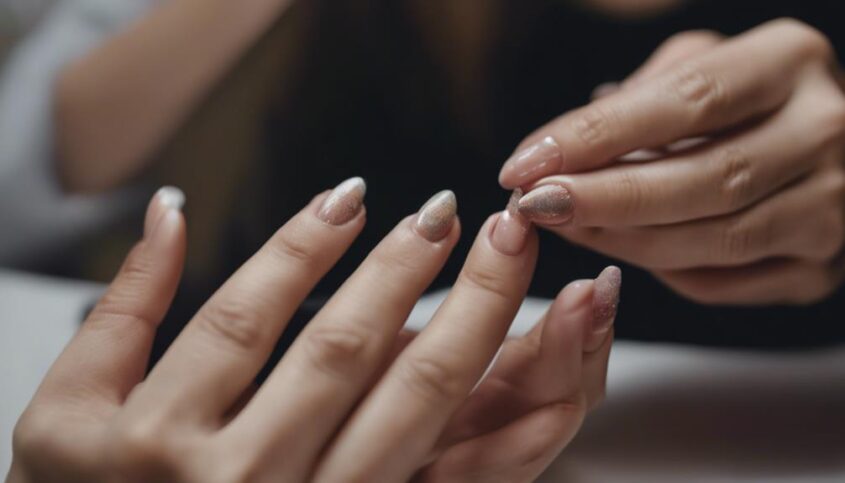
Secure the Nails in Place
After successfully applying the Kiss Press-On Nails without glue, ensuring their secure placement is vital for a long-lasting and flawless finish. To secure the nails effectively, press down firmly on each nail for about 30 seconds to allow the adhesive backing to adhere properly to your natural nails. This step is crucial in ensuring that the press-on nails stay in place throughout your daily activities. Additionally, gently tug on each nail to check for any looseness. If you feel any movement, press down on that nail again to reinforce its bond.
For extra security, consider applying a clear nail polish or a top coat over the press-on nails. This additional layer not only adds shine but also helps seal the edges of the press-on nails, further preventing them from lifting. Remember to avoid harsh chemicals or acetone-based products near the press-on nails, as these can weaken the adhesive bond. By following these steps, you can enjoy beautiful, long-lasting nails without the need for traditional glue.
Finishing Touches and Maintenance
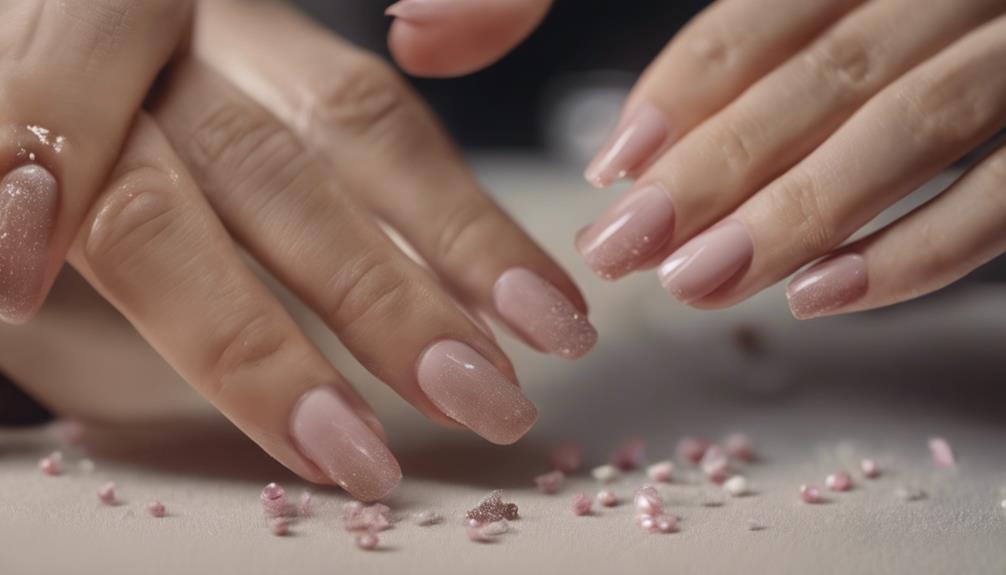
Once the Kiss Press-On Nails are securely in place, maintaining their appearance and longevity requires attention to finishing touches and regular maintenance. To ensure your press-on nails look flawless and last longer, consider the following tips:
- Seal the Edges: After applying the nails, gently press down on the edges to ensure they are securely attached. This step helps prevent lifting and extends the wear time of the press-on nails.
- Apply a Top Coat: Adding a top coat not only enhances the shine of the nails but also provides an extra layer of protection, making them more durable and resistant to chipping.
- Avoid Harsh Chemicals: When cleaning or washing your hands, use gentle soaps and avoid harsh chemicals that can weaken the bond between the press-on nails and your natural nails.
- Regular Maintenance: Check the nails periodically for any signs of lifting or damage. If needed, gently press them back into place and apply a top coat to seal any gaps, ensuring they stay looking perfect for longer.
Frequently Asked Questions
Can You Reuse Kiss Press-On Nails Without Glue?
Yes, Kiss press-on nails can be reused without glue by using adhesive tabs or nail glue stickers. These alternatives provide a secure hold while allowing for easy removal and reapplication, extending the lifespan of the press-on nails.
How Long Do Kiss Press-On Nails Typically Last Without Glue?
Embracing fingertips like a fleeting dance, Kiss press-on nails showcase their longevity without the embrace of glue. Typically, these elegant accessories grace nails for up to a week, adding charm to each gesture.
Are There Any Special Removal Instructions for Kiss Press-On Nails Without Glue?
For Kiss press-on nails without glue, special removal instructions are essential to prevent damage. Gently slide a wooden cuticle stick under the nail to lift it off. Soaking in warm, soapy water can help loosen the nails for easier removal.
Can You Apply Nail Polish Over Kiss Press-On Nails Without Glue?
Can you apply nail polish over Kiss press-on nails without glue? Enhance your look by creatively customizing your nails with compatible nail polishes. Ensure to use gentle removal methods to maintain the integrity of your press-on nails.
Will Wearing Kiss Press-On Nails Without Glue Damage Your Natural Nails?
Wearing Kiss press-on nails without glue may not damage your natural nails if applied and removed correctly. Proper care and following instructions can minimize any potential harm. However, individual experiences may vary, so it's advisable to monitor your nail health.