How Many Layers of Gel Top Coat Should I Use?
For optimal results, it's recommended to apply multiple thin layers of gel top coat. Layering enhances durability and coverage while minimizing risks of chipping. Consider using a base gel coat, color gel polish, and top gel coat for a thorough manicure. Strategic layering and proper curing help achieve the desired thickness without over-application. To delve deeper into the application process and learn more about factors affecting layer thickness, types of gel top coats, and tips for maintaining a flawless finish, explore the detailed information provided.
Key Takeaways
- Layering for durability and longevity.
- Apply multiple thin layers for thorough coverage.
- Consider base coat, color polish, and top coat.
- Optimal thickness through strategic layering.
- Avoid over-application to maintain durability.
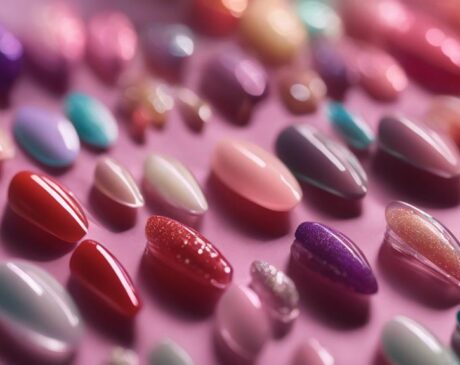
Benefits of Using Gel Top Coat
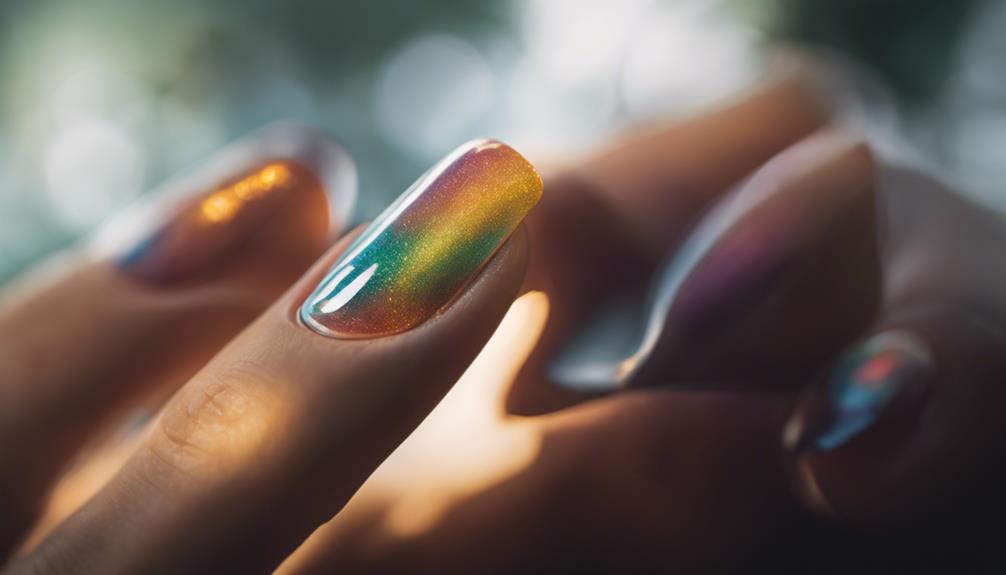
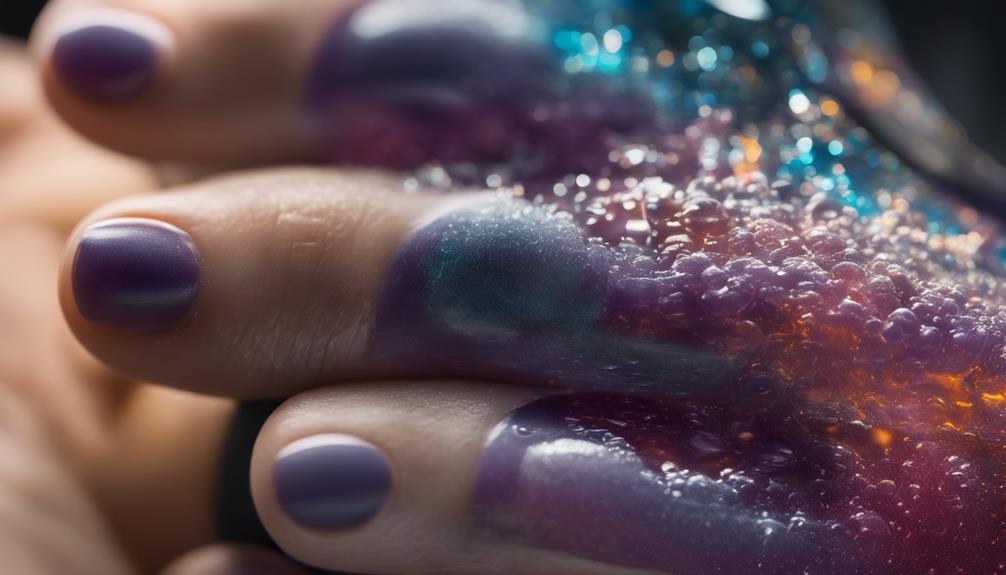
When considering the advantages of utilizing gel top coat, one finds that it offers unparalleled durability and shine to nail polish applications. Gel top coats are formulated to provide a long-lasting protective layer that helps prevent chipping and peeling, ensuring a flawless manicure for an extended period. The innovative technology behind gel top coats allows for a quicker drying time under LED or UV lamps, making them a convenient choice for those with busy lifestyles. Additionally, the high-gloss finish achieved with gel top coats gives nails a professional salon look that lasts for weeks without losing its luster.
Not only do gel top coats provide superior protection and shine, but they also offer versatility in terms of design. Nail art enthusiasts can experiment with various techniques such as ombre, marble, or intricate designs knowing that the gel top coat will seal and safeguard their creations. With these benefits in mind, it's clear why gel top coats have become a staple in the world of nail care and design.
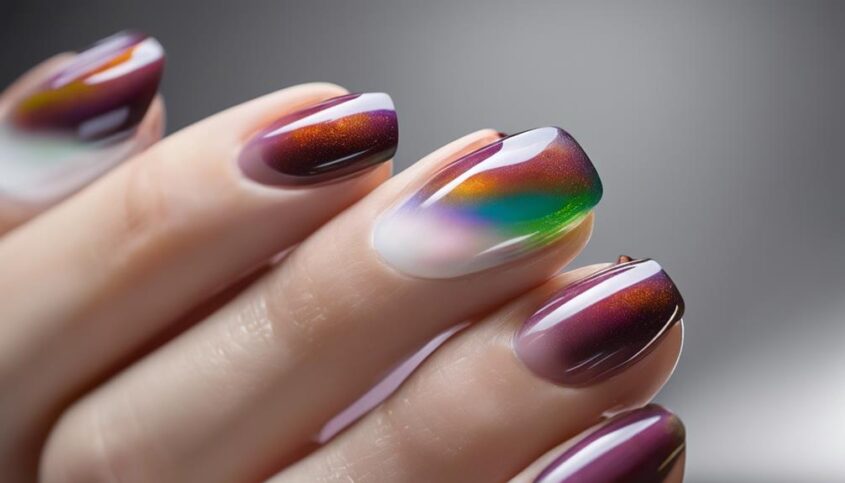
Types of Gel Top Coats
Gel top coats come in various types, each offering unique features and benefits to enhance the longevity and appearance of nail polish applications. When choosing a gel top coat, it's essential to consider factors such as durability, shine, and ease of application. Here are three common types of gel top coats:
| Type | Description | Benefits |
|---|---|---|
| Traditional Gel | Requires curing under a UV or LED lamp | Long-lasting and chip-resistant finish |
| No-Wipe Gel | Does not require wiping after curing | Provides a glossy and smooth finish |
| Matte Gel | Dries to a matte finish without shine | Adds a trendy and velvety look to nails |
Each type of gel top coat offers a distinct finish, catering to different preferences and styles. Whether you prefer a classic glossy look, a no-wipe convenience, or the modern matte trend, there is a gel top coat to suit your needs.
Factors Affecting Layer Thickness
When considering the thickness of gel top coat layers, factors such as gel application techniques, drying time requirements, and product layering guidelines play crucial roles. These elements influence how many layers are optimal for achieving the desired results and ensuring the longevity of your gel manicure. By understanding these factors, you can make informed decisions regarding the application of gel top coats for a flawless and durable finish.
Gel Application Techniques
Applying gel top coat involves considering various factors that influence the thickness of each layer. One key factor is the technique used during application. To achieve a thin layer, apply the gel in a smooth, even manner, ensuring the brush is not overloaded. Avoid excessive pressure, which can cause the gel to pool and create a thick layer. Additionally, adopting a "floating" technique—lightly brushing the gel over the nail without pressing down—can help distribute the product evenly for a thinner coat. By mastering these application techniques, you can control the thickness of each layer, resulting in a flawless gel manicure that is both durable and aesthetically pleasing.
Drying Time Considerations
Factors influencing the thickness of each layer of gel top coat include considerations related to drying time. Optimal drying time is crucial for achieving the desired layer thickness. If the layers are too thick, they may not cure properly, resulting in a sticky or uneven finish. On the other hand, if the layers are too thin, the gel may not provide enough protection or durability. To ensure the right thickness, follow the manufacturer's recommended curing times for each layer. Additionally, consider using a high-quality LED or UV lamp to speed up the curing process without compromising the integrity of the gel top coat. Proper drying time management is key to achieving flawless gel nails with the ideal layer thickness.
Product Layering Recommendations
To achieve optimal layer thickness when applying gel top coat, it is essential to consider product layering recommendations that influence the overall outcome of the manicure. Factors such as the viscosity of the gel, the desired final look, and the curing capabilities of the UV or LED lamp play a crucial role in determining the number of layers needed. Thicker gel layers may require longer curing times to ensure proper hardening, while thinner layers could lead to a more natural look. Additionally, some gel formulas are designed to be self-leveling, which can affect the application technique and the number of layers needed for a flawless finish. By understanding these product-specific recommendations, you can achieve a professional and long-lasting gel manicure.
How Many Layers Are Ideal?
When considering how many layers of gel top coat to apply, it is essential to focus on key points such as layering for durability, achieving the desired thickness, and avoiding over-application. Understanding these aspects can help in creating a long-lasting and aesthetically pleasing gel top coat finish without compromising the nail's health or appearance. By keeping these points in mind, you can achieve optimal results with your gel top coat application.
Layering for Durability
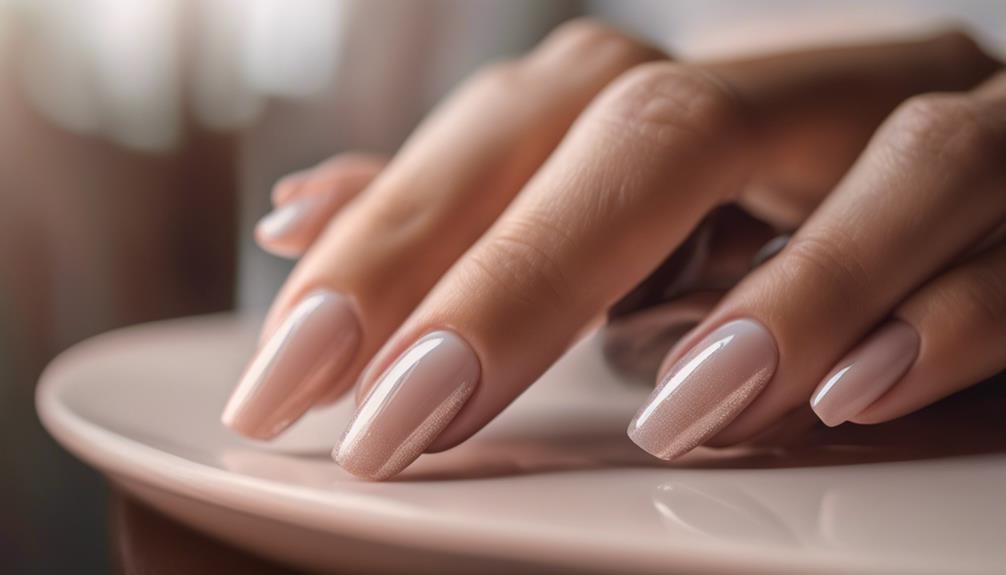
For optimal durability, consider applying multiple layers of gel top coat in a precise and even manner. Layering gel top coat can significantly enhance the longevity of your manicure by providing an extra barrier against chips and cracks. While the exact number of layers may vary based on personal preference and the specific brand of gel polish used, generally, applying two to three thin layers is recommended for the best results. This method ensures thorough coverage and minimizes the risk of bubbling or uneven drying. Remember to cure each layer properly under a UV or LED lamp according to the manufacturer's instructions to achieve maximum durability.
| Layer Number | Description | Benefits |
|---|---|---|
| 1 | Base gel coat | Enhances adhesion |
| 2 | Color gel polish | Adds pigment and style |
| 3 | Top gel coat | Provides shine and protection |
Achieving Desired Thickness
Achieving the ideal thickness of gel top coat involves strategically layering the product to ensure a durable and glossy finish. To achieve the desired thickness effectively, consider the following:
- Thin Layers: Apply thin, even layers of gel top coat to prevent bubbling or uneven curing.
- Building Up: Gradually build up the thickness by adding additional layers rather than applying a thick coat all at once.
- Curing Time: Ensure each layer is properly cured under a UV or LED lamp before adding the next layer to maintain the integrity of the coating.
Avoiding Over-Application
To achieve optimal results and prevent excessive buildup, it is essential to carefully consider the number of layers of gel top coat to apply. Over-application can lead to longer curing times, potential wrinkling, and a less durable manicure. Finding the ideal number of layers depends on the brand of gel polish used, the desired thickness, and the curing capabilities of your lamp. Below is a table outlining general guidelines for the number of gel top coat layers based on desired outcomes:
| Desired Outcome | Number of Layers |
|---|---|
| Standard Thickness | 1-2 layers |
| Extra Thickness | 2-3 layers |
| High Gloss Finish | 1 layer |
| Increased Durability | 2 layers |
| Quick & Easy Removal | 1 layer |
Tips for Applying Gel Top Coat

When applying gel top coat, ensure a smooth and even application by starting with a thin layer and building up as needed for optimal results. This technique helps prevent clumping and ensures a flawless finish. To further enhance your gel top coat application, consider the following tips:
- Use a Quality Gel Top Coat: Invest in a high-quality gel top coat that is known for its durability and shine. A good top coat can make a significant difference in the longevity of your manicure.
- Cap the Edges: When applying gel top coat, make sure to cap the free edge of your nails. This involves brushing a thin layer of top coat along the edge of the nail to seal the polish and prevent chipping.
- Avoid Overloading the Brush: To achieve a precise application, avoid overloading the brush with gel top coat. Instead, use a moderate amount of product and distribute it evenly across the nail for a smooth finish.
Avoiding Common Mistakes
One common mistake to avoid when applying gel top coat is rushing the curing process, as it can result in a subpar finish and reduced durability. Properly curing each layer of gel top coat is essential for achieving a long-lasting and flawless manicure. Another mistake to steer clear of is applying thick layers of gel top coat. Thick layers not only take longer to cure properly but can also lead to an uneven application and potential chipping. It is crucial to apply thin, even coats to ensure a smooth and durable finish. Additionally, failing to cap the free edge of the nail with each layer can make the manicure more prone to chipping and peeling. Remember to seal the tip of the nail with every coat of gel top coat to enhance the longevity of your manicure. By avoiding these common mistakes and following proper application techniques, you can achieve professional-looking results and enjoy a long-lasting gel manicure.
Removing Gel Top Coat Layers

After properly applying and enjoying your gel top coat manicure, the process of removing the layers is essential for maintaining healthy nails and preparing for a new application. Here are some innovative tips for effectively removing gel top coat layers:
- Soak Off Method: Begin by buffing the shiny layer of the gel top coat to break the seal. Then, soak a cotton ball in acetone, place it on the nail, and wrap it in foil. Leave it on for about 10-15 minutes to allow the acetone to dissolve the gel polish before gently removing it with a cuticle pusher.
- Electric File: For a quicker removal process, an electric file with a gentle grit attachment can be used to file off the gel top coat. This method requires precision and care to avoid damaging the natural nail.
- Professional Removal: Visiting a nail salon for professional gel top coat removal is recommended, especially if you are concerned about preserving the health and integrity of your nails. Professionals have the expertise and tools to remove the gel polish safely and efficiently.
Maintaining Gel Top Coat Finish
To maintain the longevity and glossy finish of your gel top coat manicure, consistent care and attention to detail are key elements in preserving the overall appearance of your nails. After investing time and effort into achieving a flawless gel top coat finish, it is essential to follow a maintenance routine that ensures your nails remain in pristine condition. To start, regularly moisturize your cuticles and nails to prevent dehydration and maintain flexibility. Additionally, avoid exposing your gel manicure to harsh chemicals or excessive heat, as these factors can lead to chipping and dullness. Consider using a non-acetone nail polish remover when changing colors to prevent damage to the gel top coat. Furthermore, applying a fresh layer of top coat every 7-10 days can help seal in the color and shine, extending the life of your manicure. By incorporating these simple yet effective maintenance practices, you can enjoy your gel top coat finish for an extended period with a professional and innovative look.
Frequently Asked Questions
Can I Mix Different Brands of Gel Top Coat?
When considering mixing different brands of gel top coat, it's crucial to prioritize compatibility. Some formulations may not interact well, leading to issues like peeling or chipping. Always perform a patch test to ensure optimal results.
How Long Should I Wait Between Applying Each Layer of Gel Top Coat?
Achieving optimal results in gel top coat application requires attention to timing between layers. Waiting for each coat to cure fully ensures durability and a flawless finish. Patience is key; allow ample time for each layer to set.
Can I Use a UV Lamp to Cure Gel Top Coat Instead of an LED Lamp?
Using a UV lamp to cure gel top coat instead of an LED lamp can be effective, as both emit the necessary wavelengths for curing. However, UV lamps may take slightly longer for optimal results.
What Is the Difference Between a Gel Top Coat and a Regular Top Coat?
A gel top coat offers a durable and long-lasting finish due to its chemical composition that requires curing under a UV or LED lamp. It provides a high-gloss shine, chip resistance, and can last up to three weeks, enhancing the longevity of a manicure.
Can I Apply Gel Top Coat Over Regular Nail Polish?
Yes, you can apply gel top coat over regular nail polish. By using a gel top coat, you can enhance the longevity and durability of your manicure. Ensure the regular polish is completely dry before applying the gel top coat for optimal results.