Can Liquid Nail Be Used Like Glue?
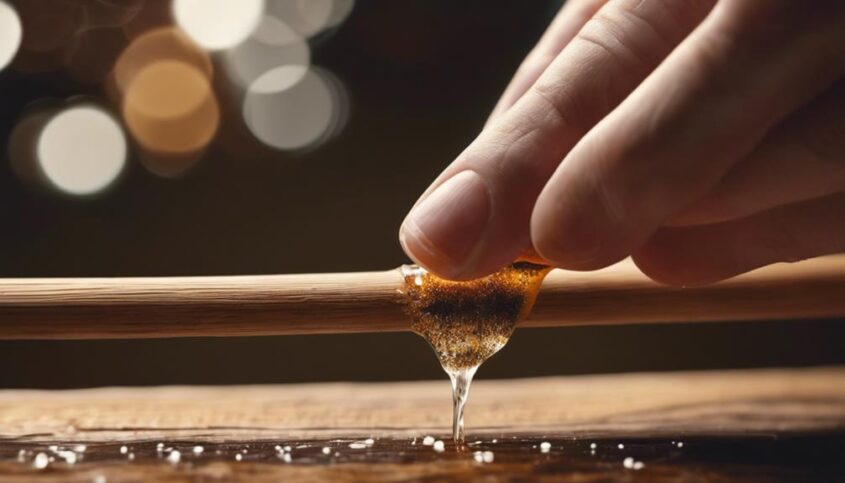
Liquid Nail can be used like glue, providing strong and lasting bonding capabilities for various projects. Its robust technology offers durability beyond traditional glue, especially in heavy-duty applications. Liquid Nail adheres well to surfaces like wood, metal, and ceramics, ensuring versatile use. Proper application techniques and curing time are crucial for optimal adhesion strength. Additionally, its waterproofing abilities make it suitable for indoor and outdoor projects, resisting moisture effectively. Consider safety precautions while handling Liquid Nail for accident-free application. Explore more about Liquid Nail's versatile bonding strengths and surface compatibility for successful projects.
Key Takeaways
- Liquid Nail can be used like glue for strong bonding.
- It provides robust and long-lasting adhesion.
- Suitable for various surfaces like wood, metal, and ceramics.
- Offers waterproofing capabilities for indoor and outdoor projects.
- Follow safety precautions for proper handling and application.
Liquid Nail Vs. Traditional Glue
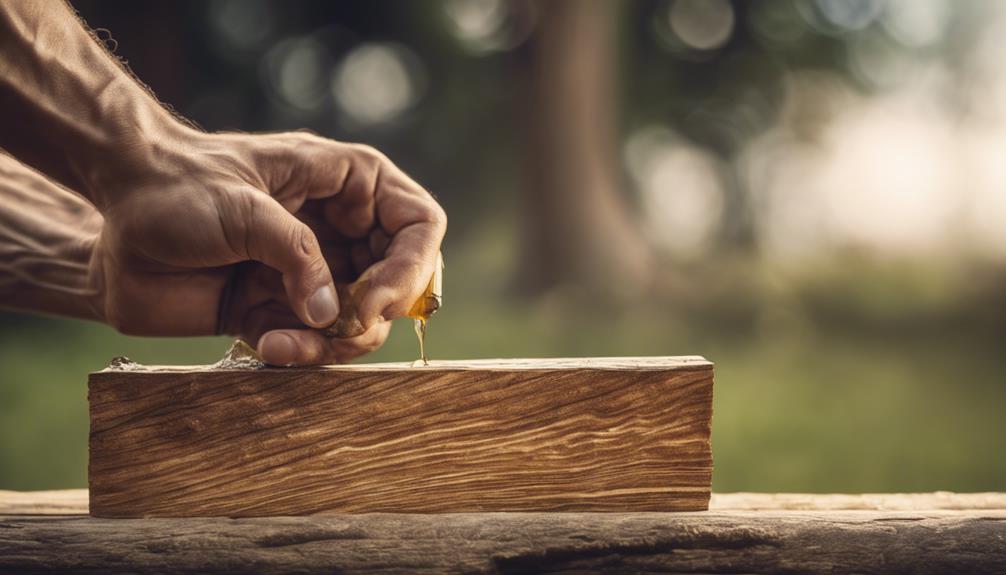
When comparing Liquid Nail to traditional glue, one must consider their respective strengths and weaknesses in terms of adhesion and durability. Liquid Nail, a construction adhesive known for its strong bonding capabilities, offers a more robust and long-lasting bond compared to traditional glue. Its innovative formula allows it to create a strong bond that can withstand heavy loads and various environmental conditions.
Traditional glue, on the other hand, may not provide the same level of durability and strength as Liquid Nail. While it can be suitable for lighter applications and crafts, it may not be as reliable for heavy-duty projects that require maximum adhesion. Additionally, traditional glue may not be as resistant to moisture or temperature changes, making it less ideal for outdoor or high-stress environments.
Bonding Strength Comparison
In assessing bonding strength between Liquid Nail and traditional glue, the focus lies on their respective abilities to create durable and reliable bonds for varying applications. Liquid Nail, known for its strong adhesive properties, offers a unique advantage in bonding a variety of materials such as wood, metal, and ceramics. Its advanced formula provides a strong initial grab and long-lasting bond, making it suitable for demanding projects where a secure hold is essential. Traditional glue, while effective in certain applications, may not always offer the same level of durability and strength as Liquid Nail. The innovative technology behind Liquid Nail allows for versatile use across different surfaces and environments, ensuring that the bond created remains intact over time. When considering bonding strength, Liquid Nail emerges as a promising alternative to traditional glue, offering a reliable solution for projects that require a high level of adhesion and durability.
Surfaces Suitable for Liquid Nail
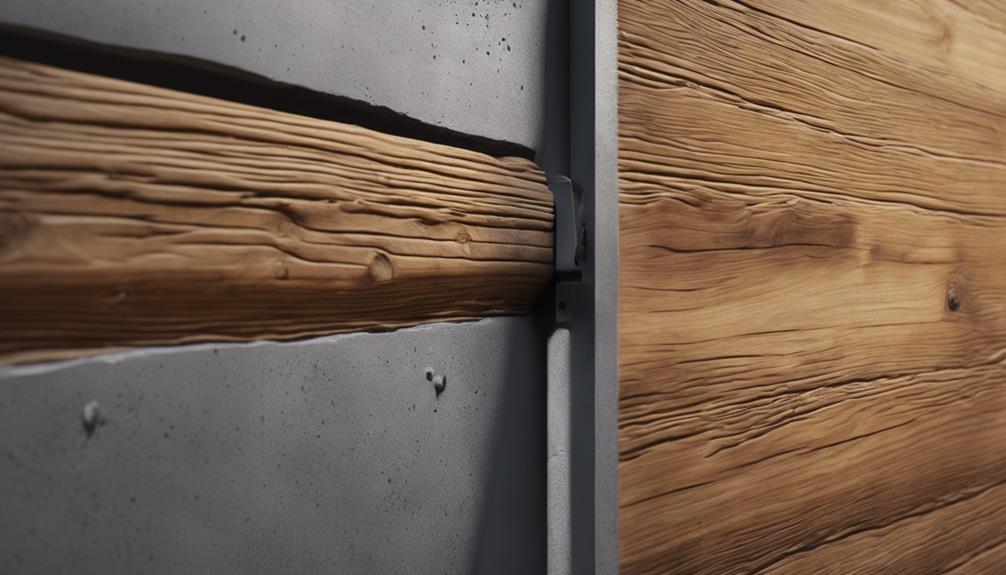
When using Liquid Nail as a glue, understanding the surfaces suitable for its application is crucial. Different types of materials require specific techniques for proper adhesion with Liquid Nail. By exploring compatible surface types and the correct application methods, users can ensure successful bonding with this adhesive.
Compatible Surface Types
A variety of surfaces can effectively bond with Liquid Nail adhesive, offering a strong and durable hold for a wide range of projects. These surfaces include drywall, plywood, particleboard, ceramic tile, and more. Liquid Nail is designed to adhere well to porous materials such as wood, concrete, stone, and brick, making it versatile for various construction and repair tasks. Its compatibility extends to metal surfaces like aluminum and stainless steel, expanding its utility for different applications. When applied correctly, Liquid Nail can create a long-lasting bond with these diverse surfaces, providing a reliable and sturdy hold. Understanding the compatible surface types is crucial for ensuring successful adhesion and achieving optimal results in your projects.
Proper Application Techniques
To ensure effective bonding with Liquid Nail adhesive, it is imperative to employ proper application techniques tailored to the specific surfaces compatible with this versatile adhesive. When using Liquid Nail, consider the following techniques:
- Clean the surface thoroughly to remove dust and debris.
- Apply the adhesive in a zigzag pattern for optimal coverage.
- Use a caulk gun for precise and controlled application.
- Press the surfaces together firmly to create a strong bond.
- Allow sufficient drying time as per the manufacturer's recommendations before subjecting the bond to stress.
Application Techniques
When using Liquid Nail as a glue, it is crucial to focus on proper surface preparation to ensure optimal adhesion. Additionally, applying the adhesive adequately by following the recommended guidelines is essential for a strong bond. Lastly, allowing sufficient time for the bonding process to take place will result in a secure and durable hold.
Proper Surface Preparation
Properly preparing the surface is essential for ensuring a strong and lasting bond when using Liquid Nail as a glue. To achieve optimal results, follow these key steps:
- Clean the surface thoroughly to remove any dirt, dust, or debris.
- Sand the surface to create a rough texture for better adhesion.
- Ensure the surface is dry before applying Liquid Nail to prevent any moisture interference.
- Use a primer if necessary to enhance the bond between the surface and the adhesive.
- Allow sufficient time for the surface preparation steps to properly set before proceeding with the application of Liquid Nail.
Adequate Adhesive Application
For optimal results when using Liquid Nail as a glue, ensuring precise and adequate application techniques is crucial. To achieve a strong bond, start by applying a continuous bead of Liquid Nail along the surface, ensuring the adhesive is evenly distributed. Use a caulking gun for accurate and controlled dispensing. Press the surfaces together firmly to allow for maximum contact and bonding. Avoid excessive squeezing, as this can lead to an uneven application and weaker bond. For larger projects, consider using mechanical fasteners in conjunction with Liquid Nail to reinforce the bond. By following these application techniques, you can harness the full adhesive strength of Liquid Nail for innovative and reliable bonding solutions.
Time for Bonding
An essential factor to consider during the bonding process with Liquid Nail is the timing for optimal adhesion. Proper timing ensures a strong and lasting bond between materials. To achieve the best results, follow these application techniques:
- Preparation: Ensure surfaces are clean and dry before applying Liquid Nail.
- Application: Apply a generous amount of adhesive to one surface.
- Clamping: Secure the materials together within the recommended time frame for bonding.
- Curing Time: Allow sufficient time for the adhesive to cure and bond effectively.
- Temperature: Maintain the recommended temperature range for optimal bonding performance.
Following these steps will help you achieve reliable and durable bonds using Liquid Nail.
Drying Time and Cure
Upon application, it is essential to understand the distinction between the drying time and cure of Liquid Nail adhesive in order to ensure optimal bonding effectiveness. The drying time of Liquid Nail refers to the period it takes for the adhesive to set and harden on the surface after application. This initial drying phase typically ranges from 15 minutes to 2 hours, depending on factors such as temperature, humidity, and the thickness of the adhesive layer. During this time, the adhesive becomes tacky and begins to hold the bonded materials together.
On the other hand, the curing process of Liquid Nail involves the adhesive reaching its maximum strength and durability. While the drying time may give the appearance of bonding, the full curing of the adhesive can take up to 7 days. It is crucial to allow for this curing period before subjecting the bond to heavy stress or load-bearing activities to ensure the adhesive has reached its maximum potential. Understanding and adhering to both the drying time and cure of Liquid Nail adhesive will result in strong and long-lasting bonds for your projects.
Waterproofing Capabilities
Understanding the waterproofing capabilities of Liquid Nail adhesive is essential for ensuring the longevity and integrity of bonded materials in moisture-prone environments. Liquid Nail offers impressive waterproofing properties that make it a reliable choice for various applications. Here are some key points to consider regarding its waterproofing capabilities:
- Liquid Nail forms a strong bond that is resistant to water penetration, making it suitable for both indoor and outdoor projects.
- Its advanced formula allows it to withstand exposure to moisture, ensuring the durability of the bonded materials over time.
- The waterproof nature of Liquid Nail makes it ideal for applications where the bonded materials may be subjected to damp conditions or occasional splashes of water.
- This adhesive's ability to repel water helps prevent mold, mildew, and other water-related damage that could compromise the integrity of the bond.
- Liquid Nail's waterproofing capabilities contribute to the overall strength and stability of the bonded materials, providing a long-lasting solution for various projects.
Safety Precautions
Prioritize safety by adhering to recommended guidelines when handling Liquid Nail adhesive in various projects. When working with Liquid Nail, it is essential to consider safety precautions to ensure a smooth and accident-free application process. Here are some key safety measures to keep in mind:
| Safety Precautions | Description | Importance |
|---|---|---|
| Wear Protective Gear | Utilize gloves and safety glasses to shield your skin and eyes from potential contact with the adhesive. | Prevents skin irritation |
| Ensure Adequate Ventilation | Work in well-ventilated areas or use a respirator to avoid inhaling harmful fumes emitted during the application. | Prevents respiratory issues |
| Store Properly | Seal the container tightly after use and store Liquid Nail in a cool, dry place away from children and pets. | Prevents accidents |
| Clean Up Spills Promptly | Immediately wipe off any spills with a damp cloth and wash hands thoroughly to prevent accidental skin contact. | Prevents adhesive bonding to skin |
Frequently Asked Questions
Can Liquid Nail Be Used on Outdoor Projects?
Liquid Nails are suitable for outdoor projects due to their strong adhesive properties. When applied correctly, they can bond well with a variety of materials, providing a durable and weather-resistant solution for construction and repairs.
Can Liquid Nail Be Painted Over Once It Has Dried?
Yes, once Liquid Nail has fully dried, it can be painted over. Ensure the adhesive has cured according to the manufacturer's instructions for optimal results. Painting over dried Liquid Nail can enhance the aesthetics of your project.
How Long Does Liquid Nail Typically Last Once Applied?
When considering the longevity of Liquid Nail once applied, it typically lasts for an extended period, offering durable adhesion. Its strength and reliability make it a steadfast choice for various projects, showcasing resilience and stability over time.
Can Liquid Nail Be Used to Bond Different Types of Materials Together?
Yes, Liquid Nail can effectively bond different types of materials together due to its strong adhesive properties and versatility. It provides a reliable bond for a variety of surfaces, making it a versatile choice for various construction and repair projects.
Are There Any Specific Cleaning Instructions for Tools and Surfaces After Using Liquid Nail?
After using Liquid Nail, it is crucial to clean tools and surfaces promptly. Remove excess adhesive with a putty knife or scraper. Wipe surfaces with a damp cloth or acetone for stubborn residue. Proper cleaning maintains tools and ensures effective future use.

