Can You Put Regular Polish on Top of Cured Gel?
Layering regular polish on top of cured gel can be tricky due to differences in composition. Buffing the gel surface and using a compatible base coat can help with adhesion. Apply thin layers of regular polish for best results. Understanding the nuances of each polish type is crucial for a flawless finish. For more insights on successful layering techniques and maintaining a professional manicure, consider exploring further details provided in the research.
Key Takeaways
- Buff the cured gel surface lightly for better adhesion of regular polish.
- Use a high-quality base coat compatible with both gel and regular polish.
- Apply thin layers of regular polish to prevent bubbling and ensure even drying.
- Seal the regular polish with a gel top coat for long-lasting results.
- Remove regular polish gently to preserve the integrity of the gel underneath.
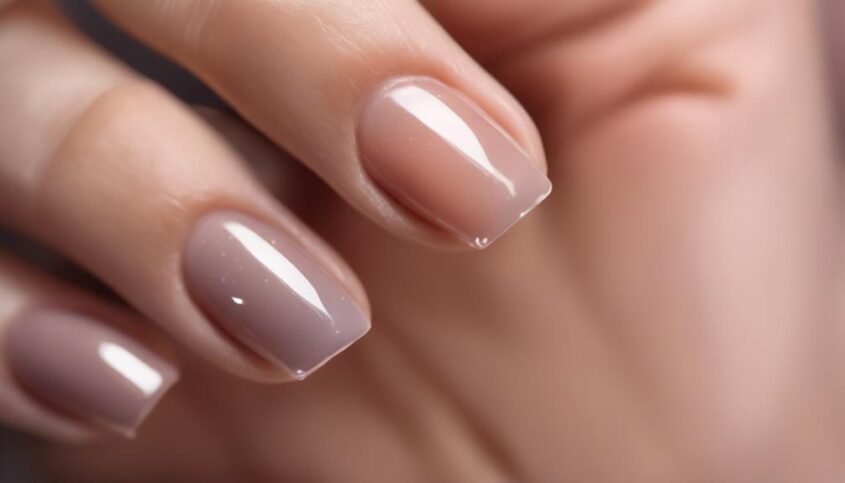
Gel Polish Vs. Regular Polish
When comparing gel polish to regular polish, one notable distinction lies in their durability and application process. Gel polish is renowned for its exceptional longevity, lasting up to two weeks or more without chipping, compared to regular polish which typically lasts only a few days. This enhanced durability is attributed to the gel formula's ability to cure and harden under UV or LED light, creating a sturdy and long-lasting bond with the nail. In contrast, traditional polish requires air drying, making it more prone to smudging and chipping during the drying process.
Moreover, the application process for gel polish involves a series of steps that ensure a precise and flawless finish. This includes applying a base coat, curing it under a lamp, layering the colored gel polish, and finishing with a top coat, each step designed to enhance the polish's durability and shine. On the other hand, regular polish application is relatively simpler, involving a base coat, color application, and a topcoat, making it a quicker but less resilient option.
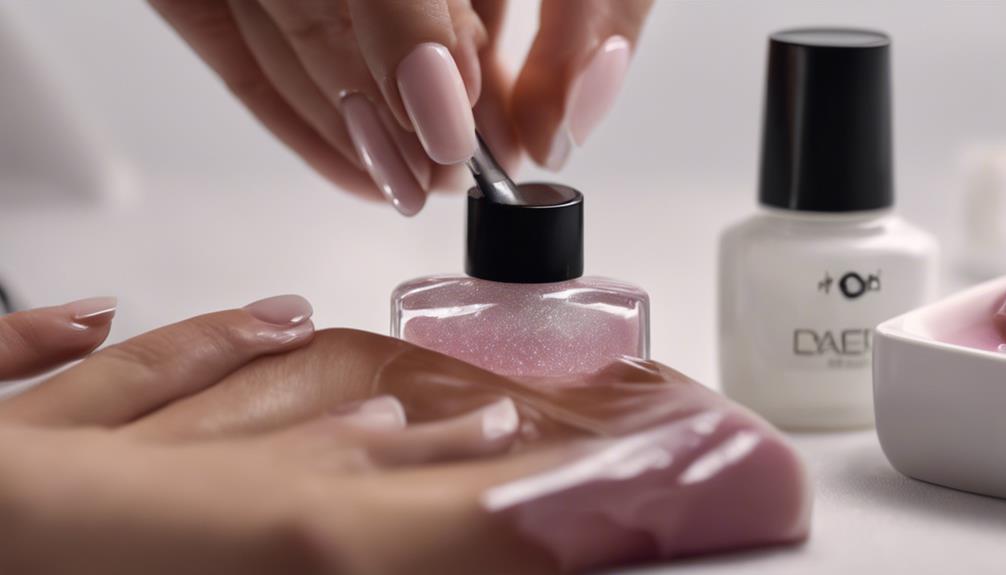
Application Process for Gel Polish
In the realm of nail care, the application process for gel polish is meticulously structured to ensure a flawless and long-lasting finish. The first step is to prepare the nail bed by pushing back the cuticles and lightly buffing the surface to remove any oils or residue. Next, a bonding agent is applied to promote adhesion. Following this, a base coat is carefully brushed onto the nails and cured under a UV or LED lamp to create a strong foundation. Then comes the application of the gel polish color in thin, even layers, curing each coat to seal in the vibrant hue. To complete the process, a top coat is applied to add shine and protection, with a final curing step to set the gel polish. This meticulous approach not only ensures a durable and glossy finish but also reduces the risk of chipping or peeling, providing a long-lasting and professional result that satisfies the desire for innovation in nail aesthetics.
Application Process for Regular Polish
Let's now explore the application process for regular polish, focusing on its compatibility with cured gel nails and the steps involved in layering to achieve a professional finish. Understanding how regular polish interacts with gel can help in ensuring a lasting and flawless manicure. By following specific layering techniques, you can effectively apply regular polish on top of cured gel for a polished look.
Regular Polish Compatibility
The compatibility of regular polish with cured gel involves understanding the proper application process to ensure optimal results. When applying regular polish on top of cured gel, it is essential to start with clean and dry nails. Begin by gently buffing the gel surface to remove any shine and create a textured base for the regular polish to adhere to. Next, apply a quality base coat to help the regular polish bond effectively with the cured gel. Once the base coat is dry, carefully apply the regular polish in thin, even layers, allowing each coat to dry completely before adding the next. Finish with a top coat to seal in the color and provide a glossy finish that enhances the overall look.
Steps for Layering
To achieve a flawless and long-lasting finish when layering regular polish over cured gel, adhere to a meticulous application process that ensures optimal adhesion and durability.
- Prep the Surface: Begin by gently buffing the cured gel surface to remove any shine and create a slightly rough texture for better polish adhesion.
- Apply Base Coat: Use a high-quality base coat formulated for use over gel to provide a smooth and even surface for the regular polish to adhere to.
- Layer Regular Polish: Once the base coat is dry, apply thin layers of regular polish, allowing each coat to dry completely before adding the next to prevent smudging and ensure a professional-looking finish.
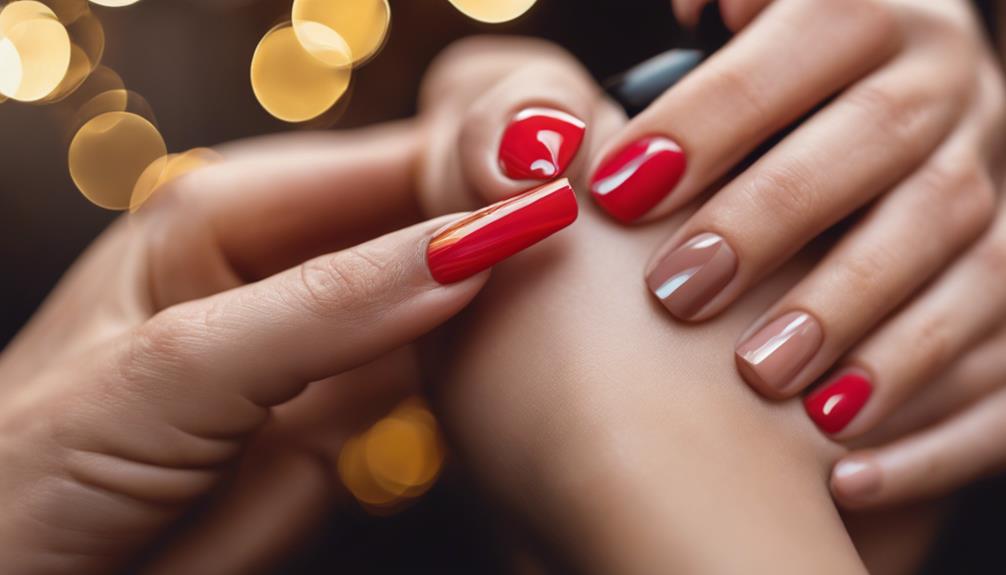
Compatibility of Gel and Regular Polish
When considering the application of regular polish on cured gel nails, it is essential to understand the compatibility between the two products. Gel polish is a durable, long-lasting formula cured under UV or LED light, providing a hard, chip-resistant finish. On the other hand, regular polish air dries and may not adhere well to the smooth surface of cured gel.
The compatibility of gel and regular polish depends on various factors such as the brand of products used, the application technique, and the condition of the nails. Some gel polish brands are formulated to be compatible with regular polish, allowing for layering without issues. However, in general, applying regular polish directly on top of cured gel may result in peeling, chipping, or a shortened wear time.
To enhance compatibility, buffing the gel surface lightly before applying regular polish can create a slightly rougher texture for better adhesion. Additionally, using a high-quality base coat before regular polish application can help improve longevity. Understanding the compatibility between gel and regular polish is crucial for achieving a flawless and durable manicure.
Tips for Layering Regular Polish on Gel
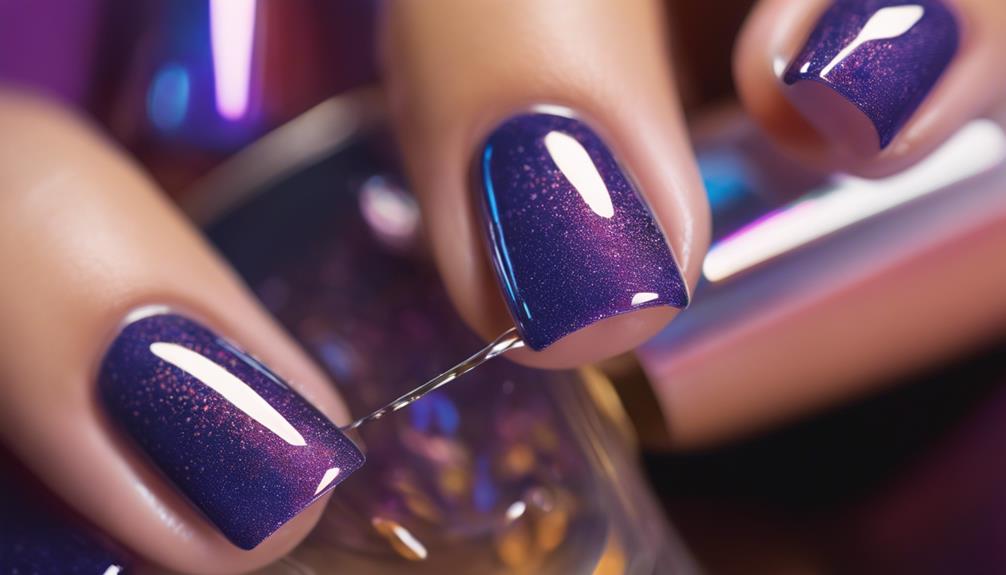
Enhancing the adhesion of regular polish on cured gel nails can be optimized through strategic preparatory steps. To ensure a smooth and long-lasting application, consider the following tips:
- Prep the Nail Surface: Before applying regular polish on top of cured gel, it is crucial to prepare the nail surface properly. Lightly buff the gel nails to remove any shine and create a slightly rough texture. This will help the regular polish adhere better to the gel surface.
- Use a Base Coat: Applying a thin layer of base coat before the regular polish can improve adhesion and prolong the wear time of the manicure. Choose a base coat that is compatible with both gel and regular polish for optimal results.
- Thin Layers, Proper Drying: When layering regular polish over gel, ensure to apply thin coats of polish and allow each layer to dry completely before adding the next one. This will prevent smudging and chipping, resulting in a flawless finish that lasts.
Pros and Cons of Layering Regular Polish on Gel
Layering regular polish on top of cured gel nails presents both advantages and disadvantages in terms of durability and aesthetics. While it allows for creativity by adding different colors and designs to your gel manicure, there are some factors to consider before doing so.
| Pros | Cons | Neutral |
|---|---|---|
| – Increased variety of nail colors | – Risk of chipping and peeling | – Requires additional drying time |
| – Easy application process | – Potential for color mismatch | – May affect gel nail longevity |
| – Cost-effective alternative | – Difficulty in achieving a smooth finish | – Limited color selection |
Although layering regular polish on gel nails can provide versatility and a unique look, it's essential to weigh the pros and cons. Factors like the quality of the products used, proper application techniques, and aftercare can influence the overall outcome. Experimenting with different combinations and finishes can lead to innovative nail designs, but ensuring the durability and longevity of the manicure should also be a priority.
Removing Regular Polish From Gel
To effectively remove regular polish from gel nails, it is important to follow proper techniques that ensure the preservation of the gel manicure underneath. When dealing with the delicate nature of gel nails, it's crucial to approach the removal process with care and precision. Here are three innovative methods to safely remove regular polish from gel nails:
- Acetone-soaked cotton balls: Soak cotton balls in acetone, then place them on each nail and wrap with foil. This allows the acetone to break down the regular polish without damaging the gel underneath.
- Gentle scraping tools: Use a soft, gentle scraping tool to lift off the regular polish. Avoid using sharp or metal tools that can scratch or damage the gel surface.
- Non-acetone polish remover: Opt for non-acetone polish removers when possible, as they are less harsh on gel nails while still effectively removing regular polish. This gentler option helps maintain the integrity of the gel manicure.
Final Thoughts on Mixing Gel and Regular Polish
When considering the compatibility of gel and regular polish, it is important to acknowledge the potential impact on the overall longevity and appearance of a manicure. While mixing gel and regular polish can offer versatility in creating unique nail designs, it is crucial to understand the implications.
Combining gel and regular polish may affect the durability of the manicure. The different formulas could lead to chipping or peeling, reducing the overall lifespan of the nail finish. Additionally, the chemical composition of gel polish may not interact well with traditional polish, potentially causing bubbling or uneven drying.
Innovation in nail art is always exciting, but it is essential to approach mixing gel and regular polish with caution. To maintain a professional and long-lasting result, consider using gel and regular polish as intended, or consult with a nail technician for expert advice on compatible products and techniques. Ultimately, understanding the nuances of each type of polish will help achieve stunning and enduring manicures.
Frequently Asked Questions
Can You Use Regular Nail Polish as a Base Coat for Gel Polish?
Utilizing regular nail polish as a base coat for gel polish can compromise the longevity and adherence of the gel. Gel polish requires a specific base coat to ensure proper adhesion and durability. Opt for a quality gel base coat for optimal results.
Is It Possible to Apply Gel Polish on Top of Regular Polish?
Combining traditional nail polish with gel polish introduces a creative blend of formulas, offering unique possibilities for nail art. However, it's crucial to follow proper application techniques to ensure a flawless and long-lasting result.
How Long Should You Wait Before Applying Regular Polish on Top of Cured Gel?
To ensure optimal adhesion and prevent potential damage, it is advisable to wait at least 24 hours before applying regular polish on top of cured gel. This timeframe allows the gel to fully set and bond securely.
Will Using Regular Polish on Top of Gel Affect the Longevity of the Manicure?
Applying regular polish over gel may compromise the longevity of the manicure. The different formulas can react, leading to chipping or peeling. To maintain a durable and lasting manicure, it's advisable to use gel polish throughout.
Can You Use a Gel Top Coat Over Regular Polish to Seal in the Color?
To enhance durability and shine, using a gel top coat over regular polish can be an innovative option. This method can provide a protective layer, sealing in the color and adding a glossy finish, elevating the overall look of the manicure.