Has anyone ever made their own jewelry armoire or drawers?
In the world of jewelry enthusiasts, the quest for stylish and practical storage solutions for precious gems and decorative items often begs the question: has anyone ever tried to create their own jewelry cabinet or drawer? The resounding answer is “Yes!” Carefully crafting your jewelry storage cabinet not only ensures practicality, but also allows you to make the most of your creativity. In this comprehensive guide, we’ll walk you through the fascinating journey of designing and building your own DIY jewelry cabinet or drawer. From careful planning and material gathering to the final decorative touch, this article will serve as a trusted companion as you build your jewelry storage masterpiece.
Why make your own jewelry cabinet or drawer?
Jewelry is more than just an accessory. It is often filled with sentimental value. A custom jewelry cabinet or drawer set offers more than just functionality; it provides an opportunity to breathe life into your vision. By carefully designing your jewelry locker, you can incorporate your unique personality into the design, ensuring that your locker is as extraordinary as your collection.
Materials and Tools
Essentials
To embark on this creative journey, you’ll need the essential materials and tools at your fingertips. These essentials include:
- Wood (for the frame): the foundation of the project.
- Screws, nails or glue (for assembly): the building blocks that hold your piece together.
- Door hinges: essential for closets with doors.
- Drawer slides: for smooth, seamless drawer function.
- Handles or knobs: to add style and convenience.
- Paint or stain: for aesthetic appeal.
- Sandpaper and sander: to perfect surface texture.
Tape Measure, Saw and Drill: Precision tools for accurate construction.
Safety equipment (goggles, gloves, dust masks): to ensure your safety during the process.
Optional decorative materials
If you are keen to add an extra layer of sophistication to your creation, consider adding decorative elements such as:
- Mirror panels: for a luxurious and reflective interior.
- Felt lining: for a gentle and protective touch.
- Decorative lines: add a decorative element to your design.
- Beadboard or wallpaper: inject personality and flair.
- Artificial crystal knobs: for elegance and splendor.
Plan your design
Draw your closet
The journey begins with sketching the design of your jewelry armoire. Visualization is key; it provides a clear window into how you want your creation to appear and, more importantly, how it should function. The sketch is a valuable blueprint that allows you to make adjustments and refinements before cutting the wood.
Choose the right size
Determine the size of your jewelry cabinet or drawer. Consider the available space, the size of your jewelry collection, and the style you want to achieve. Optimal proportions not only enhance visual appeal, but also help improve the practicality of the piece.
Gathering materials
Where to find wood and hardware
Obtaining the necessary wood and hardware is a critical step in this journey. These can be easily sourced from local hardware stores or online retailers. For a sustainable touch, consider repurposing old furniture to breathe new life into characterful old pieces.
Sustainability considerations
If environmental consciousness guides your choices, explore sustainable wood sources and eco-friendly finishes. By choosing materials that adhere to green principles, your DIY jewelry armoire will be an eco-conscious and environmentally responsible project.
Building the Frame
Assembling the Sides and Back
The foundation of your closet is formed by carefully assembling the sides and backs. Attention to precise measurements and safe assembly ensures that your piece will stand the test of time and stand the test of time.
Adding Shelves and Dividers
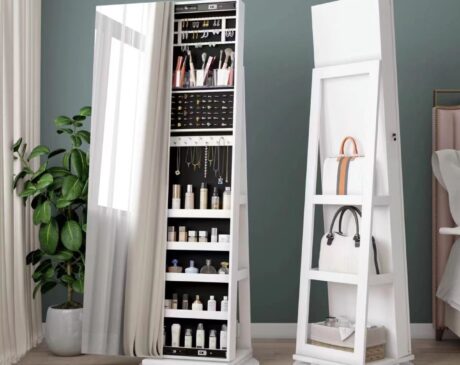
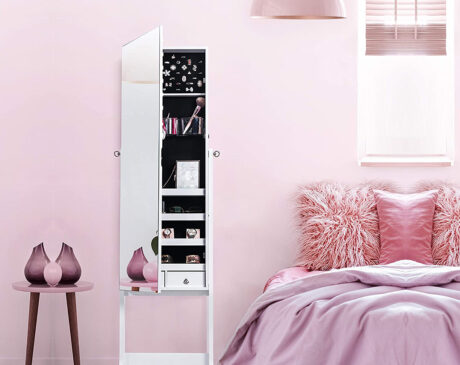
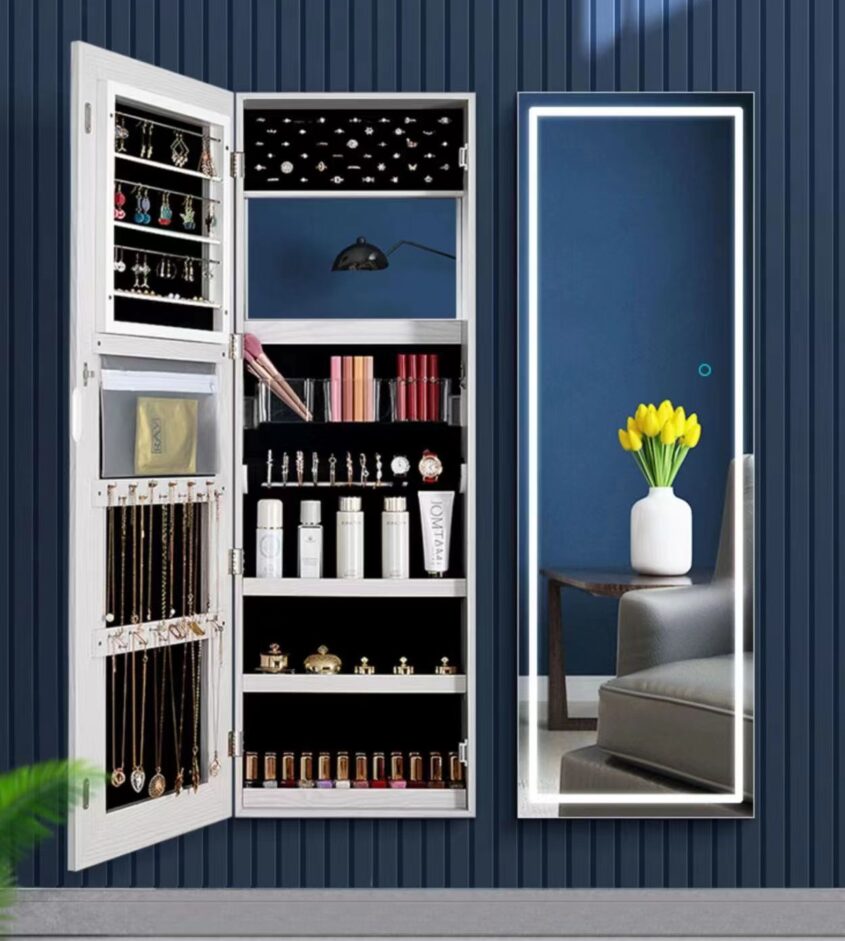
Organize your jewelry by integrating shelves and dividers into the frame. These compartments will help you easily sort and locate your treasured pieces, prevent tangles and keep your collection organized.
Add doors and drawers
Architectural Doors
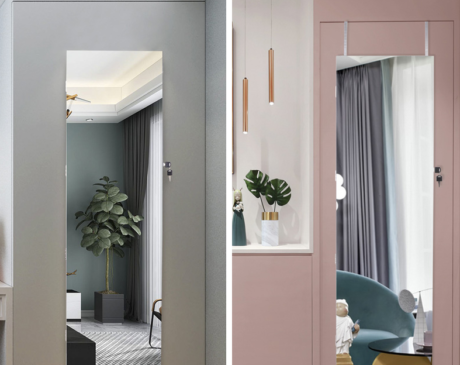
Creating functional and stylish doors is a key step in your DIY journey. The choice of wood and design is in your hands. Consider adding mirrors, decorative patterns or personalized carvings for a truly unique touch.
Building a jewelry drawer
To keep your jewelry organized, it’s crucial to design and build specialized drawers. Utilize dividers and lined compartments to ensure that each piece has its own special place and protect them from potential damage.
Finishing and Decorating
Sanding and smoothing
To achieve a professional finish, each surface must be thoroughly sanded. Make sure all rough edges and corners are smooth for a polished and refined look.
Painting or staining
Choose a paint color or stain that complements your room’s décor. Applying multiple coats ensures an even, glossy finish that will be the envy of your friends.
Personalize your closet
Unleash your inner artist by adding a personal touch. Accessorize your closet with custom knobs, handles or decorative elements that reflect your unique style and personality.
Organize your jewelry
Use inserts and trays
Purchase jewelry inserts and trays to keep necklaces, rings and earrings separate and easily accessible. This organizational system not only optimizes space, but also prevents tangling and damage.
Arranging necklaces, rings and earrings
When arranging jewelry, attention to detail is crucial. Every piece deserves a dedicated spot. By carefully organizing your jewelry, you can ensure their longevity and maintain their impeccable condition.
Maintenance and care
Keep your closet in good condition
Dust your closet regularly to keep it in tip-top shape. Frequent inspections can reveal loose hinges or handles, ensuring that your treasured jewelry storage remains in good condition.
Make repairs
If wear and tear or damage occurs, it’s important to make repairs promptly. This proactive approach will extend the life of your closet and protect your precious jewelry.
Benefits of DIY Jewelry Armoires
The act of designing and creating a jewelry armoire offers many advantages:
- Customization: your creation will be precisely tailored to your needs and preferences.
- Cost Effectiveness: DIY jewelry storage often proves to be a more economical option compared to store-bought alternatives.
- Fulfillment: The satisfaction of completing a DIY project is unparalleled. It enhances your skills and builds your creative confidence.
Challenges and Tips
Common mistakes to avoid
To make sure your project goes smoothly, be wary of the following common pitfalls:
- Rushing the planning stage: Rushing the design can lead to functional or aesthetic problems.
- Inadequate sanding: Poor surface smoothness can damage the overall finish.
Inaccurate measurement or assembly: ill-fitting parts can jeopardize the integrity of your creation.
Helpful Tips for Success
Master the following basic tips to ensure the success of your DIY jewelry cabinet journey:
- Thoughtful planning and assembly: Take your time and remain patient.
- Accuracy is key: Make sure all measurements are accurate and all components fit together seamlessly.
- Safety First: Avoid accidents and injuries by properly using safety devices when handling tools.
Safety Considerations
Proper tool handling
Use caution and follow safety protocols when using tools. Always follow the manufacturer’s guidelines and wear appropriate protective equipment to safeguard your health during the fabrication process.
Ventilation and Dust Control
Keep your workplace well ventilated and take precautions against dust. Adequate ventilation ensures the flow of fresh air while minimizing the inhalation of potentially harmful particles. Proper dust control safeguards your respiratory health and maintains a cleaner environment.
Inspiration and creativity
Unique Closet Designs
Explore a world of unique design ideas, each a canvas for your personal style and imagination. Whether you lean toward vintage elegance, minimalist simplicity or rustic charm, the design possibilities for your jewelry armoire are endless.
Themed Closets
For an added layer of personalization, consider creating a themed jewelry armoire. Your interests and passions can be your muse. Beach-themed closets, vintage-inspired pieces, and even Art Deco wonders are all within the realm of possibilities, and each piece can be infused with your unique identity.
Testimonials from DIY enthusiasts
True Stories and Photos
Before embarking on a DIY journey, it’s inspiring to learn from others who have traveled a similar path. Listen to real stories from DIY enthusiasts and see photographic evidence of their success in creating their own jewelry cabinets. These testimonials prove that DIY projects can bring unlimited creativity and fulfillment.
Making your own jewelry closet or drawer is a tempting and rewarding endeavor in the jewelry storage world. It is an expression of your creativity and an extension of your unique style. From conceptualization and careful planning to fabrication and final touches, the entire process brings a tangible sense of accomplishment and a superior functional work of art.
As you embark on this journey, keep in mind that crafting your jewelry locker can be infinitely customizable, cost-effective, and profoundly fulfilling. However, it is not without its challenges and learning curve. Careful avoidance of common mistakes, adherence to important tips, and a strong focus on safety will ensure that your DIY jewelry cabinet or drawer project is a huge success.
FAQ (Frequently Asked Questions)
1. Can I make a jewelry cabinet without any woodworking experience?
Absolutely! Many DIYers begin their DIY journey without any woodworking experience. There are countless resources online and in books that can guide you step-by-step through the process. 2.
2. How long does it usually take to complete a DIY jewelry cabinet project?
Timelines can vary, depending on the complexity of your design, level of experience, and time available. However, standard projects can take anywhere from a few days to a few weeks to complete.
3. Is it more cost-effective to build a jewelry armoire than to buy one?
In many cases, it may be more cost-effective to build your own jewelry armoire, especially if you repurpose or recycle materials. It also allows you to customize the design to fit your budget.
4. What type of wood is best for DIY jewelry cabinets?
The choice of wood depends on your design and budget. Common choices include oak, pine and walnut. Exotic woods can be used to create a high-end look, but they can be more expensive.
5. What safety precautions do I need to keep in mind when DIYing my closet?
Safety is critical. Always follow safety guidelines, wear proper protective gear, and work in a well-ventilated area. Keep tools and materials out of reach of children and pets.
Embark on your DIY journey with confidence and use your creativity in making a jewelry storage solution that is not only functional but also reflects your personal style and originality.