How Do I Make Sure My Gel Is Fully Cured?
To ensure your gel is fully cured, choose the right lamp with optimal wattage settings. Follow manufacturer's recommendations for curing times and apply thin, even layers. Avoid over-curing to prevent issues like brittleness. Confirm complete cure by checking for a glossy finish and performing a touch test. Verify gel cure status under UV light for transparency. Maintain your gel nail enhancements with regular touch-ups and innovative nail care products. Stay attentive to your nail care routine to enjoy long-lasting gel enhancements. Discover more tips for flawless manicures by exploring the importance of proper curing, lamp selection, curing times, and maintenance.
Key Takeaways
- Verify glossiness and absence of tacky residue for complete cure.
- Perform a touch test to ensure the gel is hard and fully set.
- Utilize a UV light to check for color change indicating full cure.
- Follow recommended curing times to prevent issues like brittleness.
- Maintain consistency in layer thickness for thorough curing.
Importance of Proper Curing
Ensuring proper curing of gel products is essential for achieving optimal performance and longevity. Proper curing involves the chemical reaction that transforms the gel from a pliable state to a durable, long-lasting finish. Incomplete curing can result in sticky or soft gel layers, leading to premature chipping, peeling, or dulling of the manicure. To maintain the integrity of the gel and enhance its wear resistance, thorough curing is imperative.
Proper curing not only affects the durability of the gel but also its overall appearance. A well-cured gel will exhibit vibrant colors, high shine, and a smooth finish. In contrast, improperly cured gel may appear cloudy, dull, or uneven, compromising the aesthetic appeal of the manicure. By ensuring thorough curing, nail technicians can deliver flawless results that meet the high standards of their clients.
Innovations in gel technology have introduced faster curing times and enhanced formulations, allowing for efficient and effective curing processes. By staying informed about the latest advancements in gel products and curing techniques, nail technicians can optimize their services and provide clients with long-lasting, beautiful manicures.
Choosing the Right Lamp
When it comes to proper gel curing, selecting the right lamp is crucial. Factors such as lamp wattage and timer settings play a significant role in achieving the desired results. Understanding how these elements impact the curing process is essential for successful gel applications.
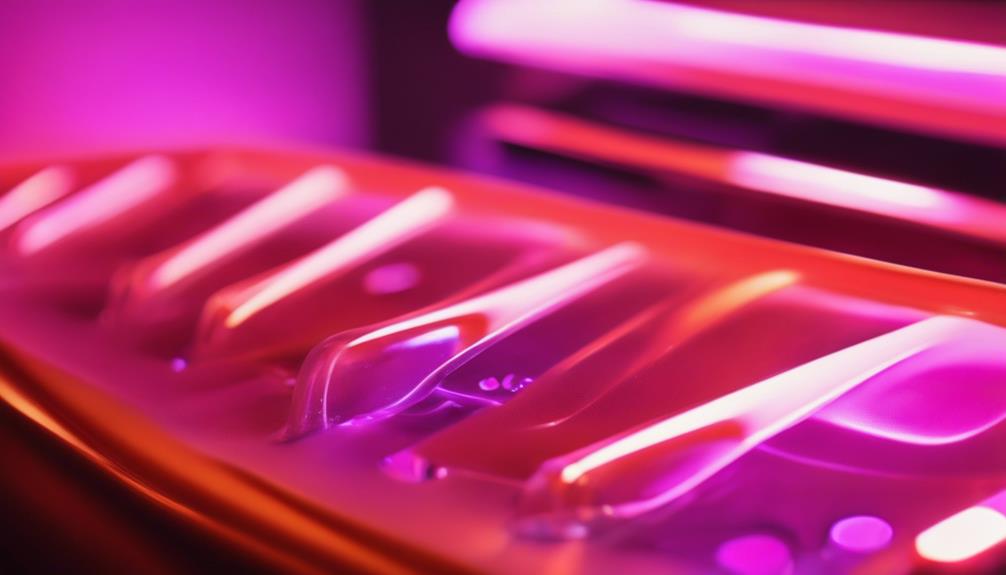
Lamp Wattage
Selecting the appropriate lamp wattage is crucial in ensuring optimal gel curing results for your nail enhancements. The wattage of the lamp directly impacts the curing process by affecting the intensity of the light emitted. Higher wattage lamps can cure gel polish faster and more efficiently, reducing the risk of improper curing and ensuring long-lasting results. When choosing a lamp, consider the gel product specifications as different formulations may require specific wattages for proper curing. Investing in a lamp with adjustable wattage settings can offer versatility, allowing you to customize the curing process based on the gel type being used. By selecting the right lamp wattage, you can enhance the quality and durability of your gel manicures while streamlining the curing process.
Timer Settings
To optimize gel curing for nail enhancements, the timer settings on the chosen lamp play a significant role in ensuring efficient and effective results. Selecting the appropriate timer setting is crucial for achieving the desired curing level without over-drying the gel or risking under-curing. Ideally, follow the gel manufacturer's recommendations for curing times and adjust the timer settings accordingly. Some lamps offer preset timer options for convenience, while others allow customization based on specific needs. Experimenting with different timer settings can help determine the optimal curing time for various gel products, ensuring a perfect finish every time. Remember, precision in timer settings is key to achieving long-lasting and professionally cured gel nails.
Understanding Curing Times
Understanding curing times is essential for achieving optimal results when curing gel products. By comprehending the ideal curing conditions and monitoring the gel's hardness during the curing process, technicians can ensure that the gel cures correctly and lasts longer. Properly managing curing times can lead to durable and professionally finished gel applications.
Optimal Curing Conditions
For efficient gel curing, comprehension of the appropriate curing times is essential. Curing times vary based on the type of gel used and the curing method. UV/LED lamps are commonly used for curing gels, with typical curing times ranging from 30 seconds to 2 minutes per layer. However, it's crucial to follow the gel manufacturer's guidelines for optimal results. Factors such as the thickness of each gel layer, the brand of gel polish, and the wattage of the lamp can all influence curing times. Experimentation may be necessary to find the ideal curing conditions for specific gel products. Understanding and adhering to the recommended curing times will ensure properly cured gels with long-lasting results.
Monitoring Gel Hardness
Efficient monitoring of gel hardness relies on a thorough grasp of curing times and their impact on the final outcome. Understanding how different curing times affect the hardness of the gel is essential for achieving the desired results. By monitoring the gel during the curing process, one can ensure that it reaches the optimal hardness for its intended use.
| Curing Time (minutes) | Gel Hardness Level |
|---|---|
| 5 | Soft |
| 10 | Medium-soft |
| 15 | Medium |
| 20 | Firm |
| 25 | Extra Firm |
Monitoring the gel hardness throughout the curing process allows for adjustments to be made in real-time, ensuring that the gel is fully cured to the desired level of hardness.
Applying Thin Layers
To achieve optimal results when curing gel, it is essential to apply thin layers of the product evenly across the nail surface. Thin layers ensure thorough curing, preventing under-curing or over-bulking, which can lead to improper hardening and potential damage to the natural nail. When applying gel, consider the following:
- Consistency: Maintain a consistent thickness throughout the application process to promote even curing and a smooth final result.
- Precision: Use precise movements to spread the gel thinly and uniformly, avoiding excessive buildup on any part of the nail.
- Coverage: Ensure complete coverage of the nail with each layer, extending the gel slightly over the edges for better adhesion and longevity.
- Cure Time: Follow the recommended curing times for each thin layer to guarantee proper hardening without risking under-curing or over-curing.
Avoiding Over-Curing
To prevent over-curing of gel products, it is crucial to adhere strictly to the recommended curing times provided by the manufacturer. Over-curing can lead to issues such as brittleness, yellowing, or lifting of the gel. Following the specified curing times ensures that the gel cures optimally, providing a durable and long-lasting finish.
Additionally, using a high-quality LED or UV lamp is essential in preventing over-curing. Lamps with the correct wattage and light intensity will cure the gel efficiently without causing it to over-cure. It is recommended to invest in a lamp from a reputable brand to achieve consistent results.
Moreover, avoiding direct sunlight during the curing process is vital as natural sunlight can cause over-curing due to its intensity. Always cure gel products in a controlled environment to prevent any unwanted reactions.
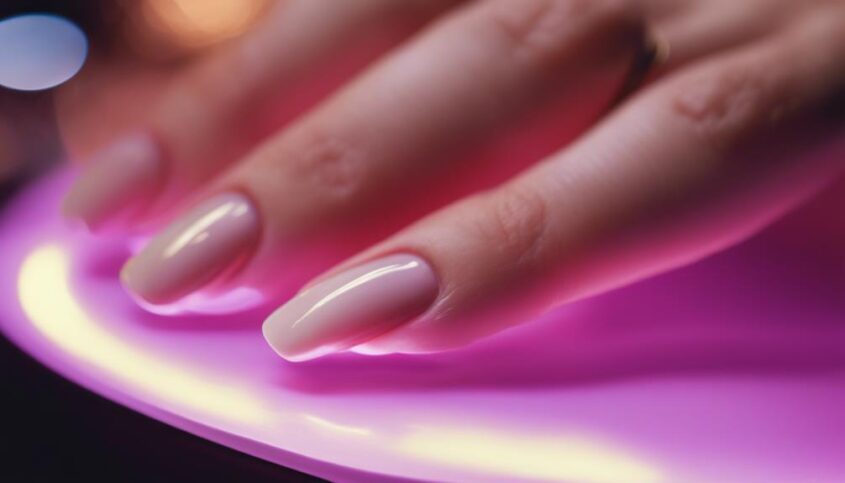
Checking for Complete Cure
When ensuring proper gel curing, it is imperative to verify the complete cure of the product to guarantee its durability and longevity. Checking for complete cure ensures that the gel has been properly cured, which is essential for the longevity of the nail enhancement. Here are some innovative ways to check for complete cure:
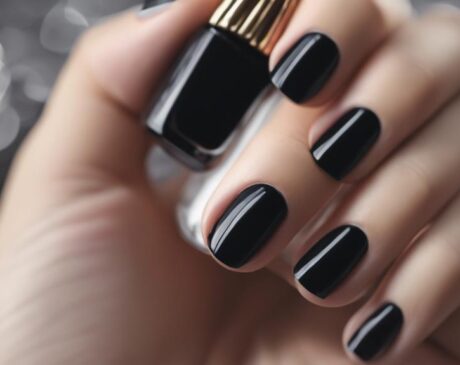
- Visual Inspection: Examine the gel for any uncured or sticky layers. A fully cured gel should have a glossy finish and no tacky residue.
- Time and Technique: Follow the recommended curing time and technique specified by the gel manufacturer. Proper curing parameters are crucial for complete polymerization.
- Touch Test: Gently press on the cured gel to ensure it is hard and fully set. A properly cured gel should not leave any marks or indentations.
- UV Light Check: Utilize a UV light to verify if the gel has cured completely. Some gels change color or become more transparent when fully cured under UV light.
Maintaining Longevity
Ensuring the longevity of gel nail enhancements involves consistent maintenance routines and proper care practices. To maintain the vibrancy and durability of your gel nails, it is essential to follow a few key steps. Firstly, regularly moisturize your cuticles and hands to prevent the gel from lifting due to dryness. Additionally, avoid exposing your nails to harsh chemicals and always wear gloves when performing tasks that may damage the gel coating.
Furthermore, scheduling regular touch-up appointments with a professional nail technician is crucial for addressing any lifting or chipping that may occur over time. These touch-ups not only enhance the aesthetic appeal of your nails but also help in maintaining the structural integrity of the gel enhancements.
Moreover, incorporating innovative products like nail strengtheners and cuticle oils into your nail care routine can significantly extend the lifespan of your gel manicure. By staying proactive and attentive to your nails' needs, you can enjoy long-lasting gel enhancements that remain flawless and beautiful for weeks on end.
Frequently Asked Questions
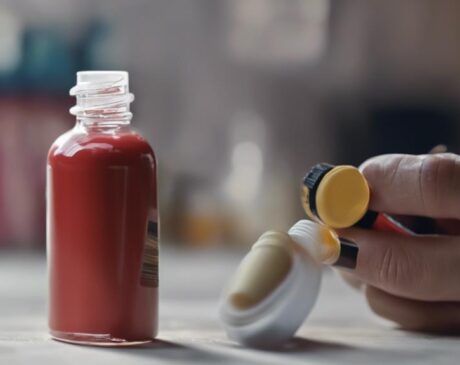
Can Using a Different Brand of Gel Affect the Curing Process?
Using a different brand of gel may affect the curing process due to variations in formulation, UV reactivity, and composition. It is advisable to stick to one brand for consistent results and optimal curing.
Is It Necessary to Use a Base Coat Before Applying Gel Polish?
Using a base coat before applying gel polish is essential to ensure proper adhesion, longevity, and protection for your nails. It acts as a foundation, smoothing the nail surface and preventing staining, promoting a flawless manicure.
How Often Should I Replace the Bulbs in My Curing Lamp?
Ensuring optimal performance of a curing lamp entails periodic bulb replacements. Routine maintenance is crucial for consistent curing results. To sustain efficiency and quality, consider replacing bulbs every 6-12 months, or as recommended by the manufacturer.
Can I Cure Multiple Layers of Gel Polish at Once or Should I Cure Each Layer Individually?
To ensure optimal results when applying gel polish, it is recommended to cure each layer individually. This allows for thorough curing of each coat, ensuring proper adhesion and longevity of the manicure.
Is There a Way to Speed up the Curing Process Without Compromising the Quality of the Manicure?
In the realm of nail care, optimizing curing speed without sacrificing quality is a perpetual pursuit. Embracing cutting-edge LED technology and adhering to recommended curing times are pivotal steps in advancing efficiency while upholding manicure excellence.