How Do Nail Salons Remove Acrylic Nails?
Nail salons remove acrylic nails using techniques like soaking in acetone solution, precise buffing and filing, and the gentle dental floss method. Professional removal ensures minimal damage to natural nails with innovative tools and gentle processes. Post-removal, nail care is essential for hydration, strength, and protection. Following pre-removal nail care tips aids in the health of natural nails. Maintaining clean, hydrated nails with regular trims and moisturizing ensures strength and beauty. Learn more about how to maintain healthy and beautiful natural nails.
Key Takeaways
- Acetone soaking breaks down acrylic adhesive gently.
- Precision buffing and filing tools thin out acrylic nails.
- Dental floss method safely loosens acrylic nails.
- Professional technicians use innovative, gentle removal techniques.
- Post-removal care includes hydration, nourishment, and protection.
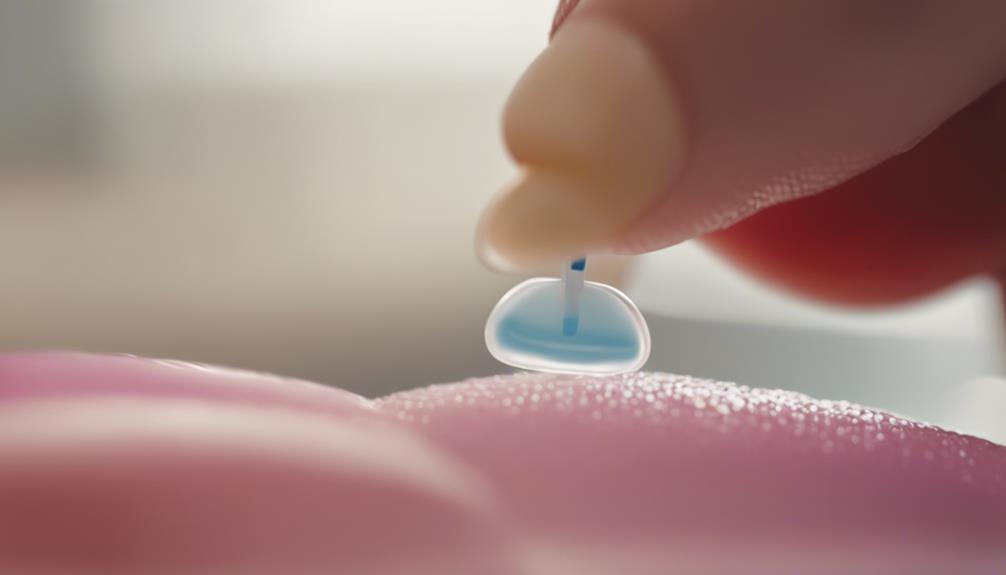
Soaking in Acetone Solution
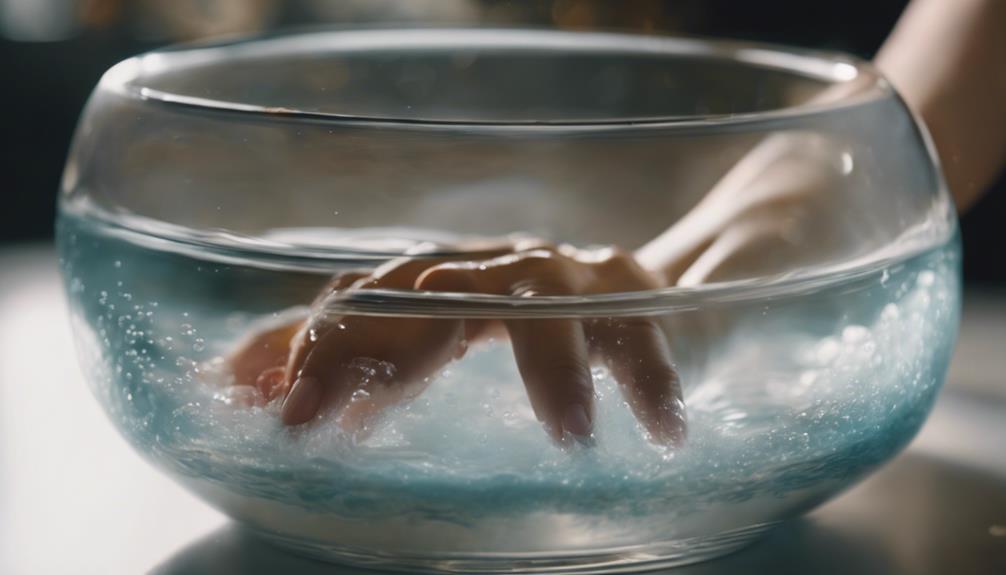
To remove acrylic nails at nail salons, a common method involves soaking the nails in an acetone solution. Acetone is a powerful solvent that effectively breaks down the adhesive properties of the acrylic, allowing for easier and gentle removal. This process is preferred by many nail technicians due to its efficiency and effectiveness in loosening the acrylic without causing damage to the natural nail underneath.
Innovation in this process has led to the development of acetone-based nail polish removers that are specifically formulated to target acrylic nails. These removers often contain additional ingredients such as moisturizers or oils to help nourish the nails and cuticles during the removal process, providing a more holistic approach to nail care.
Salons may also incorporate warm towel wraps or specialized finger caps to enhance the soaking process, promoting better absorption of the acetone and ultimately speeding up the removal procedure. Overall, soaking in an acetone solution remains a staple technique in the arsenal of nail technicians for efficiently and safely removing acrylic nails.
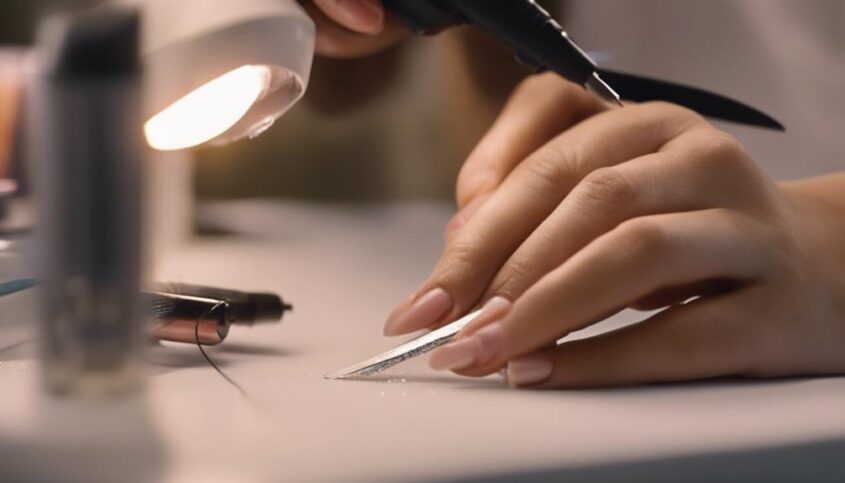
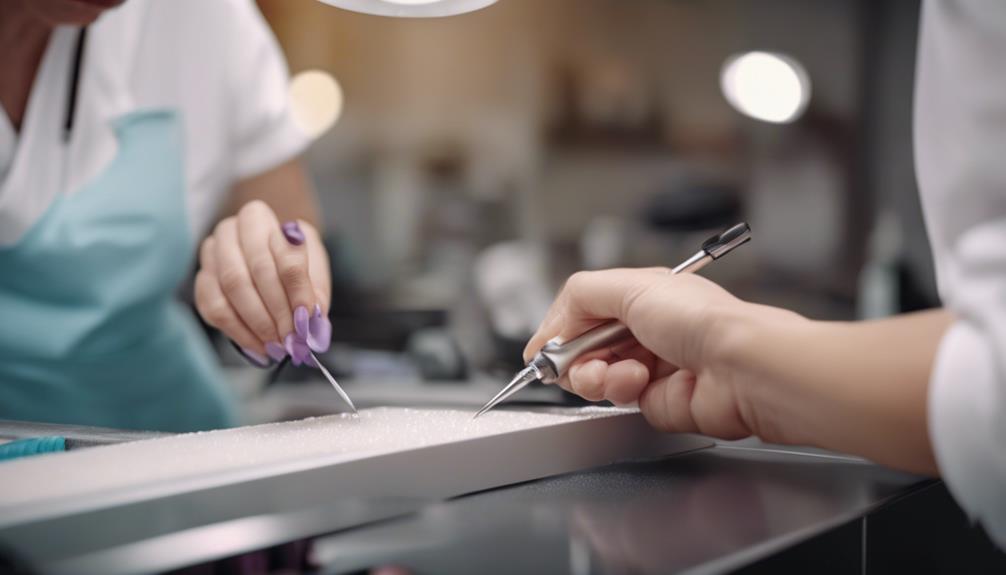
Buffing and Filing Technique
The buffing and filing technique is a meticulous process employed by nail technicians in the removal of acrylic nails. This method involves carefully buffing the top layer of the acrylic nail to break the seal and then filing down the acrylic until it is thin enough to be gently lifted off the natural nail.
Here are four innovative aspects of the buffing and filing technique:
- Precision Buffing: Nail technicians use specialized buffing tools to precisely thin out the top layer of the acrylic nail without damaging the natural nail underneath.
- Advanced Filtration Systems: Some salons utilize advanced filtration systems to capture and remove acrylic dust generated during the filing process, ensuring a cleaner and healthier environment for both technicians and clients.
- Electric Filing Tools: Electric filing tools with adjustable speed settings allow for more controlled and efficient removal of acrylic nails, reducing the time required for the process.
- Customized Nail Shapes: Technicians can skillfully shape the natural nails underneath the acrylic while filing, offering clients the option to customize their nail shape during the removal process.
Using Dental Floss Method
When opting for the dental floss method to remove acrylic nails, understanding the step-by-step process is crucial. Safety precautions, such as being gentle to avoid damage to the natural nail, should always be considered. Additionally, proper post-removal nail care is essential to maintain the health and strength of the nails.
Step-By-Step Dental Floss
Employing a gentle yet effective technique, nail technicians utilize dental floss to carefully remove acrylic nails without causing damage to the natural nail bed. This method involves sliding a piece of dental floss between the acrylic nail and the natural nail plate to gently loosen the bond. Here is a step-by-step guide to how nail technicians use dental floss for acrylic nail removal:
- Prepare the nails: Trim the acrylic nails as short as possible.
- Cut a piece of dental floss: Cut a piece of dental floss approximately 12 inches long.
- Slide the floss: Gently slide the floss between the natural nail and the acrylic nail.
- Repeat if necessary: Repeat the process until the acrylic nail loosens and can be lifted off.
Safety Precautions During Removal
During the removal process of acrylic nails using the dental floss method, it is essential to prioritize safety precautions to protect the natural nail bed and surrounding skin. Safety measures such as wearing protective gloves to shield the hands from harsh chemicals and ensuring proper ventilation in the workspace to prevent inhalation of fumes are crucial. Additionally, using gentle and controlled movements when sliding the dental floss under the acrylic nail helps prevent damage to the natural nail. Below is a table highlighting key safety precautions during acrylic nail removal using the dental floss method:
| Safety Precautions | Description | Importance |
|---|---|---|
| Wear gloves | Protects hands from chemicals present in acetone and acrylic materials | High |
| Ensure ventilation | Prevents inhalation of fumes that can be harmful to respiratory health | Medium |
| Use gentle movements | Minimizes the risk of damaging the natural nail bed while removing acrylic nails | High |
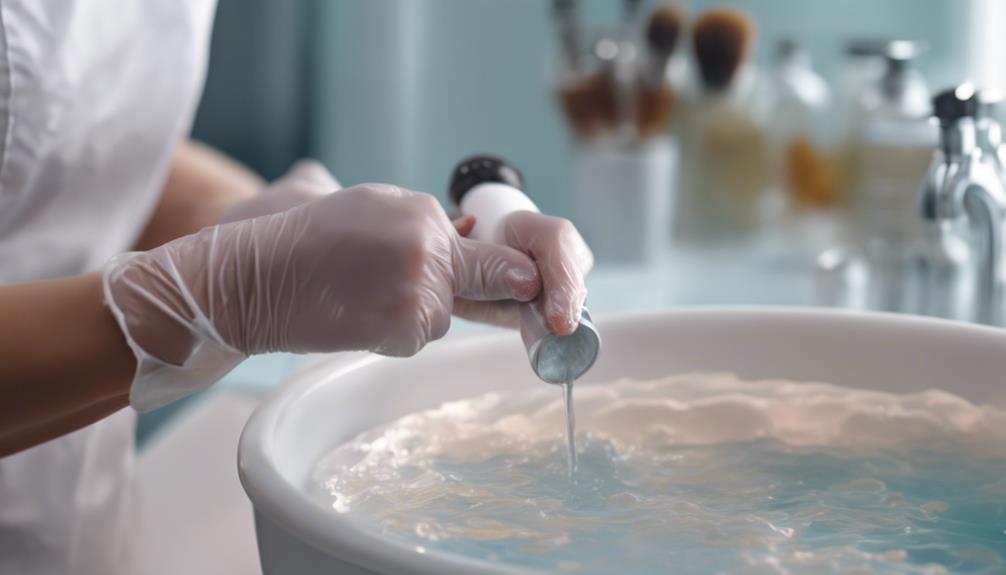
Post-Removal Nail Care
What are the essential steps for proper post-removal nail care following the use of the dental floss method for acrylic nail removal? After successfully removing acrylic nails using the dental floss method, it is crucial to provide your nails with the care they need to recover and maintain their health. Here are four innovative post-removal nail care steps to follow:
- Hydrate: Moisturize your nails and cuticles regularly to prevent dryness and brittleness.
- Strengthen: Apply a nail strengthener to help restore nail health and promote growth.
- Protect: Use a clear nail polish or a nail hardener to protect your nails from damage.
- Nourish: Consider using a nail oil or cream to nourish and rejuvenate your nails post-acrylic removal.
Professional Acrylic Nail Removal
When seeking professional acrylic nail removal services, it is essential to choose experienced technicians who prioritize the health and integrity of your natural nails. Innovative techniques in the industry have revolutionized the acrylic nail removal process, ensuring minimal damage to the nail bed. Expert technicians use acetone-based solutions or electric files to gently dissolve or file away the acrylic layers without causing harm to the natural nails underneath.
Professional acrylic nail removal begins with the technician assessing the current condition of your nails and choosing the most suitable removal method. The technician will then proceed to carefully remove the acrylic layers, taking care to avoid excessive scraping or force that could weaken or damage the natural nails.
Caring for Natural Nails Post-Removal
After professional acrylic nail removal, proper care for natural nails is crucial to maintain their health and strength. Here are four innovative tips to help care for your natural nails post-removal:
- Hydrate: Keeping your nails hydrated is essential for their health. Use a nourishing cuticle oil or cream regularly to prevent dryness and brittleness.
- Maintain a Balanced Diet: A diet rich in vitamins and minerals, particularly biotin, can promote nail strength and growth. Consider incorporating foods like eggs, nuts, and leafy greens into your meals.
- Avoid Harsh Chemicals: Limit exposure to harsh chemicals found in cleaning products or harsh nail polishes that can weaken your nails. Opt for gentle, nail-friendly alternatives.
- Regular Trims and Moisturizing: Trim your nails regularly to maintain a neat appearance and prevent snagging. Follow up with a moisturizing hand cream to keep your nails and cuticles healthy and hydrated. By following these tips, you can ensure that your natural nails remain strong and beautiful after acrylic nail removal.
Precautions and Aftercare Tips
To ensure the health and strength of your natural nails, it is crucial to take proper precautions before and after acrylic nail removal. Pre-removal nail care includes keeping the nails hydrated and avoiding picking or peeling the acrylics. Post-removal, it is important to nourish the nails with cuticle oil and strengthen them with a nail hardener to promote recovery and growth.
Pre-Removal Nail Care
Prior to the removal process of acrylic nails, it is imperative to take necessary precautions and adhere to proper aftercare tips to maintain the health and integrity of your natural nails. To ensure the best care for your nails before acrylic removal, consider the following:
- Moisturize: Hydrate your nails and cuticles with nourishing oils to prevent excessive dryness.
- Avoid Picking: Refrain from picking or peeling off the acrylic nails as it can damage the natural nail bed.
- Trim and Shape: Trim your nails to a comfortable length and shape them gently to avoid breakage.
- Protect: Use gloves while doing chores to protect your nails from harsh chemicals and excessive water exposure.
Post-Removal Nail Health
To maintain the health and strength of your nails after acrylic nail removal, it is important to implement proper precautions and follow specific aftercare tips diligently. Firstly, ensure your nails are kept clean and dry to prevent any potential infections. Moisturize your nails and cuticles regularly to promote hydration and prevent brittleness. Refrain from picking or biting your nails, as this can weaken them. Consider using nail strengtheners or growth formulas to aid in the recovery process. Trim your nails regularly to prevent breakage and maintain a neat appearance. Lastly, give your nails a break from any further treatments to allow them to regain their natural strength and vitality. By following these aftercare tips, you can help your nails recover effectively post-acrylic removal.
Frequently Asked Questions
What Are Some Common Mistakes to Avoid When Attempting to Remove Acrylic Nails at Home?
Common mistakes when removing acrylic nails at home include using forceful methods that damage the natural nail, cutting the acrylic too close to the nail bed, and rushing the removal process. Patience and proper technique are key.
Can Acrylic Nails Cause Damage to the Natural Nails Underneath During the Removal Process?
Yes, acrylic nails can cause damage to the natural nails underneath during the removal process if not done properly. It is essential to follow best practices and seek professional help to minimize the risk of harm.
How Long Does It Typically Take for Acrylic Nails to Fully Grow Out After Removal?
Typically, it takes around 3-6 months for acrylic nails to fully grow out after removal. Factors like nail health, diet, and genetics may influence this timeline. For instance, a client's diligent nail care routine can expedite the regrowth process.
Are There Any Alternative Methods for Removing Acrylic Nails Aside From Those Mentioned in the Article?
There are alternative methods for removing acrylic nails besides those mentioned. Innovations like soak-off gel polishes, electric files, and nail wraps offer newer techniques. Consult a professional salon for the latest advancements in acrylic nail removal.
What Steps Can Be Taken to Ensure the Health and Strength of Natural Nails After Acrylic Nails Have Been Removed?
To maintain the health and strength of natural nails post-acrylic removal, it's vital to nourish them with cuticle oil, strengtheners, and a break from harsh treatments. Regular moisturizing, gentle filing, and a balanced diet can also promote nail rejuvenation.