How do you hang a wall-mounted jewelry box?
Having a wall-mounted jewelry box can be a practical and stylish way to organize and display your jewelry collection. Not only does it save space on your vanity or dresser, but it also adds a decorative touch to your room. This article will guide you through the process of hanging a wall-mounted jewelry box, from choosing the perfect location to organizing your jewelry.
Understanding the wall-mounted jewelry box
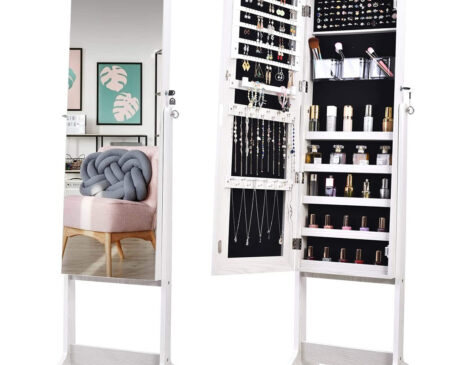
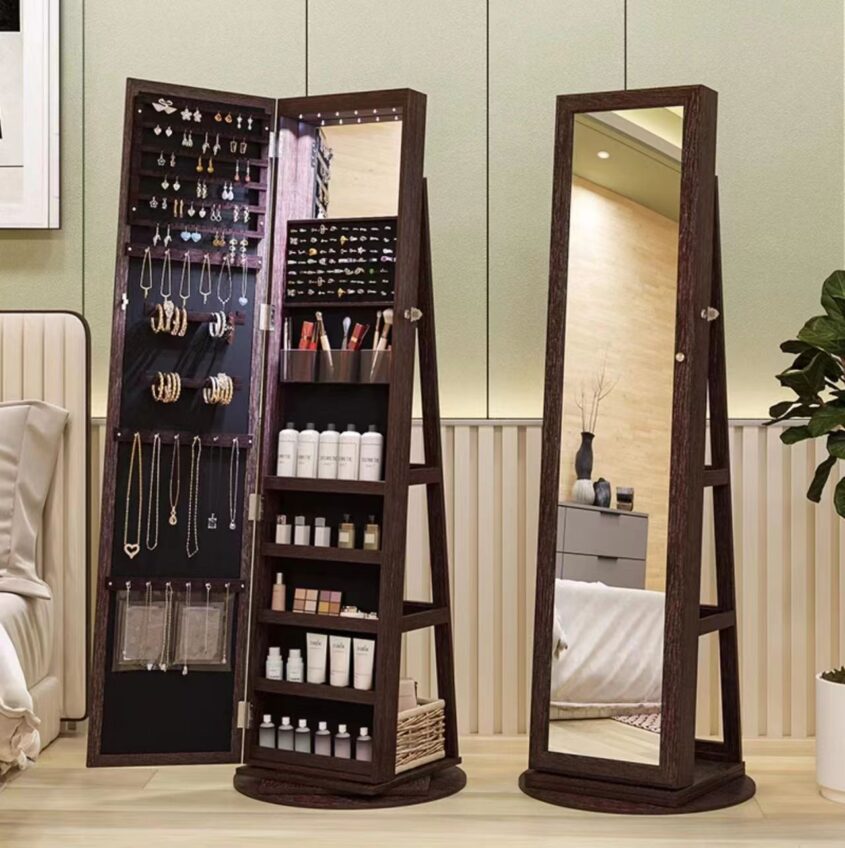
A wall-mounted jewelry box is a specially designed storage unit that can be attached to the wall. It typically features hooks, compartments, and sometimes a mirror, allowing you to keep your jewelry organized and easily accessible. These boxes come in various sizes, styles, and materials, so you can choose one that suits your personal taste and storage needs.
Choosing the perfect location
Before you start hanging your jewelry box, it’s important to select the right location. Consider factors such as convenience, visibility, and accessibility. Choose a spot where you can easily reach your jewelry and where it complements the overall aesthetic of the room. Common locations include the bedroom, dressing area, or walk-in closet.
Gathering the necessary tools and materials
To hang a wall-mounted jewelry box, you’ll need a few basic tools and materials:
- Wall anchors or screws
- Drill and drill bits
- Level
- Measuring tape
- Pencil
- Screwdriver
Make sure you have these items on hand before you begin the installation process.
Preparing the wall
Before mounting the jewelry box, it’s essential to prepare the wall surface. Remove any existing artwork, hooks, or nails from the desired location. Clean the area to ensure proper adhesion and prevent any damage to the box or the wall.
Marking the mounting points
Using a measuring tape and a pencil, mark the desired height and position for your jewelry box on the wall. Take into consideration the size of the box and any additional features it may have, such as a mirror or hooks. Use a level to ensure the markings are straight and aligned.
Drilling the holes
Once you have marked the mounting points, it’s time to drill the holes. Choose an appropriate drill bit size based on the type of wall you have and the mounting hardware provided with your jewelry box. Carefully drill the holes at the marked locations, taking care not to damage the surrounding area.
Attaching the mounting hardware
After drilling the holes, insert wall anchors or screws into the wall. If your jewelry box includes a mounting bracket or plate, align it with the drilled holes and attach it securely using the provided screws. Follow the manufacturer’s instructions for proper installation.
Mounting the jewelry box
Once the jewelry box is aligned with the mounting hardware, it’s important to secure it properly to ensure it stays in place. Use a screwdriver to tighten the screws or fasteners that hold the box to the mounting bracket or plate. Make sure the box is level and straight before fully tightening the screws.
Organizing your jewelry
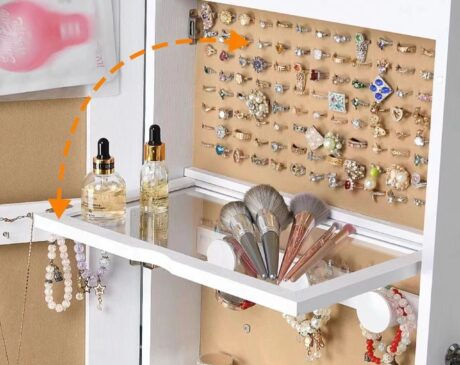
With the jewelry box securely mounted on the wall, it’s time to organize your jewelry. Take advantage of the various compartments, hooks, and holders within the box to arrange your necklaces, bracelets, rings, and earrings. Consider grouping similar items together for easy access and a neat appearance.
Maintenance and care
To keep your wall-mounted jewelry box looking its best, it’s essential to maintain and care for it properly. Regularly dust the box and clean any mirrors or glass surfaces using a non-abrasive cleaner and a soft cloth. Avoid using harsh chemicals that could damage the box or your jewelry. Additionally, check the mounting hardware periodically to ensure it remains secure.
Frequently Asked Questions (FAQs)
Q: How much weight can a wall-mounted jewelry box hold?
A: The weight capacity of a wall-mounted jewelry box can vary depending on its design and the quality of its mounting hardware. It’s essential to check the manufacturer’s specifications for weight limits before hanging heavy or bulky jewelry items.
Q: Can I install a wall-mounted jewelry box on any type of wall?
A: Wall-mounted jewelry boxes can typically be installed on most types of walls, including drywall, plaster, and wood. However, it’s important to consider the weight of the box and use appropriate mounting hardware suitable for your specific wall type.
Q: What if I want to move the jewelry box to a different location?
A: If you decide to move your wall-mounted jewelry box to a different location, carefully remove it from the wall by loosening the screws or fasteners. Patch any holes left behind using spackling or putty, and touch up the paint or wallpaper if necessary.
Q: Can I paint or decorate the jewelry box to match my room?
A: Many wall-mounted jewelry boxes come in a variety of finishes and materials that can complement different room decor styles. However, if you want to personalize your jewelry box further, you can paint it or add decorative elements as long as it doesn’t compromise its functionality.
Q: Are wall-mounted jewelry boxes suitable for small spaces?
A: Yes, wall-mounted jewelry boxes are excellent options for small spaces as they save valuable surface area. They can be mounted on walls or even behind doors, making efficient use of vertical space while keeping your jewelry organized and accessible.
Hanging a wall-mounted jewelry box is a practical and visually pleasing way to store and display your jewelry collection. By following the steps outlined in this article, you can confidently install your jewelry box, ensuring it stays secure while adding a touch of elegance to your space. Remember to organize your jewelry within the box and maintain it regularly for long-lasting enjoyment.