How Do You Make Nail Glue Without Acetone?
Create non-toxic nail glue without acetone by combining gelatin, water, and glycerin. Heat gently, apply to clean nails, press desired items, and allow to dry. Enhances overall nail health and is cost-effective. Prep nails, apply sparingly, press firmly, ensure dryness for optimal results. Store in airtight containers away from sunlight for longevity. Store-bought options offer stronger bonds, while homemade glue is cost-effective but may lack durability. Troubleshoot for better adhesion, prevent quick drying by working on one nail at a time. Thin thick glue by warming in water. Simple steps create effective homemade nail adhesive.
Key Takeaways
- Use Ethyl Cyanoacrylate for strong bonding without acetone.
- Incorporate Hydroxypropyl Methacrylate for durability and flexibility.
- Include Tocopheryl Acetate for nourishing properties in homemade glue.
- Ensure compatibility with various nail applications for lasting adhesion.
- Opt for non-toxic, eco-friendly ingredients for healthier nails.
Benefits of Making Nail Glue Without Acetone
Unquestionably, one of the primary advantages of making nail glue without acetone is the avoidance of potential skin irritation and harsh chemical exposure. Traditional nail glues often contain acetone, a strong solvent that can strip the natural oils from the skin, leading to dryness and irritation. By opting for acetone-free alternatives, individuals can protect their skin and nails from unnecessary damage, promoting overall nail health.
Furthermore, acetone-free nail glue formulations are becoming increasingly popular due to their eco-friendly nature. Consumers are seeking more sustainable and non-toxic options for their beauty products, driving the demand for acetone-free nail adhesives. These innovative formulas are gentle on the environment while still providing strong and long-lasting adhesion for various nail applications.
In addition to being skin-friendly and eco-conscious, acetone-free nail glue offers a safer alternative for individuals with sensitivities or allergies to harsh chemicals. By eliminating acetone from the formula, DIY nail glue makers can create products that cater to a broader range of users, ensuring inclusivity and safety in nail care practices.
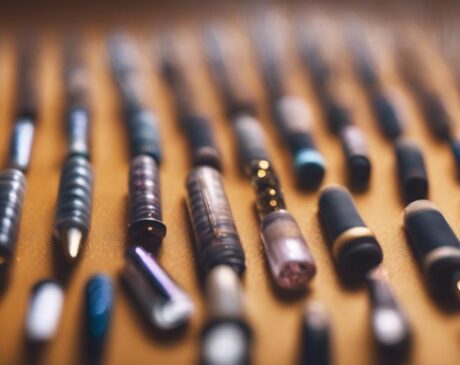
Essential Ingredients for DIY Nail Adhesive
Crafting your own DIY nail adhesive requires a selection of essential ingredients carefully chosen for their adhesive properties and compatibility with nail applications. Here are three key ingredients to consider:
- Ethyl Cyanoacrylate: This ingredient is a powerful adhesive commonly used in nail glues. Ethyl cyanoacrylate forms a strong bond when it comes into contact with moisture, making it an ideal choice for creating long-lasting nail adhesives.
- Hydroxypropyl Methacrylate: Another essential ingredient, hydroxypropyl methacrylate, enhances the flexibility and durability of the nail adhesive. It helps prevent the adhesive from becoming brittle and ensures a more natural feel when applied to the nails.
- Tocopheryl Acetate (Vitamin E Acetate): Tocopheryl acetate is often added to DIY nail adhesive formulations for its nourishing properties. This ingredient helps protect the nails and surrounding skin from damage while keeping them healthy and moisturized. Incorporating tocopheryl acetate can contribute to the overall health and appearance of the nails.
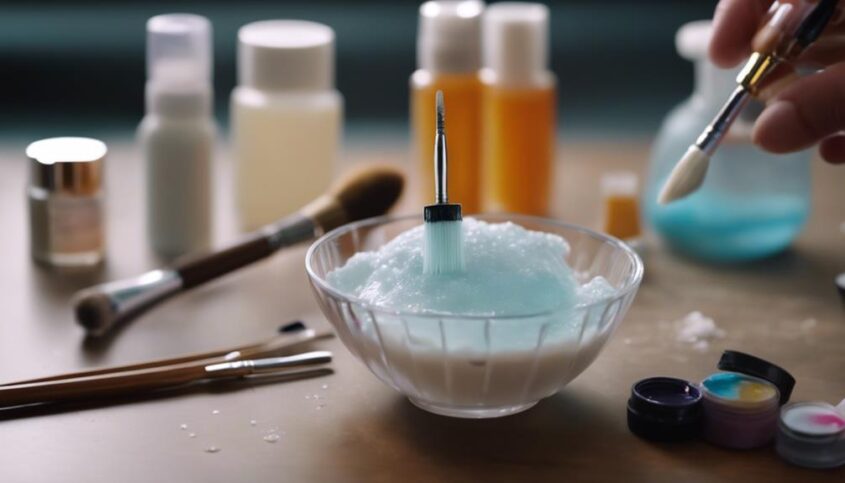
Step-by-Step Guide to Creating Nail Glue

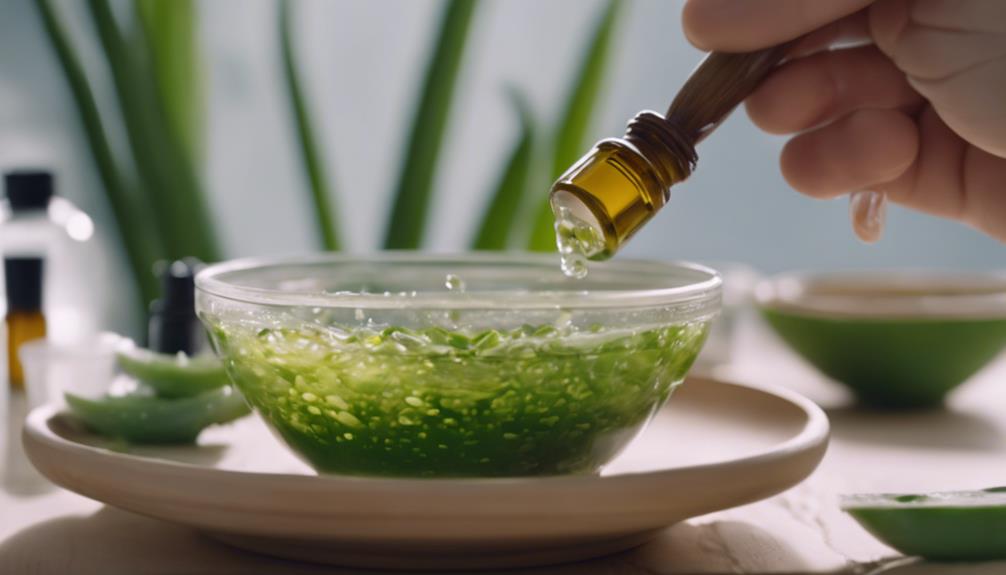
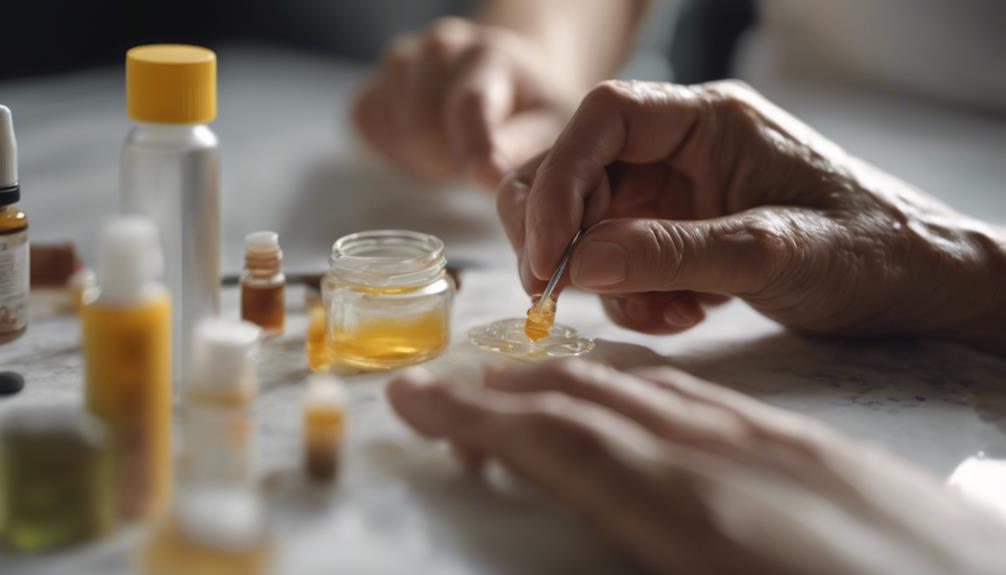
When creating your own nail glue, precise measurements and a methodical approach are essential to ensure a successful and effective adhesive product. To begin, gather the necessary ingredients such as gelatin, water, and glycerin. Start by mixing 2 tablespoons of gelatin with 1 tablespoon of water in a heat-resistant container. Stir the mixture until the gelatin dissolves. Next, add 1 teaspoon of glycerin to the mix and stir thoroughly. Heat the mixture gently using a double boiler until it reaches a liquid consistency. Once the mixture has cooled slightly, it is ready to be applied to your nails. Use a small brush to apply the adhesive to clean and dry nails before pressing the desired items onto the adhesive. Allow the glue to dry completely before using your nails. This homemade nail glue provides a cost-effective and non-toxic alternative to store-bought options, perfect for those looking to experiment with innovative beauty solutions.
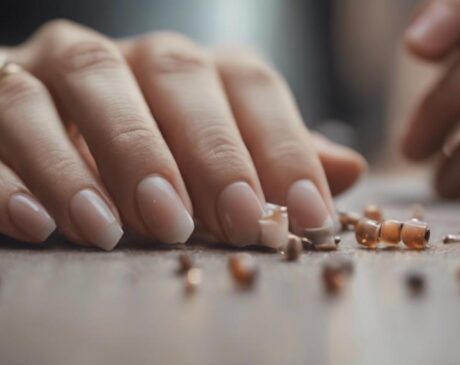
Tips for Applying Homemade Nail Adhesive
To effectively apply homemade nail adhesive, ensure that the surface of your nails is clean and dry before proceeding with the application process. Once you have created your DIY nail glue, follow these tips for optimal application:
- Prep Your Nails: Start by shaping and buffing your nails to ensure a smooth surface for better adhesion.
- Apply Adhesive Sparingly: Use a small amount of homemade nail glue on each nail to avoid excess glue seeping out from the sides.
- Press and Hold: After placing the artificial nail on your natural nail, gently press down and hold for a few seconds to allow the glue to set properly.
Storage and Shelf Life Recommendations
When it comes to homemade nail adhesive, understanding proper storage methods and considering shelf life is crucial for maintaining its effectiveness. By following recommended storage practices and being mindful of expiration dates, you can ensure that your DIY nail glue remains in optimal condition. Let's explore how these aspects play a significant role in preserving the quality of your homemade nail adhesive.
Proper Storage Methods
Proper preservation techniques are crucial for maintaining the effectiveness and longevity of homemade nail glue without acetone. To ensure your DIY nail glue remains in optimal condition, consider the following storage methods:
- Air-Tight Containers: Store the nail glue in air-tight containers to prevent exposure to air, which can cause it to dry out and lose its adhesive properties.
- Cool and Dark Place: Keep the nail glue away from direct sunlight and store it in a cool, dark place to maintain its consistency and adhesive strength.
- Avoid Moisture: Moisture can degrade the quality of the nail glue, so store it in a dry environment to prevent any unwanted reactions that could affect its performance.
Shelf Life Considerations
Preserving the integrity of homemade nail glue without acetone involves strategic storage practices, with particular attention to its shelf life considerations. To ensure the longevity of your DIY nail adhesive, store it in a cool, dry place away from direct sunlight. Optimal temperatures for storage range between 50-77°F (10-25°C). Seal the container tightly after each use to prevent air exposure, which can lead to premature drying or hardening of the glue. It is recommended to label the container with the date of creation to track its shelf life accurately. Generally, homemade nail glue without acetone can last up to 6-12 months if stored correctly. Regularly inspect the glue for any changes in consistency, odor, or color, and discard if any abnormalities are detected.
Comparison: Homemade Vs. Store-Bought Nail Glue
In comparing homemade nail glue to store-bought options, it is essential to consider their respective qualities and performance. When deciding between the two, it's crucial to evaluate factors such as effectiveness, ingredients, and cost-effectiveness:
- Effectiveness: Store-bought nail glue is formulated by professionals who have extensive knowledge of nail care and adhesive properties. This expertise often results in a product that offers superior bonding strength and longer-lasting results compared to homemade alternatives. While homemade nail glue can work for minor repairs, it may not provide the same level of durability as store-bought options.
- Ingredients: Store-bought nail glue typically contains specialized ingredients that are specifically designed for nail adhesion. These formulations undergo rigorous testing to ensure they are safe for use on nails and skin. Homemade nail glue recipes may lack these specialized ingredients, potentially leading to issues like allergic reactions or poor adhesion.
- Cost-Effectiveness: While homemade nail glue may seem cost-effective initially, store-bought options often offer better value in the long run. Commercial nail glues are designed to be efficient and long-lasting, meaning you may need to use less product over time compared to homemade alternatives. Additionally, store-bought nail glue is readily available for purchase, saving you time and effort in sourcing ingredients and making DIY formulations.
Troubleshooting Common Nail Glue Issues
Addressing common nail glue issues involves identifying and implementing effective solutions to ensure optimal adhesion and longevity of your manicure. One common problem is the glue not adhering properly to the nail surface. To troubleshoot this, ensure the nail is clean and dry before applying the glue. Residual oils or moisture can create a barrier, hindering the adhesive properties. Additionally, gently buffing the nail surface can improve adhesion by providing a slightly rougher texture for the glue to grip onto.
Another issue that may arise is the nail glue drying out too quickly, leading to a weak bond. To combat this, consider working on one nail at a time, applying the glue immediately before adhering the artificial nail. This prevents premature drying and allows for a stronger connection.
Lastly, if the nail glue becomes too thick or difficult to work with, try placing the glue bottle in warm water for a few minutes to help thin it out. By implementing these troubleshooting techniques, you can overcome common nail glue issues and achieve a flawless manicure.
Frequently Asked Questions
Can Homemade Nail Glue Without Acetone Be Used on Artificial Nails?
Homemade nail glue without acetone can be suitable for artificial nails, providing a natural alternative. Its efficacy depends on the ingredients used and the quality of the mixture. Experimentation and adherence to safety guidelines are crucial.
Is It Safe to Use Homemade Nail Glue Without Acetone on Sensitive Skin?
Using homemade nail glue without acetone on sensitive skin may pose risks. Always perform a patch test and consult a dermatologist before application. Opt for products specifically designed for sensitive skin to minimize potential adverse reactions.
Can Homemade Nail Glue Without Acetone Be Easily Removed?
Homemade nail glue without acetone can be challenging to remove. Its components may require specialized solvents or techniques. For instance, a mixture of warm water and gentle soap can help dissolve the adhesive, allowing for easier removal.
How Long Does It Take for Homemade Nail Glue Without Acetone to Dry Completely?
The drying time for homemade nail glue without acetone can vary based on the specific formula used. Generally, it may take anywhere from a few minutes to around 10-15 minutes for the glue to dry completely, depending on the ingredients and application method.
Are There Any Specific Nail Art Techniques That Work Better With Homemade Nail Glue Without Acetone Compared to Store-Bought Options?
Certain nail art techniques, such as intricate designs or delicate embellishments, may benefit from the flexibility and control provided by homemade nail glue without acetone. Experimentation can reveal unique artistic possibilities in nail art.