How Do You Make Press on Nails Look Real
To make press-on nails look real, start with proper nail preparation by shaping and buffing. Choose the right size that fits your natural nails perfectly. Apply with even pressure, use a primer for longevity, and blend with cuticles by nourishing them. Finish with a high-quality top coat and cuticle oil for a polished look. Attention to detail in every step will enhance the natural appearance. Mastering these techniques will ensure your press-on nails look salon-worthy.
Key Takeaways
- Properly prep nails with cuticle care, shaping, and buffing for flawless application.
- Choose the right size to fit perfectly and avoid gaps for a natural look.
- Apply with even pressure, consider primers, and file edges for a seamless blend.
- Blend with cuticles by nourishing, trimming, and smoothing edges for a polished finish.
- Finish with top coat, buff tips, apply cuticle oil, and clean up for a salon-like appearance.
Proper Nail Preparation

One crucial step in achieving natural-looking press-on nails is to ensure proper nail preparation. To start, gently push back the cuticles using a cuticle pusher or wooden stick. This step creates a clean canvas for the press-on nails to adhere to, ensuring a smooth and long-lasting finish. Next, shape the natural nails using a nail file to create a uniform surface. This step is essential for preventing any bumps or unevenness under the press-on nails, which can compromise the final look.
After shaping the nails, lightly buff the surface to remove any shine and create a slightly rough texture. This roughness helps the press-on nails grip better, enhancing their longevity. Additionally, wiping the nails with rubbing alcohol before application removes any oils or residue, further improving adhesion. Proper nail preparation sets the foundation for flawless press-on nails that look as natural as salon-applied ones. By following these steps, you can achieve a professional and seamless finish that will leave others wondering if your nails are real or press-on.
Choosing the Right Size
Effective selection of the appropriate size is fundamental when it comes to achieving a natural appearance with press-on nails. Choosing the right size ensures that the nails fit your natural nails perfectly, creating a seamless and realistic look. To achieve this, start by measuring the width of your nails and comparing them to the sizes provided in the press-on nail kit. It is essential to select a size that closely matches the width of your natural nails to prevent gaps and overlapping edges that can give away the fact that you are wearing press-on nails.
Opting for a slightly smaller size is often better than choosing a larger size, as you can always file the sides to fit your nails perfectly. Additionally, some press-on nail kits offer customizable options that allow you to trim and shape the nails to your desired size and length for a more personalized and natural look. By taking the time to choose the right size, you can enhance the overall appearance and ensure that your press-on nails blend seamlessly with your natural nails.
Application Techniques
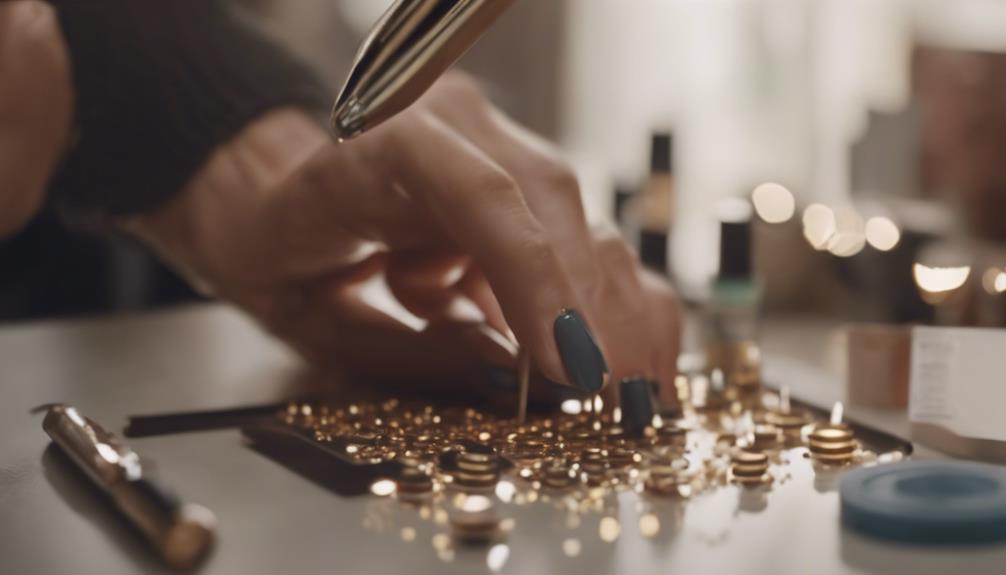
When applying press-on nails, mastering the proper techniques is crucial to achieve a flawless and long-lasting finish. Start by preparing your natural nails through gentle buffing and cleaning to ensure a smooth surface for optimal adhesion. Next, select the correct size for each nail, ensuring a snug fit without overlapping onto the skin or cuticles. Before applying the press-on nails, consider using a primer or base coat to enhance the longevity of the manicure.
To apply the press-on nails, begin by carefully placing the nail at the base of your natural nail and pressing down firmly for a few seconds to secure it in place. Make sure to apply even pressure to avoid air bubbles or lifting. For a professional finish, gently file the edges to smooth out any roughness and blend the press-on nails seamlessly with your natural nails.
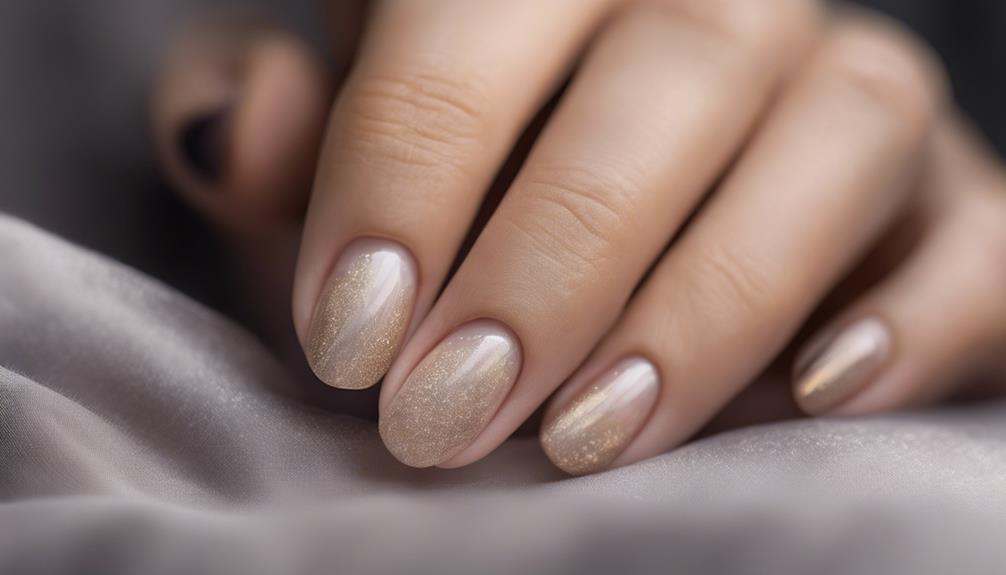
Blending With Your Cuticles
To seamlessly integrate press-on nails with a natural look, it is essential to skillfully blend them with your cuticles for a polished and realistic finish. When it comes to blending press-on nails with your cuticles, attention to detail is key. Here are some innovative tips to help you achieve a flawless and natural appearance:
- Cuticle Oil: Before applying press-on nails, nourish your cuticles with a hydrating cuticle oil to soften them and create a smooth base for the nails.
- Gentle Push Back: Use a cuticle pusher to gently push back your cuticles, ensuring they are neatly tucked away to avoid any overlap with the press-on nails.
- Precision Trimming: Trim the press-on nails to match the shape and curve of your natural nails, allowing for a seamless blend at the cuticle area.
- Finishing Buffer: Use a fine-grit buffer to gently smooth out any edges where the press-on nails meet your cuticles, creating a seamless transition for a natural look.
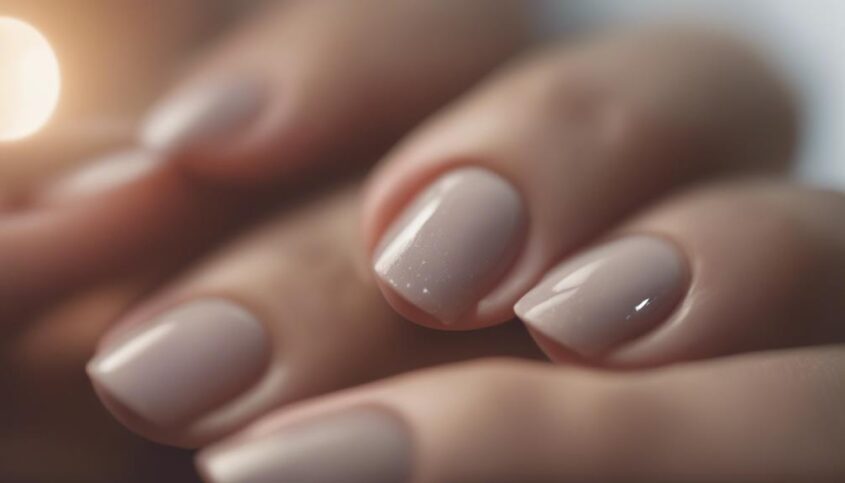
Finishing Touches
For a professional and polished appearance, paying attention to the finishing touches is crucial in enhancing the overall natural look of press-on nails. To achieve a realistic finish, consider using a high-quality top coat. A top coat not only adds shine but also helps seal the edges of the press-on nails, ensuring they stay in place longer. Additionally, lightly buffing the tips of the nails can create a seamless transition between the press-on nails and your natural nails, further contributing to a more authentic look.
Furthermore, applying a cuticle oil around the edges of the press-on nails can soften any sharp lines and hydrate the surrounding skin, mimicking the appearance of a professional manicure. Lastly, don't forget to clean up any excess glue or polish around the nails for a clean and flawless finish. By focusing on these finishing touches, you can elevate the appearance of your press-on nails and make them indistinguishable from a salon manicure.
Frequently Asked Questions
How Long Do Press on Nails Typically Last Before Needing to Be Replaced?
Press on nails typically last between 5-14 days before needing replacement, depending on application, daily activities, and maintenance. While some may claim press-ons last forever, a more realistic timeframe is within a week.
Can Press on Nails Be Reused Multiple Times?
Press on nails can be reused multiple times with proper care and maintenance. Adhering to manufacturer instructions, removing gently, and storing correctly can extend their lifespan. Regular maintenance like cleaning and using nail glue can enhance durability.
Are Press on Nails Safe for People With Sensitive Skin or Allergies?
Press on nails can be safe for individuals with sensitive skin or allergies if they opt for hypoallergenic options. Look for products labeled as such and perform a patch test before full application to ensure compatibility with your skin.
Can Press on Nails Be Customized or Painted Over for a Unique Look?
Press on nails can indeed be customized and painted over for a unique look, offering a canvas for endless creativity. Embrace the opportunity to express individuality through personalized designs that elevate your style to new heights.
How Do You Safely Remove Press on Nails Without Damaging Your Natural Nails?
Safely removing press-on nails without damaging natural nails involves soaking in acetone, gently peeling off, and moisturizing afterwards. Prioritize nail health by avoiding forceful removal techniques. Consult a professional for guidance on safe and effective removal methods.