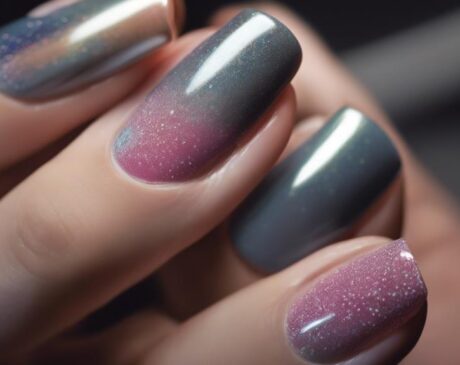
How Do You Prepare Your Nails for Nail Glue?
To prepare your nails for nail glue, start by trimming and shaping them with a high-quality clipper and file. Remove old polish using acetone-based remover, then cleanse nails with remover and buff the surface. Gently push back cuticles and avoid moisturizers. Consider using a nail dehydrator for better adhesion and applying a base coat for protection. These steps ensure a smooth surface for the glue to adhere to, leading to a longer-lasting manicure. Take these careful steps to set the foundation for pristine nail art application.
Key Takeaways
- Trim and shape your nails for a smooth surface.
- Remove old nail polish with acetone-based remover.
- Cleanse nails with nail polish remover to remove oils.
- Buff the nail surface to enhance adhesion.
- Push back cuticles gently for optimal nail glue application.
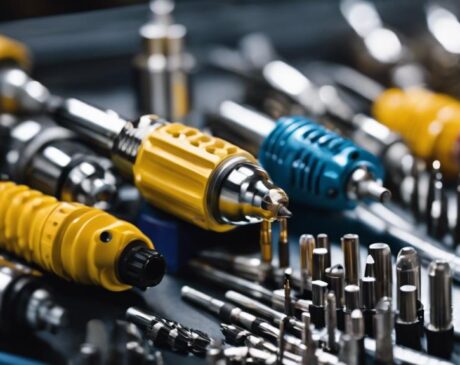
Trim and Shape Your Nails

For optimal nail glue adhesion, begin by carefully trimming and shaping your nails to ensure a smooth and even surface. Start by using a high-quality nail clipper to trim your nails to your desired length. Be sure to file them afterward to refine the shape and smooth any rough edges. Embrace innovation by considering different nail shapes such as almond, oval, or square, depending on your personal style and preference. Experiment with unique nail designs to showcase your creativity and individuality.
Innovative tools like electric nail files or buffing blocks can help achieve a professional finish and enhance the adhesion of nail glue. Take the time to push back your cuticles gently to create a clean canvas for the glue application. Remember, the key to successful nail glue adhesion lies in the preparation, so invest time and effort into this crucial step. By following these innovative techniques, you can ensure that your nails are primed and ready for flawless nail glue application.
Remove Old Nail Polish
To proceed with preparing your nails for optimal nail glue adhesion, the initial step involves thoroughly removing any old nail polish present on your nails. This step is crucial as it ensures a clean surface for the new application of nail glue. To remove old nail polish effectively, consider using acetone-based nail polish remover for stubborn colors or glitter nail polish. Here is a quick guide on how to remove old nail polish efficiently:
| Step | Method | Tips |
|---|---|---|
| 1. Preparation | Gather nail polish remover, cotton pads, | Cuticle oil can prevent excessive drying |
| and aluminum foil strips. | of the nails. | |
| 2. Application | Soak a cotton pad in remover, place it on | Wrap each fingertip with aluminum foil |
| the nail, and wrap with foil. | to intensify the removal process. | |
| 3. Removal | After 10-15 minutes, gently rub the nail | For glitter polish, gently press and |
| with the pad to remove the polish. | lift off the glitter particles. |
Cleanse Your Nails

To properly cleanse your nails before applying nail glue, start by using a nail polish remover to eliminate any existing polish. Next, trim and shape your nails to ensure a smooth and even surface for the glue application. This step is crucial in creating a clean canvas for the glue to adhere to effectively.
Use Nail Polish Remover
Have you considered utilizing nail polish remover as a means to cleanse your nails thoroughly before applying nail glue? Nail polish remover can effectively remove any oils or residues on your nails, ensuring better adhesion for the nail glue. Here are three simple steps to use nail polish remover for nail preparation:
- Choose an Acetone-Based Remover: Opt for a nail polish remover that contains acetone for a more thorough cleansing.
- Soak a Cotton Ball: Moisten a cotton ball with the nail polish remover.
- Wipe Nails Clean: Gently wipe each nail with the cotton ball to remove any impurities, leaving your nails ready for the nail glue application.
Trim and Shape Nails
For effective nail preparation before applying nail glue, ensure to trim and shape your nails to achieve a clean and polished look. Start by trimming your nails to your desired length using a nail clipper. Next, shape them using a nail file to create smooth edges and your preferred nail shape, such as square, round, almond, or stiletto. This step not only enhances the appearance of your nails but also ensures they are uniform in size, promoting better adhesion when applying nail glue and artificial nails. Remember to file gently in one direction to prevent nail breakage. Taking the time to trim and shape your nails will result in a professional and flawless finish once the nail glue is applied.
Buff the Nail Surface
To ensure optimal adhesion, it is essential to smooth out any ridges on the nail surface and remove natural oils that can hinder the glue's effectiveness. Buffing the nail will create a clean and roughened surface for the glue to adhere to, promoting a longer-lasting bond between the artificial nail and the natural nail. This step is crucial in preparing the nails for nail glue application.
Smooth Out Ridges
Consider gently buffing the nail surface to smooth out any ridges before applying nail glue. Buffing helps create a uniform surface, allowing the glue to adhere more effectively and ensuring a longer-lasting manicure. Here are three innovative ways to smooth out ridges on your nails:
- Use a Fine-Grade Buffer: Opt for a fine-grade buffer to gently buff away ridges without causing damage to the nail bed.
- Buff in One Direction: Buff the nails in one consistent direction to maintain a smooth surface and prevent over-buffing.
- Finish with a Soft Buffing Block: Use a soft buffing block to refine the nail surface further, leaving it ready for the nail glue application.
Remove Natural Oils
Begin by gently buffing the nail surface to effectively remove natural oils, ensuring optimal adhesion of the nail glue. This step is crucial to create a clean canvas for the nail glue to bond securely. By buffing the nail surface, you enhance the longevity of your manicure or artificial nails.
| Benefits of Buffing the Nail Surface | Description | Why It Matters |
|---|---|---|
| Smoother Application | Buffing creates a smooth surface for the glue to adhere to, preventing air bubbles. | Ensures a seamless and professional-looking manicure. |
| Improved Adhesion | Removing natural oils allows the glue to bond effectively with the nail, preventing lifting. | Increases the durability of your nail extensions. |
| Enhanced Nail Health | Buffing stimulates blood flow, promoting healthier nail growth. | Supports overall nail health and strength. |
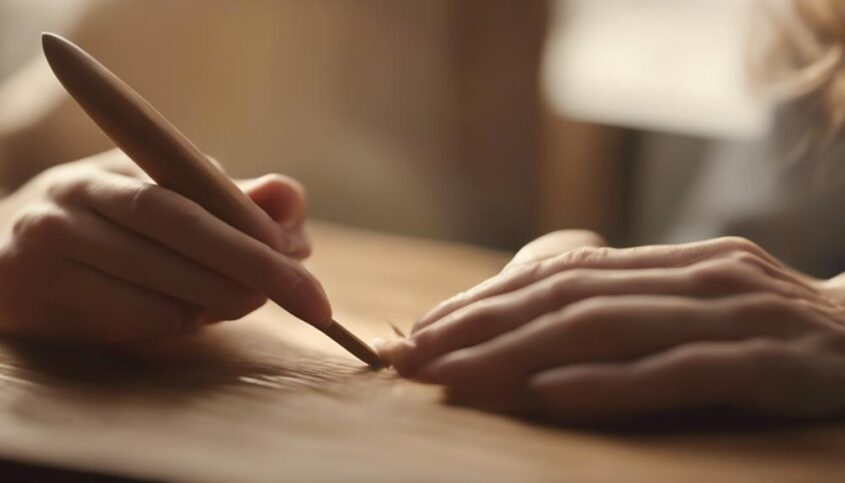
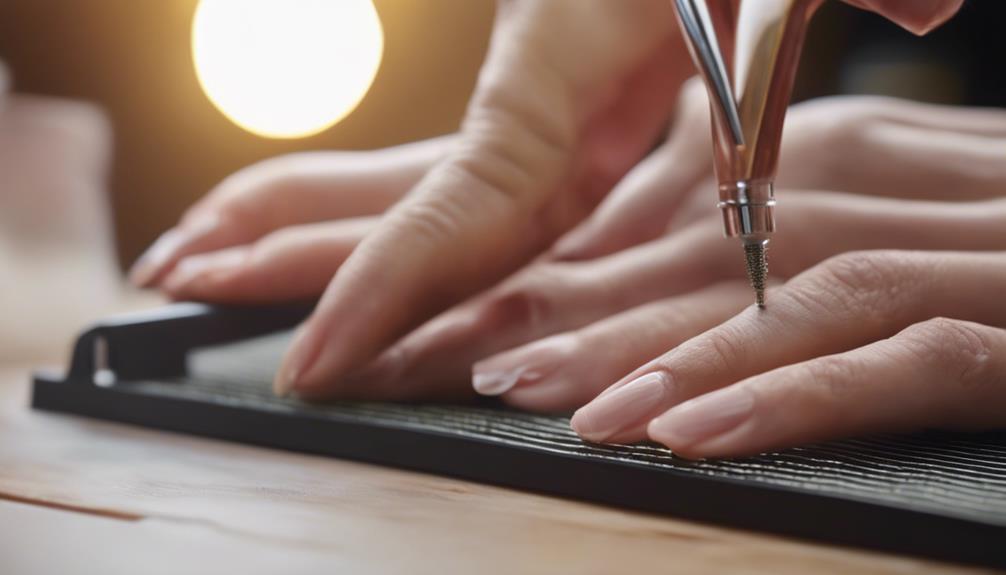
Push Back Cuticles
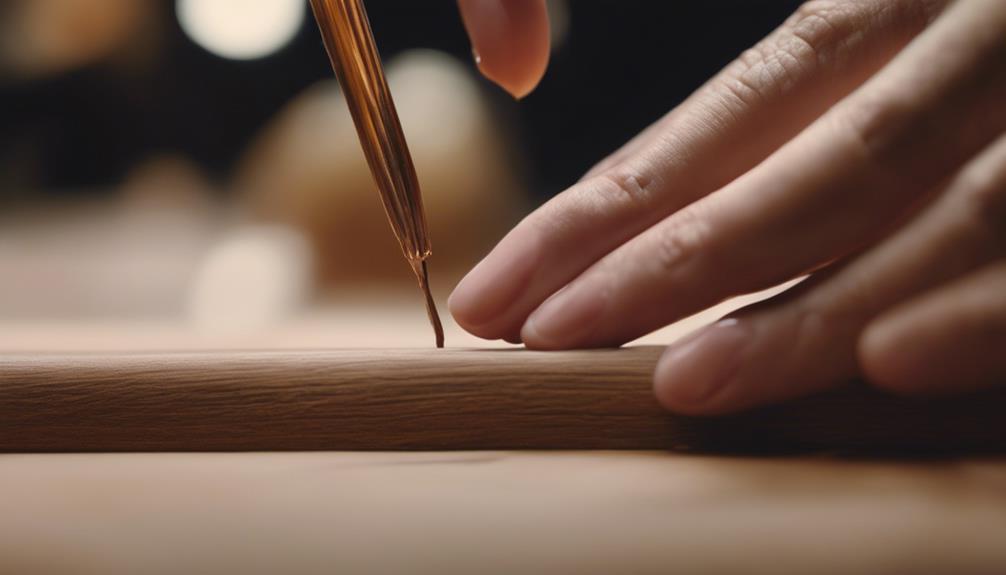
Gently nudging back the cuticles helps create a clean and polished nail bed for optimal adhesion when applying nail glue. By pushing back the cuticles, you ensure that the nail glue adheres directly to the nail plate, promoting a longer-lasting manicure. Here are three innovative tips to effectively push back your cuticles:
- Cuticle Pusher Tool: Invest in a high-quality cuticle pusher tool with a curved edge to gently push back the cuticles without causing any damage to the nail bed.
- Cuticle Softener: Apply a cuticle softener or oil to the cuticles before pushing them back. This helps soften the cuticles, making it easier and less painful to push them back without causing any tears.
- Gentle Pressure: Use gentle pressure when pushing back the cuticles to avoid causing any trauma to the nail bed. Push the cuticles back in small, gentle motions to ensure a neat and tidy nail surface for the nail glue application.
Avoid Moisturizers
To ensure optimal adhesion of nail glue, refrain from using moisturizers on your nails before application. Moisturizers create a barrier on the nail surface that can prevent the nail glue from properly bonding with the natural nail. The oils and emollients in moisturizers can leave a residue that interferes with the adhesive properties of the nail glue, leading to a weaker bond and potential lifting of the artificial nails. By avoiding moisturizers prior to applying nail glue, you allow the adhesive to directly interact with the natural nail, promoting a stronger and longer-lasting bond.
Instead of using moisturizers, focus on keeping your nails clean and dry before applying nail glue. Use a gentle nail polish remover or rubbing alcohol to cleanse the nail plate and ensure that there are no residues left behind. This will create a clean canvas for the nail glue to adhere to, maximizing its effectiveness. By following this simple yet crucial step, you can enhance the durability and longevity of your artificial nails.
Use a Nail Dehydrator
To further optimize the preparation of nails for nail glue application, utilizing a nail dehydrator can effectively enhance the adhesion process by removing excess oils and moisture from the nail plate. Nail dehydrators are specifically formulated to create an ideal surface for nail adhesion, ensuring a longer-lasting and stronger bond between the natural nail and artificial enhancements. Here are three key benefits of using a nail dehydrator:
- Oil Removal: Nail dehydrators help eliminate natural oils present on the nail plate, which can interfere with the bonding of nail glue. This step is crucial for ensuring maximum adhesion and preventing premature lifting of the artificial nails.
- Moisture Reduction: By reducing moisture levels on the nail surface, a nail dehydrator promotes better adhesion of the nail glue, ultimately leading to a more secure and durable manicure.
- Enhanced Adhesion: The use of a nail dehydrator significantly improves the adherence of artificial nails, allowing for a professional finish that lasts longer without the risk of chipping or lifting.
Apply a Base Coat
For optimal nail preparation prior to nail glue application, the initial step involves applying a base coat to create a smooth and protective foundation for the manicure. A base coat not only helps the nail glue adhere better to the natural nail but also acts as a barrier, preventing the glue from directly contacting the nail plate and potentially causing damage. Additionally, a base coat can enhance the longevity of the manicure by providing a smooth surface for the glue and nail enhancements to adhere to.
When selecting a base coat for nail glue application, consider innovative formulas that offer benefits beyond just adhesion. Look for base coats infused with nourishing ingredients like vitamins, keratin, or calcium to strengthen and protect the natural nail. Some base coats also feature special bonding agents that help the glue adhere securely to the nail, ensuring a long-lasting manicure.
Incorporating a high-quality base coat into your nail preparation routine can not only improve the application of nail glue but also promote healthier and stronger nails in the long run.
Frequently Asked Questions
Can I Use a Nail Strengthener Before Applying Nail Glue?
Using a nail strengthener before applying nail glue can enhance nail health and durability. It may provide a strong foundation for the glue to adhere to, potentially improving the longevity and integrity of the manicure.
How Long Should I Wait Before Applying Nail Glue After Buffing the Nail Surface?
To ensure optimal adhesion when applying nail glue after buffing the nail surface, it is recommended to wait approximately 5-10 minutes. This waiting period allows the nail surface to fully dry and ensures a strong bond between the natural nail and the artificial extension.
Can I Apply Nail Glue Over Acrylic or Gel Nails?
Like a conductor harmonizing notes, applying nail glue over acrylic or gel nails requires finesse. While possible, it's essential to ensure a clean, dry surface for optimal adhesion. Follow proper techniques for a seamless, durable bond.
Is It Necessary to Use a Primer Before Applying Nail Glue?
Using a primer before applying nail glue is not always necessary, but it can enhance the adhesion and longevity of the manicure. A primer creates a smooth surface for the glue to adhere to, ensuring a more secure bond.
How Long Should I Wait Before Getting My Nails Wet After Applying Nail Glue?
After applying nail glue, allow ample time for it to set by refraining from getting your nails wet for at least 24 hours. This crucial waiting period ensures the adhesive bonds securely, promoting long-lasting and flawless nail enhancements.