How Do You Remove Liquid Nails?
To remove Liquid Nails, options include using heat to soften the adhesive, applying adhesive remover solutions, scraping or sanding, soaking in warm, soapy water, freezing and chipping off, or seeking professional assistance. Each method offers a solution tailored to your needs and the surface involved.
Key Takeaways
- Use heat source to soften adhesive for easier removal.
- Choose a high-quality adhesive remover safe for the surface.
- Scrape off softened adhesive and sand for a smooth finish.
- Soak affected area in warm, soapy water and scrub gently.
- Consider freezing the adhesive and chipping it off carefully.
Using Heat Gun or Hairdryer
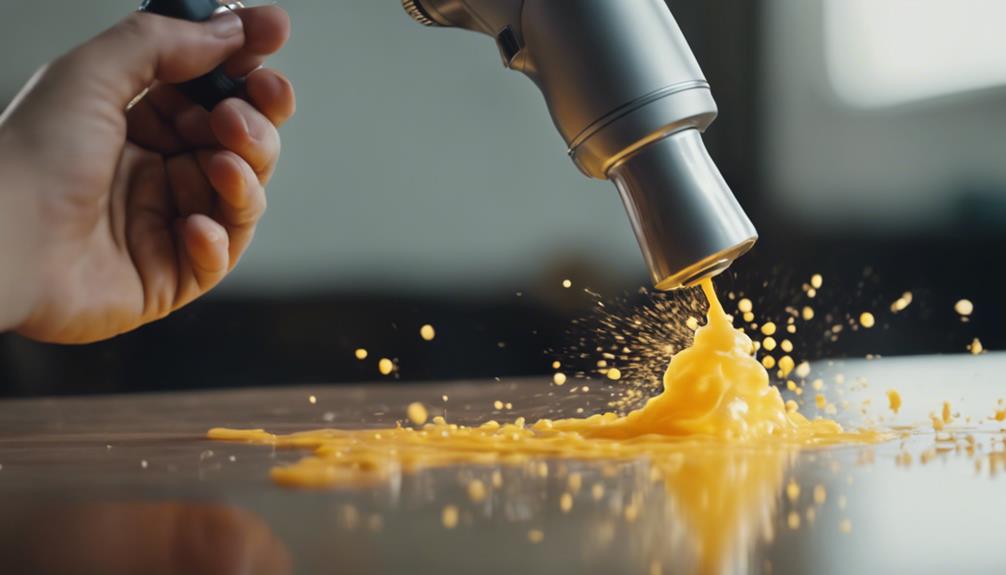
When removing Liquid Nails, one effective method is utilizing a heat gun or hairdryer to soften the adhesive. By applying heat to the Liquid Nails, it becomes more pliable, making it easier to remove without damaging the surface underneath. This innovative approach allows for a quicker and more efficient removal process.
The heat gun or hairdryer should be set to a medium heat level to avoid causing damage to the surrounding area. Hold the heat source a few inches away from the adhesive and move it around in a circular motion to ensure even heating. As the Liquid Nails begin to soften, gently pry it away using a putty knife or a similar tool.
Using a heat gun or hairdryer is a practical and efficient method for removing Liquid Nails in various applications. It offers a non-invasive way to tackle tough adhesive residues, providing a solution that is both effective and time-saving.
Applying Adhesive Remover Solution
Utilizing an adhesive remover solution is a recommended method for effectively dissolving and loosening stubborn Liquid Nails residues during the removal process. This solution can help make the task easier and less time-consuming. Here are three key points to consider when applying an adhesive remover solution:
- Choose the Right Product: Opt for a high-quality adhesive remover specifically designed for breaking down strong adhesives like Liquid Nails. Look for products that are safe for the surface you are working on to prevent damage.
- Application Technique: Follow the manufacturer's instructions for applying the adhesive remover solution. Typically, you will need to apply the solution generously to the affected area and allow it some time to penetrate and weaken the adhesive bond.
- Safety Precautions: When using adhesive remover solutions, ensure you are in a well-ventilated area to avoid inhaling harmful fumes. Additionally, wear appropriate protective gear such as gloves and goggles to prevent skin irritation or contact with eyes.
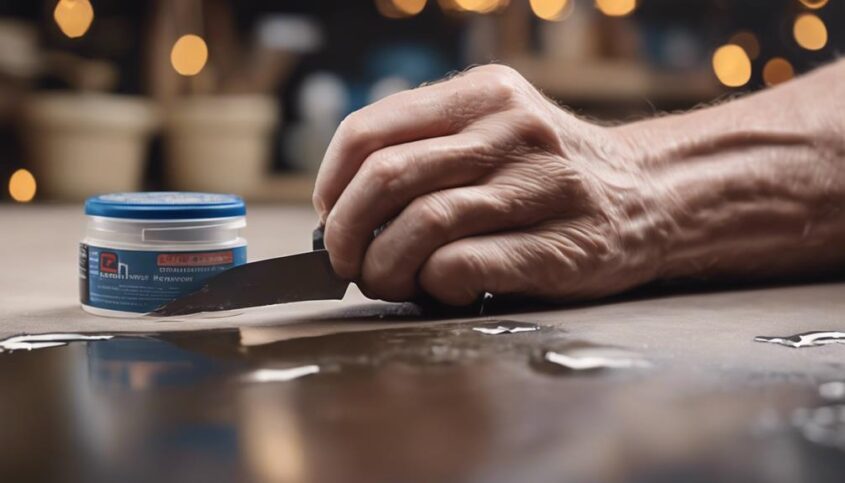
Scraping With Putty Knife or Scraper
When removing Liquid Nails, utilizing a putty knife is essential for effectively scraping off the adhesive. Additionally, applying a solvent can help loosen the bond between the adhesive and the surface, making it easier to remove. Once the majority of the adhesive is scraped off, sanding any residue can ensure a smooth and clean surface.
Use Putty Knife
To effectively remove Liquid Nails, gently scrape the adhesive using a putty knife or a scraper. This method helps in loosening the adhesive from the surface, making it easier to remove. Here are some innovative techniques to enhance the process:
- Angle Matters: Hold the putty knife or scraper at a low angle to prevent surface damage and ensure efficient removal.
- Apply Pressure Gradually: Start with light pressure and gradually increase as needed to avoid damaging the underlying surface.
- Use Precision: Focus on specific areas where the adhesive is stubborn, applying controlled movements to scrape off the Liquid Nails effectively.
Apply Solvent
How can applying a solvent enhance the process of removing Liquid Nails when combined with scraping using a putty knife or scraper? When faced with the stubborn adhesion of Liquid Nails, incorporating a solvent into the removal process can significantly expedite the task. Solvents work by breaking down the adhesive properties of the Liquid Nails, softening it and making it easier to scrape away. By applying the solvent to the affected area and allowing it time to penetrate and weaken the bond, the subsequent scraping with a putty knife or scraper becomes more efficient and less labor-intensive. This innovative approach not only accelerates the removal process but also minimizes the risk of damaging the surface underneath, ensuring a smoother and more effective outcome.
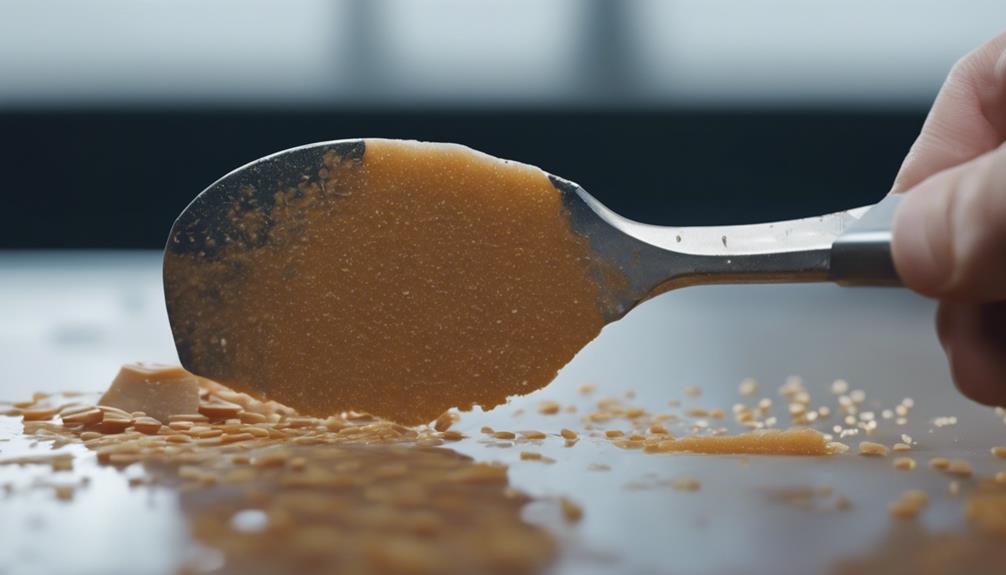
Sand Residue
Scraping off sand residue using a putty knife or scraper requires a steady hand and careful attention to detail. To successfully remove Liquid Nails residue, follow these steps:
- Positioning: Hold the putty knife or scraper at a slight angle to the surface to prevent gouging or damaging it.
- Pressure: Apply firm but controlled pressure while scraping to effectively lift the sand residue without causing harm to the underlying material.
- Consistency: Work methodically in small sections, ensuring each area is thoroughly scraped before moving on to the next to achieve a uniform finish.
Soaking in Warm, Soapy Water
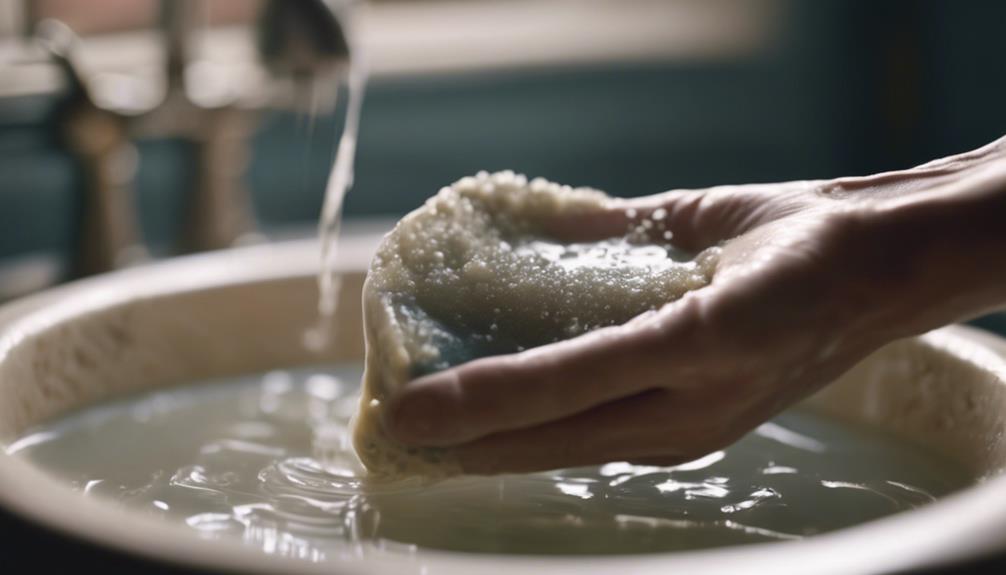
One effective method for removing Liquid Nails is by allowing the affected area to soak in warm, soapy water. This innovative approach works by softening the adhesive, making it easier to peel or scrape off the residue. To begin, prepare a basin or container large enough to accommodate the item with the Liquid Nails residue. Fill it with warm water and add a generous amount of mild dish soap to create a soapy solution. Submerge the affected area in the solution and let it soak for at least 30 minutes, ensuring that the adhesive has enough time to loosen.
During the soaking process, periodically check the item to see if the Liquid Nails residue has started to soften. You may gently scrub the area with a soft brush or cloth to help accelerate the removal process. Once the adhesive has sufficiently loosened, rinse the item with clean water to remove any remaining soap residue. This method is particularly effective for removing Liquid Nails from surfaces like tiles, glass, or metal without causing damage.
Freezing and Chipping off
When removing Liquid Nails, an effective method is to utilize freezing and chipping off the adhesive residue. This innovative approach can make the removal process more manageable and efficient. Here are three steps to effectively freeze and chip off Liquid Nails:
- Freeze the Adhesive: Place ice packs or dry ice on the Liquid Nails residue to freeze it. The cold temperature helps to harden the adhesive, making it easier to chip off.
- Chipping Off: Once the adhesive is frozen, use a putty knife or a similar tool to gently chip away at the hardened residue. Start from the edges and work your way towards the center to avoid damaging the surface underneath.
- Repeat if Necessary: Depending on the thickness of the adhesive layer, you may need to freeze and chip off the Liquid Nails multiple times. Be patient and thorough to ensure all residue is removed effectively.
Sanding or Grinding the Adhesive
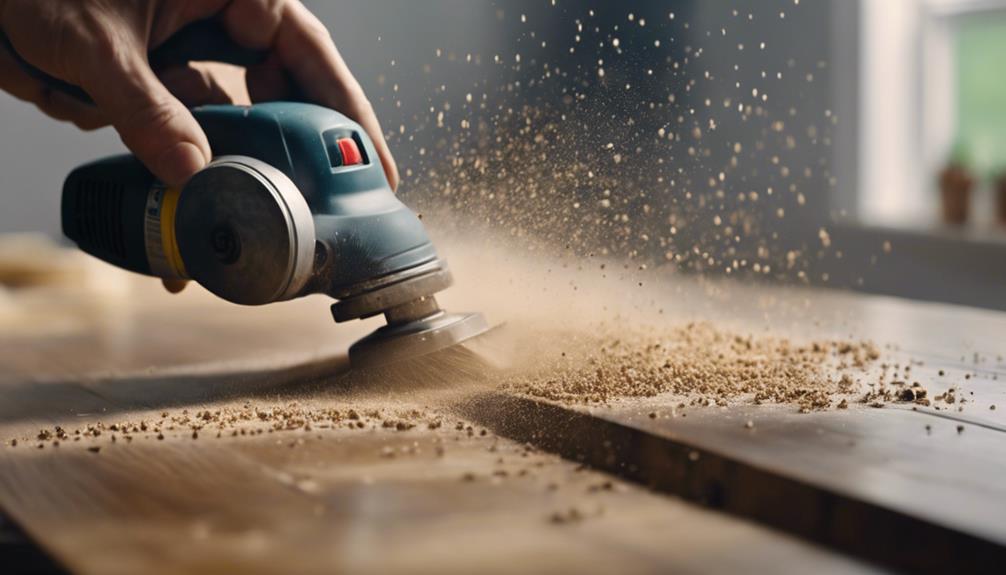
Is sanding or grinding the adhesive an effective method for removing stubborn Liquid Nails residue? When faced with dried Liquid Nails that seem unyielding to traditional removal methods, sanding or grinding the adhesive can offer an innovative solution. By using sandpaper or a grinder with the appropriate grit level, the hardened adhesive can be gradually smoothed away, revealing a clean surface underneath. This method is particularly useful when dealing with thick or extensive layers of Liquid Nails that cannot be easily chipped off or dissolved with solvents.
Sanding or grinding the adhesive requires patience and precision to avoid damaging the underlying surface. It is essential to start with a coarser grit to break through the tough adhesive layer and then gradually switch to finer grits to achieve a smooth finish. Additionally, using a vacuum or dust collection system can help contain the dust generated during the sanding or grinding process, ensuring a cleaner and safer work environment. When done correctly, sanding or grinding can effectively eliminate stubborn Liquid Nails residue, preparing the surface for a fresh application or a different adhesive.
Seeking Professional Help if Needed
If removing Liquid Nails proves challenging or requires specialized knowledge, it may be wise to seek assistance from a professional. Professional consultation options offer expertise and guidance tailored to individual situations. Expert removal techniques and industry-recommended solvent products can be utilized for effective and safe removal of the adhesive.
Professional Consultation Options
Consider engaging a licensed contractor or adhesive removal specialist for professional assistance with removing Liquid Nails effectively. These professionals have the expertise and tools needed to tackle tough adhesive removal tasks. Here are three reasons why seeking professional consultation may be beneficial:
- Specialized Knowledge: Contractors and adhesive removal specialists have in-depth knowledge of various adhesive types and the most effective removal methods.
- Advanced Equipment: Professionals often use specialized equipment and tools that can expedite the removal process without causing damage to the underlying surfaces.
- Safety Assurance: By entrusting the removal process to professionals, you can ensure the task is carried out safely, minimizing the risk of accidents or damage.
Expert Removal Techniques
Are you seeking precision and efficiency in the removal of Liquid Nails? When it comes to expert removal techniques, professional help can offer innovative solutions for tackling this task effectively. Professionals possess the knowledge and tools required to safely and efficiently remove Liquid Nails without causing damage to surfaces. By consulting experts in the field, you can benefit from their expertise and experience, ensuring that the removal process is carried out with the utmost care and precision. Whether you are dealing with a small DIY project or a larger construction job, seeking professional help when needed can save you time and effort while achieving optimal results. Trusting experts in removal techniques can provide peace of mind and guarantee a job well done.
Industry-Recommended Solvent Products
When seeking professional assistance for the removal of Liquid Nails, industry-recommended solvent products can offer effective solutions tailored to your needs. These innovative solvents are formulated to break down the adhesive properties of Liquid Nails without damaging the surface beneath. Here are three top solvent products trusted by industry professionals:
- 3M Adhesive Remover: Known for its powerful formula that effectively dissolves adhesives like Liquid Nails.
- Goo Gone Pro-Power: A versatile solvent that can tackle tough adhesive residues, including Liquid Nails.
- Krud Kutter Adhesive Remover: This solvent is designed to make the removal process easier and more efficient, especially for stubborn adhesives like Liquid Nails.
When faced with challenging adhesive removal tasks, these industry-recommended solvent products can provide the innovative solutions needed for successful outcomes.
Frequently Asked Questions
Can Liquid Nails Be Dissolved With Any Household Chemicals or Solutions?
Liquid Nails can be challenging to dissolve with household chemicals due to its strong adhesive properties. Specialized adhesive removers or mechanical methods such as scraping or sanding might be more effective for removing Liquid Nails.
Is It Safe to Use a Heat Gun or Hairdryer to Remove Liquid Nails From Surfaces?
Utilizing a heat gun or hairdryer to remove Liquid Nails from surfaces can be effective, but caution is advised due to potential surface damage or release of harmful fumes. Monitor temperature closely for safety.
Can Using a Hairdryer or Heat Gun Cause Damage to the Surface Underneath the Liquid Nails?
Using a hairdryer or heat gun to remove Liquid Nails may cause damage to the surface underneath due to excessive heat exposure. It is recommended to explore alternative removal methods to ensure the integrity of the underlying material.
Are There Any Alternative Methods for Removing Liquid Nails That Are Not Mentioned in the Article?
Exploring innovative techniques beyond traditional methods can unveil efficient ways to eliminate Liquid Nails. By experimenting with solvents like acetone or citrus-based cleaners, individuals can discover alternative approaches that may not be initially evident in standard removal guides.
How Long Should I Wait Before Attempting to Remove Liquid Nails After Applying It to a Surface?
Professional removal of Liquid Nails involves waiting for it to fully cure, typically 7-14 days. Attempting removal before proper curing can compromise results. It is crucial to ensure a successful removal process by allowing adequate curing time.