How Do You Use Gel Polish as Nail Glue?
To use gel polish as nail glue, ensure clean, dry nails. Apply a thin gel polish layer on the natural nail and gently press the artificial nail down. Cure under a UV or LED lamp as directed for secure adhesion. For longevity, prep nails well, apply thin gel layers, and seal with a topcoat. Following proper techniques enhances durability. For more detailed steps and tips on using gel polish as nail glue, explore the benefits, supplies needed, and precautions outlined.
Key Takeaways
- Apply a thin layer of gel polish on the natural nail surface.
- Press down lightly to secure the artificial nail in place.
- Cure the gel under a UV or LED lamp for adhesion.
- Ensure proper drying and bonding of the gel polish.
- Remove excess gel polish with a clean brush for a neat finish.
Benefits of Using Gel Polish as Glue
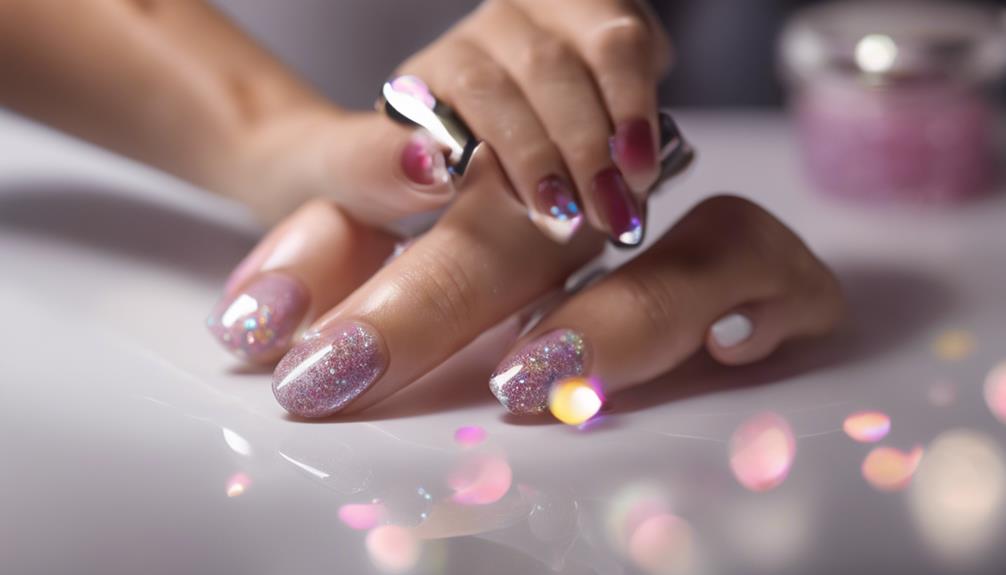
Utilizing gel polish as an adhesive offers a durable and long-lasting solution for attaching nail embellishments, providing a seamless and professional finish to nail art designs. The gel polish's strong bond ensures that nail decorations stay securely in place for an extended period, reducing the risk of them coming loose or falling off prematurely. This innovative approach eliminates the need for traditional nail glue, which can sometimes be messy and less reliable.
Moreover, gel polish comes in a variety of colors, allowing for versatility in design choices. By using gel polish as an adhesive, nail artists can seamlessly incorporate embellishments into their designs without the worry of visible glue marks or uneven application. This method not only enhances the aesthetic appeal of nail art but also contributes to a more polished and refined look.
Necessary Supplies for Application
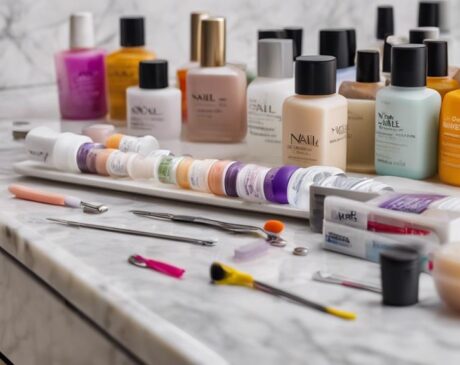
To effectively apply gel polish as nail glue, it is essential to have the necessary supplies readily available. The first item you will need is a high-quality gel polish. Opt for a brand known for its long-lasting and durable formula to ensure a strong bond when using it as nail glue. Additionally, you will require a UV or LED nail lamp to cure the gel polish. These lamps emit the specific wavelengths needed to harden the gel polish, providing a secure attachment for your nails. To prepare your nails for the application, you will need a nail cleanser or alcohol to ensure the nail bed is clean and free of any oils that may interfere with the bonding process. Lastly, having a fine nail file on hand is crucial for shaping and prepping your nails before applying the gel polish as glue. By having these essential supplies ready, you can achieve a professional and long-lasting result when using gel polish as nail glue.
Steps for Prepping Your Nails
Preparing your nails before applying gel polish as nail glue is crucial for a long-lasting and flawless manicure. This involves thoroughly cleaning the nail surface to remove any oils or residues that may affect adhesion. Additionally, taking care of your cuticles by pushing them back gently helps create a smooth canvas for the gel polish application.
Nail Surface Cleaning
Properly cleaning the nail surface is essential before applying gel polish as a nail glue. To begin, use a gentle nail polish remover to eliminate any existing polish, oils, or debris. Next, wash your hands thoroughly with soap and water, ensuring that all residues are removed. For a deeper clean, consider using a nail brush to scrub the nails and surrounding skin. Once dry, swipe each nail with a lint-free pad soaked in alcohol to dehydrate the surface and promote better adhesion. This meticulous cleaning process sets the foundation for a flawless gel polish application, enhancing its longevity and ensuring a professional finish.
Cuticle Care Routine
Is it essential to prioritize a meticulous cuticle care routine to ensure optimal nail preparation for the gel polish application. To achieve the best results, follow these steps:
- Soak: Begin by soaking your fingertips in warm, soapy water for a few minutes to soften the cuticles and nails.
- Push Back: Gently push back the cuticles using a cuticle pusher to create a clean nail bed.
- Trim and Moisturize: Trim any excess cuticles carefully and moisturize the nail area with a nourishing cuticle oil to promote healthy nail growth and hydration.
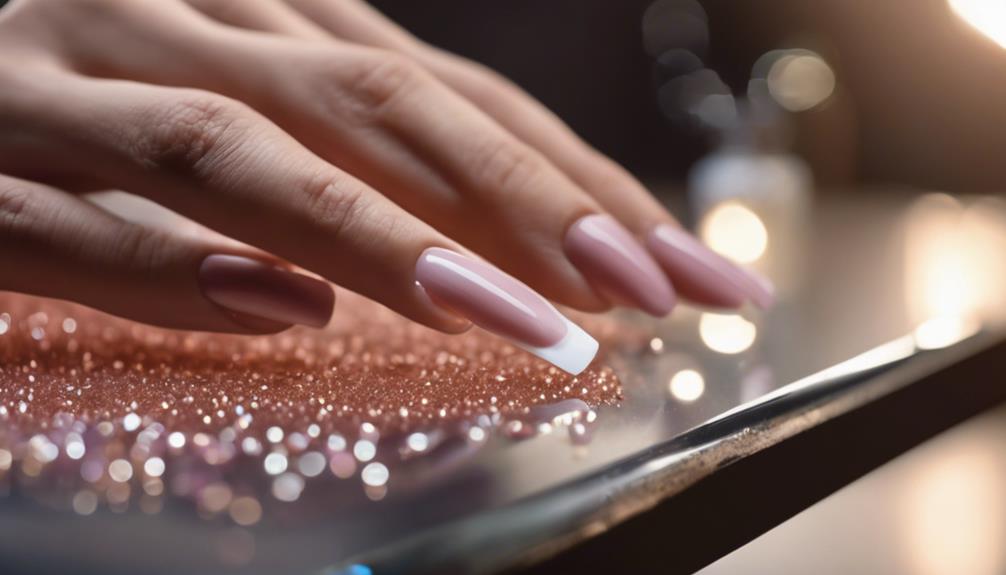
Applying Gel Polish as Nail Glue
To adhere artificial nails effectively using gel polish, ensure the surface is clean and dry before application. Start by prepping the nails through gentle filing and buffing to create a smooth base. Next, cleanse the nails with a non-acetone nail polish remover to remove any oils or residue. Apply a thin layer of gel polish directly onto the natural nail, avoiding the cuticles and skin around the nails. Using a gentle touch, place the artificial nail on top of the gel polish, ensuring a secure fit. Press down lightly to set the nail in place. The gel polish acts as a bonding agent, providing a strong and durable hold for the artificial nail. This innovative technique not only ensures a seamless application but also offers a long-lasting and professional finish. Stay tuned for the next step in the process, where we will explore the curing process to secure the adhesion further.
Curing the Gel for Secure Adhesion
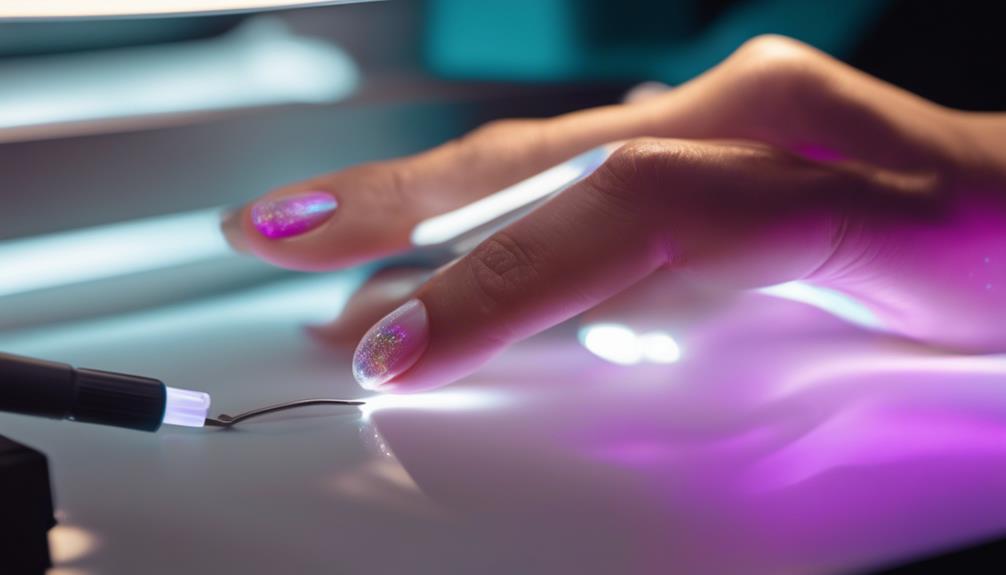
After applying gel polish as nail glue to secure artificial nails, the next step involves curing the gel to ensure secure adhesion. Curing is a crucial step that ensures the gel hardens and creates a strong bond between the natural and artificial nails. Here are three key factors to consider when curing the gel for optimal results:
- UV/LED Lamp: Utilize a quality UV or LED lamp specifically designed for curing gel polish. These lamps emit the right amount of light energy to activate the gel's chemical components, ensuring a durable and long-lasting bond.
- Proper Timing: Follow the manufacturer's instructions regarding the recommended curing time for the specific gel polish used. Curing for the correct duration is essential to achieve the desired hardness and adhesion strength.
- Even Curing: Ensure each nail receives uniform exposure to the curing light. Rotate your hands or adjust the positioning of the nails during curing to guarantee that all areas are evenly cured, preventing any weak spots in the bond.
Tips for Long-Lasting Results
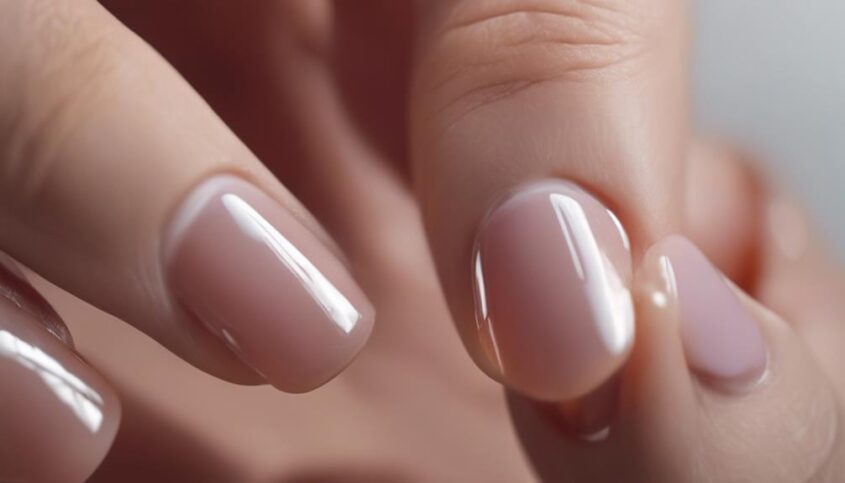
To ensure long-lasting results when using gel polish as nail glue, it is crucial to prep the nails properly by removing any oils or residue. Applying thin layers of gel polish will help create a strong bond between the nail and the polish. Lastly, sealing the gel polish with a topcoat will provide added protection and durability to your manicure.
Prep Nails Properly
For optimal results when using gel polish as nail glue, it is essential to thoroughly prepare the nails to ensure long-lasting adherence and a flawless finish. To achieve the best outcome, follow these key steps:
- Cleanse: Start by removing any old polish or residue from the nails using a gentle nail polish remover.
- Shape: Use a nail file to shape and smooth the edges of your nails for a neat appearance and to prevent snagging.
- Buff: Gently buff the surface of your nails to remove any shine and create a slightly rough texture, allowing the gel polish to adhere better.
Apply Thin Layers
Achieving long-lasting results when using gel polish as nail glue hinges on the meticulous application of thin layers to ensure optimal adherence and durability. To start, apply a thin coat of gel polish onto clean and prepped nails, ensuring to cover the entire nail surface evenly. Allow each layer to cure properly under a UV or LED lamp before applying the next coat. Building up the layers gradually ensures a secure bond between the natural nail and gel polish, reducing the risk of chipping or peeling. Remember, thin layers not only promote better adhesion but also contribute to a smoother and more professional-looking finish. By mastering the technique of thin layer application, you can enhance the longevity and quality of your gel polish nail glue.
Seal With Topcoat
Sealing the layers with a high-quality topcoat is essential for maximizing the longevity and durability of your gel polish nail glue application. To ensure your nail art stays flawless for longer periods, follow these key steps:
- Smooth Finish: Apply a generous amount of topcoat to create a smooth and even surface, minimizing any bumps or imperfections.
- Seal the Edges: Pay special attention to sealing the edges of your nails with the topcoat to prevent lifting and chipping.
- UV Protection: Opt for a topcoat with UV protection to shield your gel polish from premature fading and yellowing, ensuring a vibrant and long-lasting manicure.
Removing Gel Polish When Needed
When needing to remove gel polish, it is essential to follow proper techniques to maintain the health of your nails. While gel polish provides a long-lasting and durable finish, it can be challenging to remove compared to regular nail polish. One innovative method for removing gel polish involves using acetone and cotton balls. Soaking the cotton balls in acetone and placing them on the nails wrapped in foil helps break down the gel polish for easy removal.
Another innovative technique is using a gel polish remover tool that gently scrapes off the gel polish without damaging the nail bed. This tool can save time and effort while ensuring a clean removal process. Additionally, some salons offer professional gel polish removal services using specialized equipment that speeds up the process and minimizes damage to the nails.
Frequently Asked Questions
Can You Use Gel Polish as Nail Glue With Natural Nails, or Is It Only Recommended for Artificial Nails?
Gel polish, known for its durability and shine, can serve as a functional adhesive for natural nails, enhancing their strength and appearance. While primarily used on artificial nails, with proper application, it can effectively bond natural nails as well.
Are There Any Specific Brands or Types of Gel Polish That Work Best as Nail Glue?
When looking for gel polish to use as nail glue, prioritize brands known for their adhesion properties, durability, and compatibility with natural nails. Quality brands like OPI, CND, and Gelish are often favored for their reliable performance in this dual function.
Can You Apply Gel Polish as Nail Glue Without Using a UV or LED Lamp for Curing?
While gel polish is known for its durability and shine on nails, attempting to use it as nail glue without proper curing can lead to a weak bond. For optimal results, it is recommended to follow manufacturer instructions and utilize a curing lamp for best adhesion.
How Long Does Gel Polish as Nail Glue Typically Last Compared to Traditional Nail Glue?
Gel polish used as nail glue typically lasts longer than traditional nail glue due to its durable nature and enhanced adhesion properties. While traditional nail glue may last a few days to a week, gel polish can provide a more extended hold, lasting up to two weeks or more.
Are There Any Potential Risks or Downsides to Using Gel Polish as Nail Glue That Users Should Be Aware Of?
Using gel polish as nail glue can pose risks. Improper application may lead to weak adhesion, lifting, or allergic reactions. A hypothetical scenario could involve a user experiencing nail damage due to prolonged exposure or incorrect curing techniques.