How Long Does Liquid Nails Need to Be Clamped?
For optimal bonding strength with Liquid Nails, clamp for at least 24 hours to ensure a robust bond. Maintaining pressure throughout the curing process is crucial. This duration enhances the bond's durability and strength.
Key Takeaways
- Initial grab is quick, but for a robust bond, clamp Liquid Nails for at least 24 hours.
- Clamping duration impacts bond strength and durability.
- Optimal clamping time varies based on temperature, humidity, and material.
- Following manufacturer's instructions ensures proper curing and strong bonds.
- Proper clamping process enhances the effectiveness of Liquid Nails for lasting bonds.
Importance of Clamping in Bonding
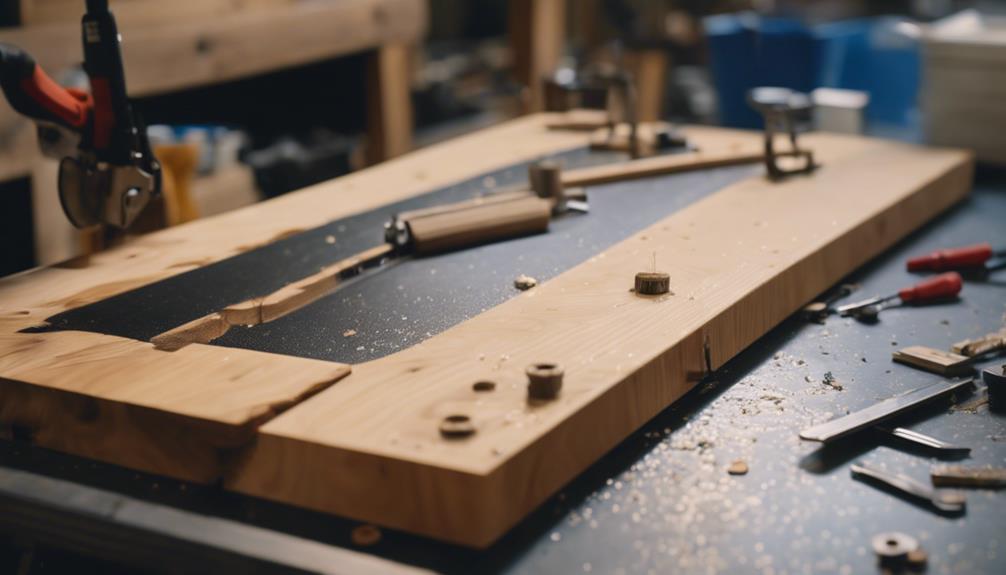
Clamping plays a crucial role in ensuring a secure and durable bond between materials in various applications. The process of clamping involves applying pressure to the materials being bonded, allowing adhesives like Liquid Nails to properly cure and create a strong connection. This step is essential in preventing any movement or separation between the materials during the bonding process, ultimately leading to a more reliable and long-lasting bond.
Innovations in clamping technology have led to the development of advanced clamping mechanisms that offer increased precision and efficiency. These modern clamping systems are designed to provide uniform pressure distribution, reducing the likelihood of uneven bonding or weak spots in the joint. By incorporating these innovative clamping solutions into bonding processes, manufacturers can achieve higher quality bonds and improve overall product performance.
Factors Affecting Clamping Time
One crucial consideration when determining the appropriate clamping time for a bonding application is the type of adhesive being used. Different adhesives have varying curing times, which directly impact the required clamping duration. Fast-curing adhesives may require shorter clamping times, while slower curing adhesives necessitate longer periods under pressure. The material being bonded also influences clamping time. Porous materials may absorb more adhesive, affecting the curing process and potentially extending the clamping duration. Additionally, temperature and humidity play significant roles in adhesive curing. Higher temperatures generally accelerate curing, potentially reducing clamping time, while lower temperatures may slow down the process, requiring longer clamping intervals. Humidity levels can also impact curing rates, with higher humidity sometimes aiding in faster curing. Understanding these factors and their interplay is crucial in determining the optimal clamping time for a successful bonding application.
Recommended Clamping Times for Liquid Nails
When considering the recommended clamping times for Liquid Nails, factors such as the optimal clamping duration, the elements affecting bonding, and the correct application techniques come into play. It's vital to understand these aspects to ensure the adhesive's effectiveness and the durability of the bond. By following these recommendations diligently, users can achieve the best results for their projects.
Optimal Clamping Duration
For maximum bond strength and optimal results with Liquid Nails, adhering to the recommended clamping times is crucial in ensuring the structural integrity of the bonded materials. Proper clamping pressure and duration are key factors in achieving a strong and durable bond. Below is a table outlining the recommended clamping times for various materials when using Liquid Nails:
| Material | Recommended Clamping Time |
|---|---|
| Wood | 1-4 hours |
| Metal | 2-6 hours |
| Concrete | 24 hours |
Factors Affecting Bonding
Understanding the critical role of recommended clamping times is essential for achieving optimal bonding strength when using Liquid Nails. Factors such as temperature, humidity levels, and the materials being bonded can significantly impact the curing and setting time of the adhesive. In ideal conditions, where temperatures are around 70°F (21°C) with 50% humidity, Liquid Nails typically sets in about 15 minutes and reaches full cure in 7 days. However, variations in these conditions can alter the drying time, necessitating adjustments in the recommended clamping duration. It is crucial to consider these factors to ensure the adhesive has enough time to create a strong bond between the surfaces being joined. Adhering to the specified clamping times will enhance the effectiveness and durability of the bond, resulting in reliable and long-lasting adhesion.
Proper Application Techniques
Implementing precise clamping times is crucial for maximizing the bonding strength of Liquid Nails during application. Proper application techniques are essential for achieving optimal results. When using Liquid Nails, it is recommended to clamp the materials together for at least 24 hours to ensure a strong bond. This duration allows the adhesive to cure fully and create a lasting connection between the surfaces. However, for best results, it is advised to follow the manufacturer's instructions regarding specific clamping times based on the type of project and materials being bonded. Adhering to the recommended clamping times will help prevent any potential issues such as weak bonds or material separation, ensuring a successful and durable outcome.
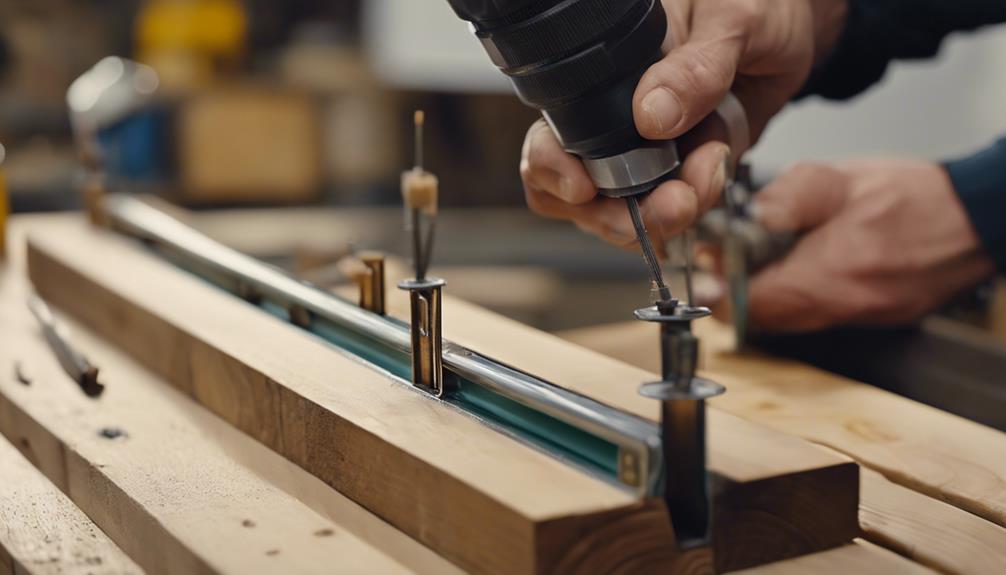
Tips for Effective Clamping
When clamping materials together, it is crucial to ensure that the pressure applied is evenly distributed to create a strong bond. To achieve effective clamping, consider using parallel clamps for larger surface areas, as they provide uniform pressure distribution. Additionally, utilizing cauls – strips of wood or metal placed across the joints – can help prevent bowing or misalignment during the clamping process.
Innovative clamping techniques such as using spring clamps in combination with traditional clamps can help secure odd-shaped or delicate materials without causing damage. Employing adjustable clamps enables the user to customize the pressure exerted based on the specific requirements of the materials being bonded.
Moreover, incorporating specialized clamping aids like corner clamps or band clamps can streamline the process and ensure precise alignment when working on projects that demand accuracy. By exploring these advanced clamping methods, craftsmen can enhance the quality of their work and achieve seamless, durable bonds between materials.
Understanding Clamping Pressure
A key aspect to consider when working with clamps is the precise application of pressure to ensure a secure and lasting bond between materials. Understanding clamping pressure is essential for achieving optimal results when using Liquid Nails or any adhesive. The pressure applied by the clamp plays a crucial role in promoting proper adhesion by facilitating the intimate contact between the adhesive, substrate, and surface.
When applying clamping pressure, it is important to strike a balance. Too much pressure can squeeze out excess adhesive, weakening the bond, while too little pressure may result in gaps and air pockets that compromise the strength of the bond. Modern clamps are designed with innovative features that allow for adjustable pressure settings, enabling users to tailor the pressure according to the specific requirements of the materials being bonded. This flexibility ensures that the right amount of pressure is applied for an effective bond without causing damage to the materials. By understanding and mastering the art of clamping pressure, craftsmen can elevate the quality and durability of their projects.
FAQs About Clamping Liquid Nails

To address common queries regarding the clamping of Liquid Nails, it is beneficial to understand the practical considerations involved in ensuring a successful bonding process. When it comes to clamping Liquid Nails, some frequently asked questions arise. Here are a few FAQs about clamping Liquid Nails:
- Clamp Type: Choosing the right type of clamp is crucial. Consider using quick-release clamps for easy adjustments and a secure hold.
- Clamp Placement: Proper positioning of the clamps is key. Ensure even pressure distribution by placing clamps uniformly along the bonded surfaces.
- Clamp Duration: How long to keep Liquid Nails clamped? While the initial grab may occur quickly, allowing the adhesive to cure fully under pressure for at least 24 hours ensures a robust bond.
Addressing these FAQs can aid in optimizing the clamping process for Liquid Nails, leading to stronger and more durable bonds.
Frequently Asked Questions
Can Liquid Nails Be Used Without Clamping?
Liquid Nails can be used without clamping for certain applications. However, clamping is recommended for best results as it ensures proper adhesion and allows the adhesive to cure effectively. Follow manufacturer guidelines for optimal performance.
Can I Use a Different Type of Clamp Other Than a Traditional C-Clamp?
Exploring alternative clamping methods beyond traditional c-clamps can enhance efficiency and versatility in securing materials with Liquid Nails. Options like spring clamps, bar clamps, or even specialized adhesive clamps offer innovative solutions for varied project needs.
How Does Temperature Affect the Clamping Time of Liquid Nails?
Temperature plays a crucial role in the clamping time of Liquid Nails. Varying temperatures can significantly impact the adhesive's curing process. Through innovative research, understanding these temperature effects can optimize the clamping time for efficient bonding results.
Is There a Maximum Amount of Time That Liquid Nails Can Be Clamped For?
Liquid Nails typically sets within 24 hours. While longer clamping may seem beneficial, excessive pressure could squeeze out adhesive and weaken the bond. Adhering to manufacturer guidelines ensures optimal results and durability.
Can I Apply Pressure to the Clamps While the Liquid Nails Is Drying to Speed up the Bonding Process?
Applying pressure to clamps during the drying process of Liquid Nails can expedite the bonding process by ensuring a strong and secure hold. However, it is essential to follow manufacturer guidelines to achieve optimal results.