How to Make a Mirror Jewelry Box?
The Mirror Jewelry Box is a multifunctional piece that combines the functionality of a mirror with the storage function of a jewelry box. It allows you to keep your jewelry organized and easily accessible, while providing a handy mirror for getting ready. Making your own mirrored jewelry box allows you to customize it to suit your preferences and the size of your jewelry collection.
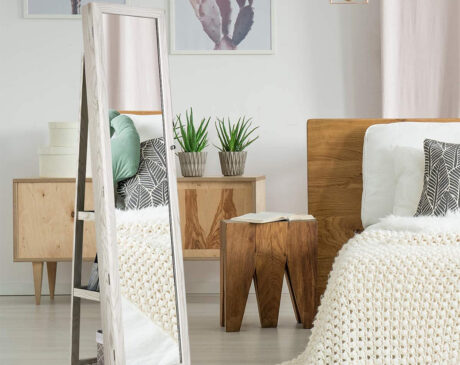
Choose the right mirror
The first step in creating a mirrored jewelry box is to choose the right mirror. Consider the size and shape that best suits your needs and the space available. A full-length mirror or a smaller dressing mirror will work, depending on your preference. Make sure the mirror is in good condition, without any cracks or scratches.
Choose the materials for the jewelry box
Next, you will need to gather the materials to make the jewelry box. You will need sturdy wood or plywood for the box, hinges for the lid, a latch to hold it in place, and decorative elements such as knobs or handles. In addition, gather sandpaper, wood glue, a saw and a tape measure for the construction process.
Measure and cut the wood
Measure the dimensions of the mirror and determine the size of the jewelry box accordingly. Use a saw to cut the wood into the required parts, including the sides, bottom and lid of the box. Make sure the pieces fit together correctly and make any necessary adjustments.
Assemble the box
After cutting the wood, it’s time to assemble the jewelry box. Apply wood glue to the edges and then firmly join the parts together. While the glue is drying, use clamps or weights to hold the box in place. Make sure the edges are square and properly aligned for a professional finish.
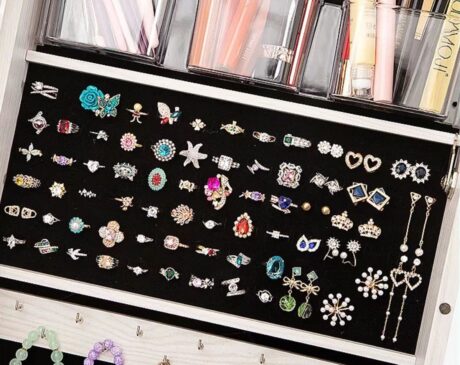
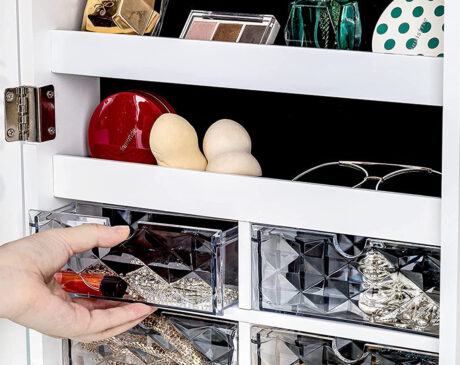
Add dividers and compartments
To optimize the storage space inside your jewelry box, consider adding dividers and compartments. Measure and cut smaller pieces of wood to create sections that fit different types of jewelry. You can customize the size and shape of the compartments to hold your collection, whether it’s rings, necklaces or earrings.
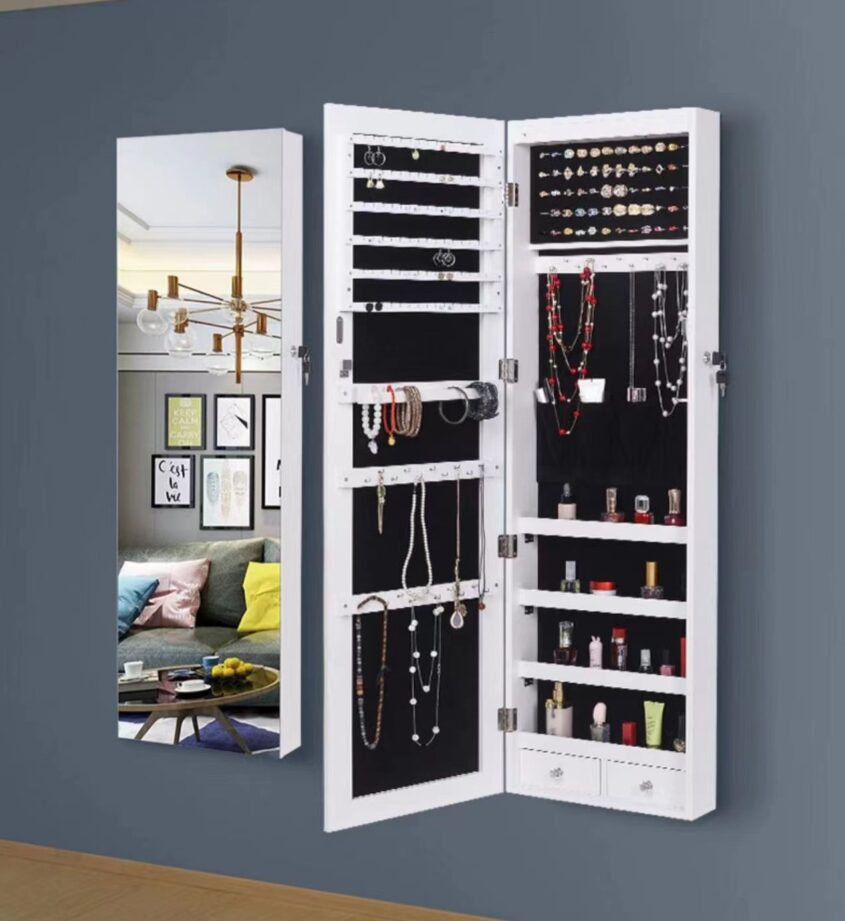
Install the mirror image
Now it’s time to install the mirror. Carefully place the mirror on the lid of the jewelry box, making sure it is centered and aligned. Use mirror adhesive or double-sided tape to hold the mirror securely in place. Allow the adhesive to dry completely before proceeding.
Finishing and Decorating
To give your mirrored jewelry box some personality, consider adding decorative elements. Paint the box your favorite color or apply a wood stain for a natural look. Add decorative knobs or handles to enhance the box’s beauty and functionality. Sand the edges and surfaces to obtain a smooth finish.
Creating a mirrored jewelry box offers a practical and stylish solution for organizing your jewelry collection. By following these step-by-step instructions, you can create a mirrored jewelry box that reflects your personal style while keeping your accessories safe and organized. Remember to take your time, pay attention to the details, and enjoy the process of creating something unique and functional.
Now that you’ve learned how to make a mirrored jewelry box, it’s time to start showing off your creativity. Gather materials, choose a beautiful mirror, measure and cut the wood, assemble the box, add dividers and compartments, mount the mirror, and put the finishing touches on it. Before you know it, you will have a stunning mirrored jewelry box that not only serves as a practical storage solution, but also enhances the beauty of your space.
Remember, making a mirrored jewelry box is a rewarding DIY project that allows you to customize and personalize your storage solution. So, let your creativity shine and enjoy the process of creating a unique piece that reflects your style and keeps your jewelry organized.
Frequently Asked Questions
How long does it take to make a mirrored jewelry box?
The time it takes to make a mirrored jewelry box depends on your skill level and the complexity of the design. On average, it can take anywhere from a few hours to a few days to complete the project.
Can I use pre-made boxes instead of building them from scratch?
Yes, if you prefer a faster option or don’t have the necessary woodworking tools, you can repurpose a pre-made box and add a mirror to the lid. Just make sure the box is strong enough to hold the weight of the mirror.
What types of wood are best for making jewelry boxes?
Hardwoods such as oak, mahogany or walnut are commonly used for jewelry boxes because of their durability and beauty. However, you can also use plywood or MDF for a more affordable option.
Can I customize the compartments and dividers inside my jewelry box?
Absolutely! You are free to customize the compartments and dividers to fit your specific jewelry collection. Measure your jewelry pieces and create the right size compartments to keep everything organized.
How do I clean and maintain my mirror jewelry box?
To clean the mirror, use a soft, lint-free cloth and a mild glass cleaner. Avoid using harsh chemicals or abrasive materials that may damage the surface of the mirror. For wooden parts, simply wipe them with a clean, damp cloth and make sure they are completely dry to prevent warping or discoloration.