How to Make a Mirror Jewelry Cabinet?
Are you tired of untangling your necklaces and searching for matching earrings every time you need to accessorize? A mirrored jewelry armoire is the perfect solution to keep your jewelry organized and easily accessible. In this article, we’ll walk you step-by-step through the process of making your own mirrored jewelry armoire. Get ready to showcase your creativity and craftsmanship while adding functionality to your living space!
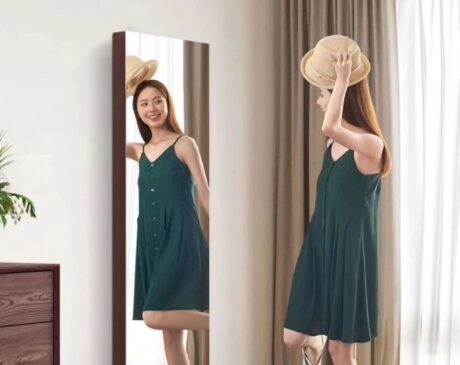
A mirrored jewelry cabinet combines the practicality of a mirror with the functionality of a jewelry organizer. It not only adds style to your room, but also provides a convenient storage solution for your precious accessories. With a mirrored jewelry armoire, you can easily see how your jewelry complements your outfit and effortlessly find the perfect piece of jewelry for any occasion.
Benefits of mirrored jewelry cabinets
Before we dive into the DIY process, let’s explore the benefits of having a mirrored jewelry armoire:
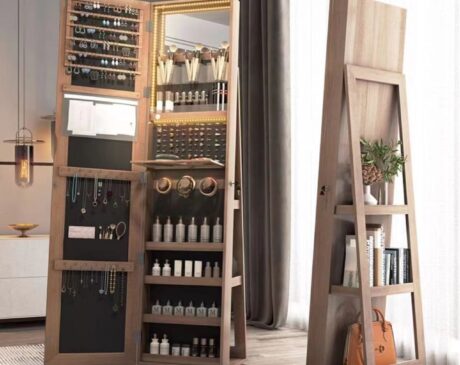
Organized storage: Mirrored jewelry cabinets offer dedicated compartments and hooks to store different types of jewelry, making them tangle-free and easy to find.
Space optimization: By combining mirrors and jewelry organizers, you can save valuable room space, especially if you have limited storage space.
Protection and security: Mirrored jewelry cabinets provide a safe and secure place to store your jewelry, protecting it from dust, damage, and potential theft.
Convenience: With all your jewelry in one place, you can quickly select the accessories that complement your outfit without wasting time searching through multiple boxes or drawers.
Aesthetic appeal: Mirrored jewelry cabinets come in a variety of designs and styles, so you can choose the one that matches your room decor and adds a touch of elegance to your space.
Choose the right cabinet
When choosing a mirrored jewelry cabinet, the following factors should be considered:
Size and design
Assess the available space in your room and choose the right size cabinet without taking up too much space. Consider design elements such as frame style, color and overall aesthetics to ensure it complements the décor of your room.
Storage Capacity
Evaluate your jewelry collection and determine the storage capacity you need. Look for cabinets with different types of compartments, hooks and shelves to accommodate a variety of jewelry items, including necklaces, bracelets, earrings and rings.
Materials and quality
Choose a mirrored jewelry cabinet made of durable materials such as wood or metal. Make sure the construction is sturdy, the mirrors are of high quality, and the cabinet hardware is strong and fully functional.
Tools and materials needed
To create your own mirrored jewelry cabinet, gather the following tools and materials:
- Wood or plywood
- Mirrors
- Hinges
- Knobs or handles
- Drill bits
- Screws
- Screwdriver
Step-by-Step Guide
Now that you have gathered all the necessary tools and materials, let’s dive into the step-by-step process of making a mirrored jewelry cabinet:
Preparing Materials
Measure and cut the wood or plywood according to the desired dimensions of the cabinet. Consider the depth, width and height according to your storage needs and available space.
Sand the edges and surfaces of the cut lumber to ensure a smooth finish. You can use sandpaper or a sander for this task.
Building the frame
Assemble the wooden blocks to create the frame of the jewelry cabinet. Use screws and drill bits to secure the joints firmly.
Attach the hinges to one side of the frame so that the cabinet doors can open and close smoothly. Make sure they are properly aligned and securely fastened.
Installing the mirror
Measure the dimensions of the back panel of the cabinet frame. Cut the mirror accordingly, leaving a slight margin to accommodate the frame.
Apply strong adhesive or mirror tape to the back of the mirror. Carefully place it on the back panel of the frame, making sure it is perfectly aligned.
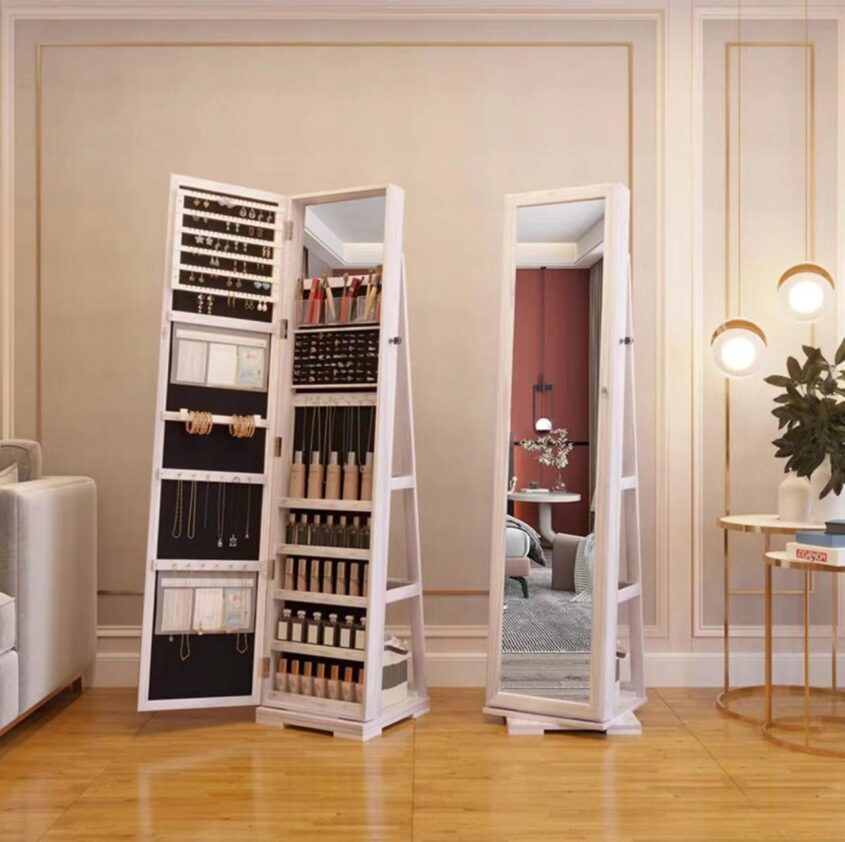
Installing Jewelry Storage
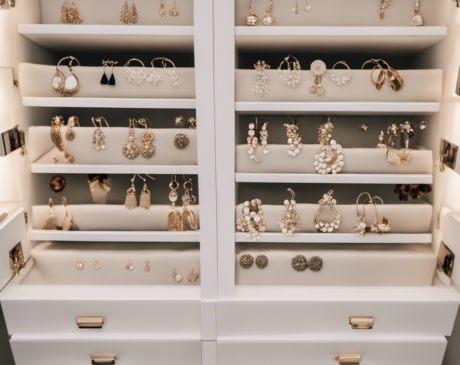
Determine the layout of your jewelry storage. You can add hooks, compartments, shelves, or even small drawers. Consider your jewelry collection and how you want to organize it.
Install the jewelry storage elements inside the cabinets, making sure they are secure and provide enough space for each type of jewelry item.
Wrap up and customize
Now that the main structure is complete, it’s time to add some personalization and finishing touches to your mirrored jewelry cabinet:
Paint or stain the wood frame in a color that complements the room’s decor. You can also add decorative elements, such as trim or molding, to enhance the look.
Install knobs or handles on cabinet doors for ease of use and a stylish touch.
Consider adding other features to your cabinets, such as LED lights, to enhance visibility and let your jewelry shine.
Maintenance
To ensure the longevity of your mirrored jewelry cabinet, follow these maintenance tips:
Clean the mirror regularly using a non-abrasive glass cleaner and a soft cloth to remove any smudges or fingerprints.
Dust the cabinet’s interior compartments and surfaces regularly to prevent dust and debris buildup.
Avoid placing the cabinet in direct sunlight or in areas of excessive humidity to protect the mirror and your jewelry.
Creating your own mirrored jewelry cabinet is a DIY project that is both practical and aesthetically pleasing. Following the step-by-step guide outlined in this article, you can design and build a personalized cabinet that fits your storage needs and complements your room’s decor. Say goodbye to tangled necklaces and misplaced earrings and enjoy the convenience of having all your jewelry neatly organized in one place.
FAQ (Frequently Asked Questions)
Can I customize the size of my mirrored jewelry cabinet?
Absolutely! You can adjust the size of the cabinet to meet your specific requirements and available space.
Do I need advanced woodworking skills to make a mirrored jewelry cabinet?
While basic woodworking skills are beneficial, this project can be tackled by DIY hobbyists of all skill levels. Take your time, follow the instructions, and enjoy the process.
Can I use materials other than wood?
Yes, you can explore other materials such as metal or even repurpose old cabinets with mirrors. The key is to ensure stability and functionality.