What Materials Can Liquid Nails Be Used On?
Liquid Nails can bond to a variety of materials like wood, metal, concrete, brick, ceramic, drywall, and glass. Its versatility allows for use in different projects with strong adhesive properties. It's crucial to consider material compatibility, surface preparation, and curing time for optimal results. For glass surfaces, factors like smoothness, thickness, and temperature affect the bonding process. Cleaning, priming, and applying the adhesive properly enhance adhesion strength. Understanding specific guidelines for each material type ensures durable and long-lasting bonds. Discover more about recommended application techniques for various materials.
Key Takeaways
- Wood, metal, concrete, brick, ceramic, and drywall are common materials suitable for Liquid Nails applications.
- Prioritize compatibility and durability for long-lasting bonds on various surfaces.
- Consider specific adhesive formulations for different material types for optimal adhesion.
- Glass surfaces require special consideration for smoothness, porosity, and thickness for strong bonds.
- Proper surface preparation, application techniques, and curing time are crucial for effective bonding on different materials.
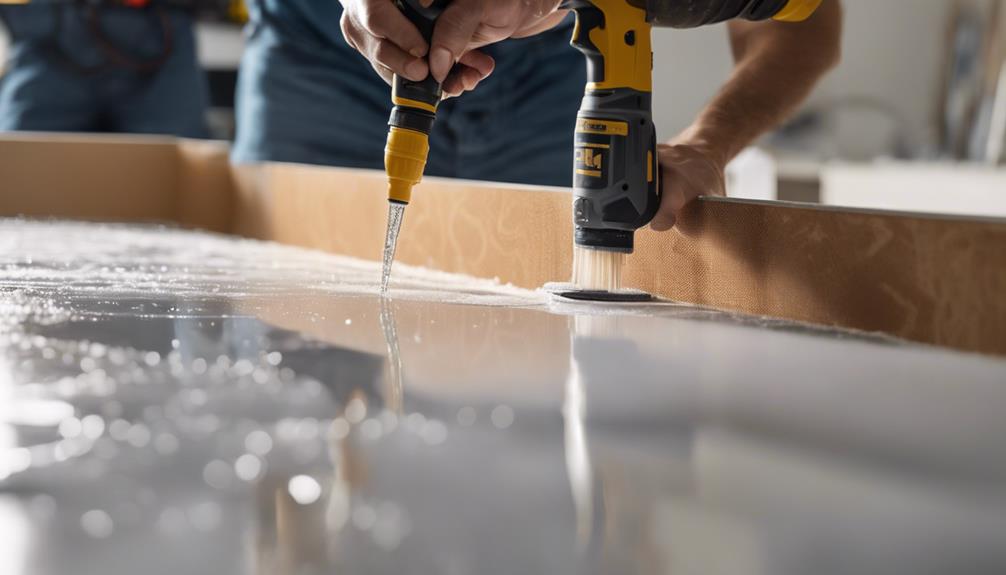
Wood

When selecting materials for Liquid Nails application on wood, prioritize durability and compatibility for optimal bonding. Wood, a versatile and widely used material, requires specific considerations to ensure a strong and lasting bond when using Liquid Nails adhesive. Opt for high-quality wood that is clean, dry, and free of any coatings or finishes that may hinder adhesion. Softwoods like pine or cedar are commonly used in woodworking projects and are generally suitable for bonding with Liquid Nails.
To enhance the bond strength, consider roughening the wood surface with sandpaper to create more texture for the adhesive to grip onto. Additionally, ensure that the wood surfaces fit together snugly without any gaps, as this can compromise the effectiveness of the adhesive. Liquid Nails offers specialized formulas designed for wood applications, providing superior adhesion and durability for various woodworking projects.
Metal
Selecting the appropriate metal for Liquid Nails application involves considering factors such as compatibility, surface preparation, and the specific adhesive formula for optimal bonding strength. When working with metal surfaces, Liquid Nails can be a versatile and reliable adhesive solution, providing a strong bond when used correctly. Here are some key points to keep in mind when using Liquid Nails on metal surfaces:
- Surface Cleanliness: Ensure the metal surface is clean and free of dust, rust, or oil for better adhesion.
- Adhesive Selection: Choose the right Liquid Nails formula based on the metal type to ensure maximum bonding strength.
- Application Technique: Apply the adhesive in a consistent manner, ensuring proper coverage for a secure bond.
- Curing Time: Allow sufficient time for the adhesive to cure and set properly to achieve the desired bond strength.
Concrete
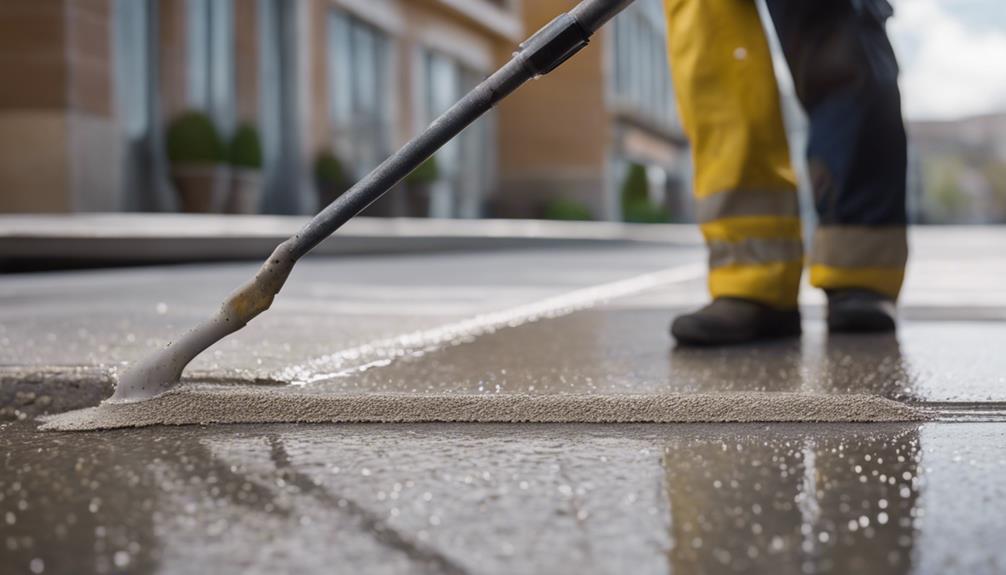
For optimal adhesion on concrete surfaces, it is essential to carefully consider the compatibility between the concrete composition and the specific Liquid Nails formula being used. Concrete's porous nature requires a strong adhesive like Liquid Nails to form a lasting bond. When choosing a Liquid Nails product for concrete applications, look for formulas designed to withstand the harsh conditions often present in concrete structures, such as moisture and temperature fluctuations.
Liquid Nails offer specialized formulations that cater to concrete substrates, providing superior adhesion and durability. These formulas are engineered to bond effectively with concrete, offering a reliable solution for various projects, from construction to repairs. Whether you are working on concrete walls, floors, or countertops, selecting the right Liquid Nails product can make a significant difference in the longevity and strength of your project.
Innovations in adhesive technology have led to advanced formulas that enhance the bond strength between Liquid Nails and concrete surfaces. By understanding the properties of both the concrete and the adhesive, you can achieve optimal results in your concrete applications.
Brick
To ensure strong adhesion on brick surfaces, understanding the compatibility between the brick composition and the specific Liquid Nails formula is key. When working with brick, Liquid Nails can be a reliable adhesive choice, offering a durable bond for various projects. Here are some key points to consider when using Liquid Nails on brick:
- Porosity: Bricks vary in porosity, with some absorbing liquids more readily than others. Liquid Nails should be applied generously to ensure it fills the gaps effectively.
- Texture: The rough texture of bricks may require more adhesive to create a secure bond. Choosing a high-strength Liquid Nails formula can help compensate for the uneven surface.
- Moisture Resistance: Opt for a Liquid Nails product that offers moisture resistance when working with exterior brick surfaces to ensure long-lasting adhesion.
- Curing Time: Allow sufficient time for the Liquid Nails to cure and bond with the brick surface properly before subjecting it to heavy loads or stress.
Ceramic
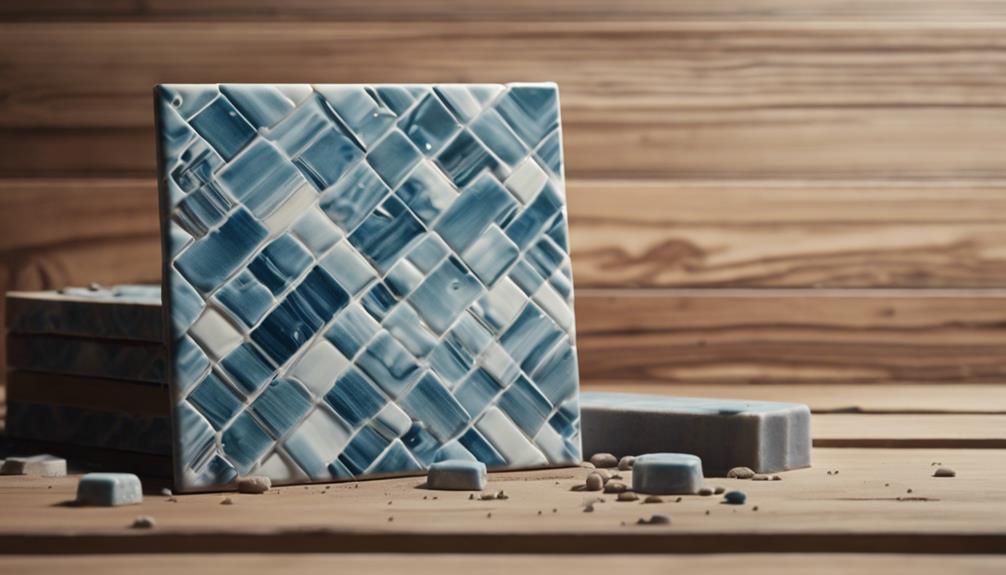
Ceramic surfaces require a strong adhesive for secure attachment, making Liquid Nails an ideal choice due to its ability to form a reliable bond on ceramics. Its versatility extends to tiling projects, where it can securely attach ceramic tiles in various settings. Whether for DIY projects or professional installations, Liquid Nails offers a dependable solution for bonding ceramic materials.
Strong Bond on Ceramics
Achieving a strong bond on ceramics requires selecting the appropriate materials with precise adhesive properties. When using Liquid Nails on ceramics, consider the following:
- Surface Preparation: Ensure the ceramic surface is clean, dry, and free of any dust or debris.
- Adhesive Selection: Choose a Liquid Nails formula designed specifically for bonding with ceramics.
- Application Technique: Apply the adhesive in a consistent and even manner to maximize contact with the ceramic surface.
- Curing Time: Allow sufficient time for the adhesive to cure and create a strong, durable bond with the ceramics.
Versatile for Tiling
When considering tiling applications, Liquid Nails demonstrates its versatility and reliability for bonding ceramic tiles securely in place. Liquid Nails' advanced formula provides a strong adhesive bond that ensures the ceramic tiles stay firmly attached, even in high-moisture areas like bathrooms and kitchens. Unlike traditional tile adhesives, Liquid Nails offers a quicker curing time, allowing for faster tile installations without compromising on durability. This innovative adhesive not only simplifies the tiling process but also enhances the longevity of the ceramic tiles, preventing them from loosening or shifting over time. Whether it's for a small home renovation project or a large-scale commercial installation, Liquid Nails proves to be a valuable solution for achieving professional and long-lasting results in tiling applications.
Securely Attach Ceramic
To ensure a secure attachment of ceramic tiles, the proper application of Liquid Nails adhesive is essential for long-lasting and reliable results. When using Liquid Nails for ceramic projects, consider the following:
- Clean the ceramic surface thoroughly to remove any dust or debris.
- Apply Liquid Nails in small, consistent beads to ensure even distribution.
- Press the ceramic firmly into place, allowing the adhesive to bond effectively.
- Use clamps or supports to hold the ceramic in position until the adhesive sets.
Drywall
Drywall serves as a fundamental material in countless construction and renovation projects due to its versatile applications and durability. When it comes to using Liquid Nails on drywall, it proves to be a reliable adhesive for various purposes. Liquid Nails can securely bond drywall to wooden studs, metal frames, or concrete surfaces, providing a strong and long-lasting hold. Whether installing drywall panels, attaching corner beads, or mounting fixtures and trims, Liquid Nails offers a convenient and effective bonding solution.
One innovative application of Liquid Nails on drywall is in soundproofing projects. By applying Liquid Nails between drywall layers or attaching soundproofing materials to drywall, it helps create a more acoustically efficient space. Additionally, Liquid Nails can be used to fix cracks or gaps in drywall, reinforcing the structure and preventing further damage.
Glass
Glass is a unique material that requires special attention when using Liquid Nails. Understanding the compatibility of Liquid Nails with glass surfaces, the bonding strength it provides, and practical application tips are crucial for successful bonding projects involving glass. By considering these points, you can ensure a secure and lasting bond when working with glass materials.
Glass Surface Compatibility
Glass surfaces, due to their unique properties, pose a specific challenge when considering compatibility with liquid nails. When using liquid nails on glass, consider the following:
- Smoothness: Glass surfaces need to be clean and smooth for optimal adhesion.
- Porosity: Non-porous glass may require special treatment for better bonding.
- Thickness: Thicker glass may require a stronger adhesive formula for secure attachment.
- Temperature: Extreme temperatures can affect the curing process, impacting the bond strength.
Understanding these factors can help ensure a successful bond between liquid nails and glass surfaces, paving the way for innovative and durable applications.
Bonding Strength on Glass
Achieving optimal bonding strength on glass surfaces requires careful consideration of surface preparation and adhesive application techniques. Glass, with its smooth and non-porous nature, presents a unique challenge for adhesion. To enhance bonding strength, it is crucial to ensure that the glass surface is clean, dry, and free of any contaminants that may hinder adhesion. Additionally, using a primer specifically designed for glass can significantly improve the adhesive's ability to bond effectively. When applying Liquid Nails on glass, it is essential to follow the manufacturer's guidelines regarding curing time and pressure for the adhesive to set properly. By paying attention to these details and employing innovative techniques, one can achieve strong and durable bonds on glass surfaces.
Application Tips for Glass
To maximize adhesion strength on glass surfaces when using Liquid Nails, meticulous attention to surface preparation and adhesive application techniques is essential. When working with glass, consider the following application tips:
- Clean the surface thoroughly: Use a glass cleaner to remove any dust, debris, or oils that could hinder adhesion.
- Use a primer: Applying a primer specifically designed for glass surfaces can enhance the bonding strength.
- Apply the adhesive in a zigzag pattern: This method ensures even distribution and maximum contact between the adhesive and the glass surface.
- Allow for proper curing time: Follow the manufacturer's instructions regarding curing time to achieve optimal bond strength.
Frequently Asked Questions
Can Liquid Nails Be Used on Plastic Surfaces?
In the realm of adhesives, Liquid Nails exhibits versatility by bonding various materials, including plastic surfaces. Its innovative formula creates strong connections, making it a reliable choice for adhering plastics with precision and durability.
Is Liquid Nails Suitable for Outdoor Applications?
Liquid Nails is indeed suitable for outdoor applications, providing a strong and durable bond for various materials. Its weather-resistant properties make it a reliable choice for outdoor projects, ensuring long-lasting performance in challenging environments.
Can Liquid Nails Be Used on Painted Surfaces?
Adhering to painted surfaces, Liquid Nails offers a reliable bond. Its innovative formula ensures a strong hold, making it suitable for various applications. Utilize this adhesive with confidence for your projects on painted surfaces.
How Long Does Liquid Nails Take to Fully Cure?
Liquid Nails typically takes 24 to 48 hours to fully cure, depending on environmental conditions such as temperature and humidity. It is important to allow sufficient time for proper bonding and strength development.
Can Liquid Nails Be Used on Flexible Materials Like Rubber or Vinyl?
Just as a skilled artisan adapts their craft to different mediums, Liquid Nails embraces versatility. While formulated for various surfaces, its bond with flexible materials like rubber and vinyl may lack durability over time.