Why Is My UV Lamp Not Curing My Nails?
If your UV lamp isn't curing your nails, check the power source. Make sure the lamp plug is secure. Avoid using extension cords. Position your nails directly under the lamp. Ensure you're using the correct wattage bulb. Clean the lamp to prevent dust. If you want to uncover more tips for optimal curing, explore further into the factors affecting the process.
Key Takeaways
- Check for inadequate UV lamp power source, correct wattage, clean lamp, and proper nail positioning.
- Ensure old or weak bulbs are replaced promptly for efficient curing results.
- Properly prep nails, avoid lotion, and follow gel polish instructions for optimal curing.
- Maintain UV lamp by cleaning reflectors, checking compatibility, and regular maintenance.
- Focus on hand positioning, curing environment, and follow manufacturer's guidelines for effective curing.
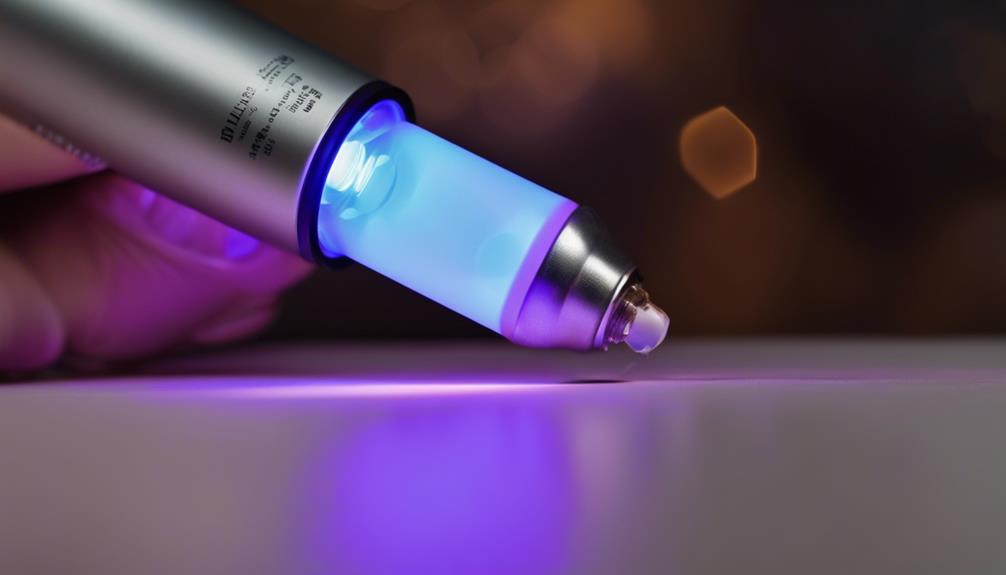
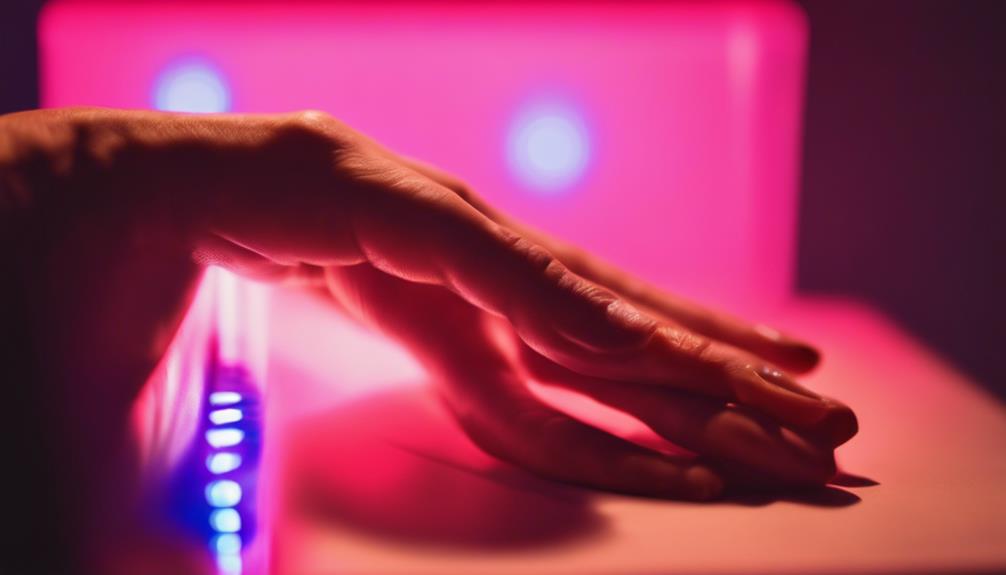
Inadequate UV Lamp Power
If your UV lamp seems dim and your nail polish isn't curing properly, the issue might be inadequate power. Check if the power source is working correctly and if the lamp is plugged in securely. Sometimes, using an extension cord can lead to power loss, so try plugging the lamp directly into a wall outlet. Make sure the wattage of the bulb matches the lamp specifications; using the wrong wattage can result in insufficient curing power.
To ensure proper curing, keep the lamp clean and free of dust or residue that could block the UV light. Position your nails directly under the lamp for even exposure. If you've had the lamp for a while, consider replacing the bulbs as they may have weakened over time. Remember, a powerful UV lamp is essential for efficient and quick nail curing. By addressing power issues promptly, you can enjoy flawless nails without delays.
Incorrect Lamp Placement
To maximize the effectiveness of your UV lamp for nail curing, ensure that your lamp is positioned correctly to avoid Incorrect Lamp Placement. Placing your hand too close or too far from the lamp can lead to uneven curing or even no curing at all. Make sure your nails are directly under the UV lamp and as close to the center as possible. Avoid having your hand positioned at an angle that causes shadows or blocks the UV light from reaching all parts of the nails.
Incorrect lamp placement can result in some nails getting cured while others remain tacky or uncured. This can be frustrating after spending time on a manicure. Take a moment to adjust the position of your hand and ensure that all nails are evenly exposed to the UV light. By paying attention to the correct placement of your UV lamp, you can achieve beautiful, fully cured nails every time.
Old or Weak Bulbs
Check the brightness of your UV lamp to determine if old or weak bulbs are affecting the curing process. If your nails aren't curing properly, dim or flickering light could be the culprit.
Over time, UV bulbs lose their strength, leading to inefficient curing. To fix this issue, replace any bulbs that are past their prime. Keeping your UV lamp equipped with fresh bulbs ensures your nail polish sets correctly and lasts longer.
Don't let lackluster bulbs dim your nail game – swap them out for new ones! Remember, bright bulbs equal flawless nails. So, give your UV lamp the power it needs to make your nails pop.
Get rid of those weak links and bask in the glow of perfectly cured nails. Your manicure should shine just as bright as you do, and fresh bulbs are the key to achieving that radiant look.
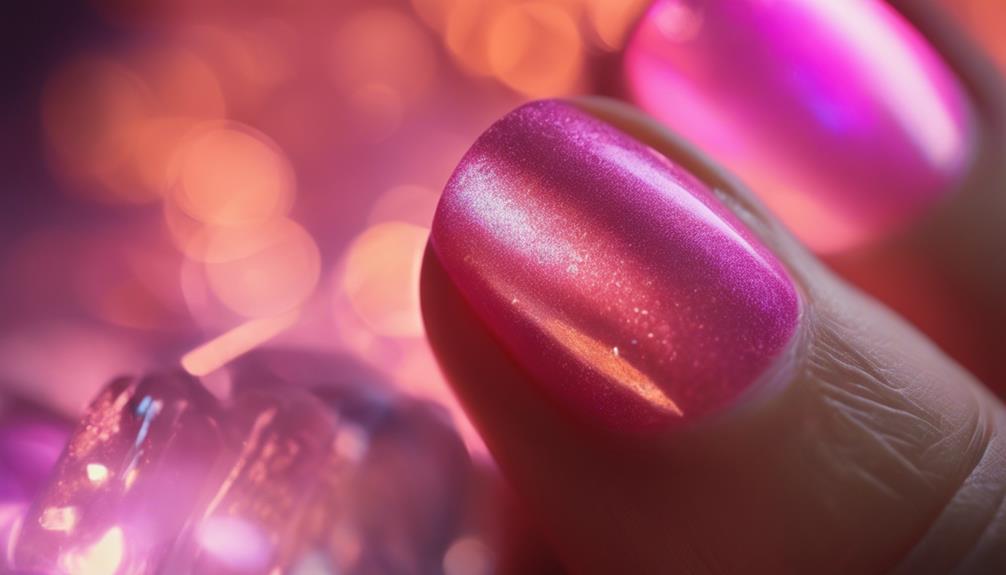
Improper Nail Preparation
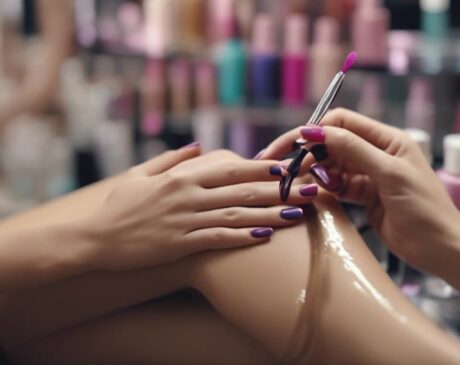
Improper nail preparation can significantly impact the effectiveness of your UV lamp for curing. Before using the UV lamp, ensure your nails are clean and dry. Residual oils, lotions, or moisture on your nails can create a barrier, preventing the gel polish from curing properly. Use a gentle nail polish remover to clean your nails thoroughly and avoid using hand lotion right before applying the gel polish.
Additionally, roughen up the surface of your nails slightly with a buffer or a gentle nail file. This step helps the gel polish adhere better to your nails, ensuring a more even and thorough cure under the UV lamp. Take care not to over-buff, as this can weaken your nails. Properly prepped nails provide a smooth canvas for the gel polish to bond to, leading to a longer-lasting and more durable manicure.
Insufficient Cure Time
Ensure that your gel polish receives adequate exposure to the UV light by avoiding rushing the curing process. It's crucial to allow enough time for the UV lamp to properly cure your nails for a long-lasting finish. Here are some tips to make sure you're giving your nails the time they need under the UV lamp:
- Avoid multitasking: Focus on curing one hand at a time to ensure each nail gets sufficient exposure.
- Follow manufacturer's instructions: Different gel polishes may require varying curing times, so be sure to follow the guidelines provided.
- Check for proper positioning: Ensure your nails are positioned correctly under the UV lamp for even curing.
- Consider double-curing: If you're unsure about the curing time, try giving your nails an extra few seconds under the UV lamp for added assurance.
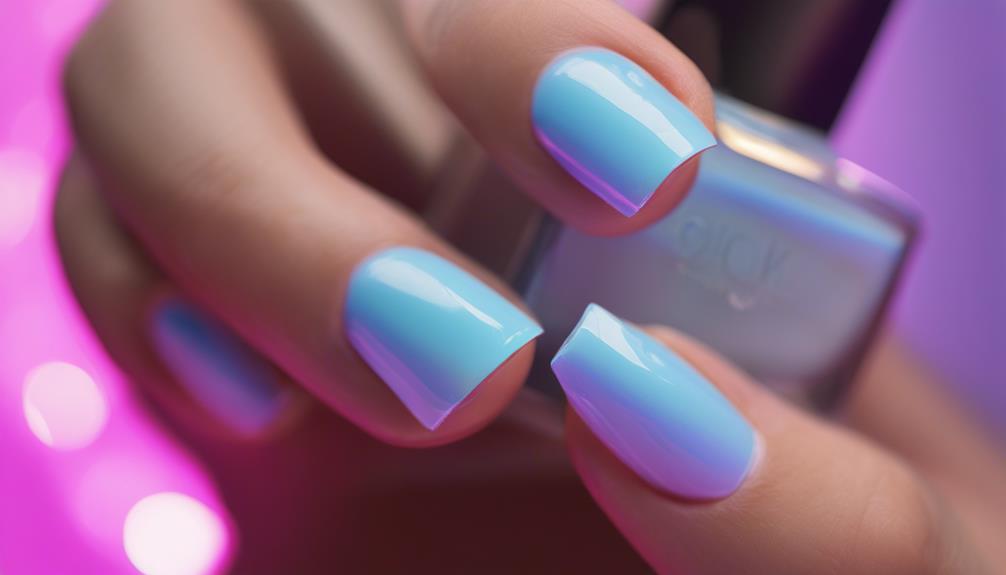
Gel Thickness Issues
To achieve optimal curing results with your UV lamp, pay attention to the thickness of the gel applied on your nails. When applying gel polish, ensure that each layer is thin and even. Thick layers can block the UV light from penetrating through, leading to incomplete curing. If you notice that your nails aren't curing properly, consider applying thinner coats to allow the UV light to reach all layers effectively.
Moreover, excessive gel thickness can also result in a sticky residue on the cured surface. This sticky layer, known as the inhibition layer, occurs when the gel isn't fully cured. To prevent this, make sure each layer is cured properly under the UV lamp before applying the next one.
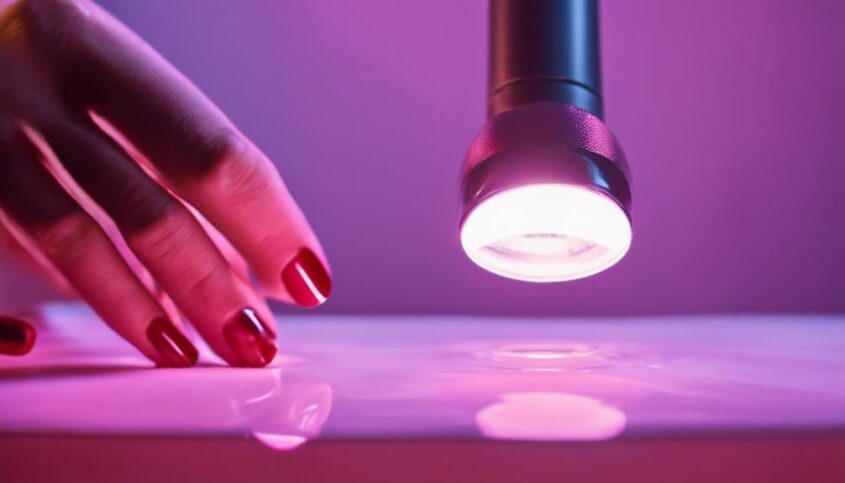
UV Lamp Distance
You need to pay attention to the proper positioning of your UV lamp when curing your nails. Ensuring the right distance between the lamp and your nails is crucial for effective curing.
Don't forget to adjust the timer settings as per the manufacturer's recommendations for optimal results.
Proper Lamp Positioning
Position the UV lamp at the recommended distance to ensure proper curing of the nail polish. To make sure you get the best results, consider the following tips:
- Maintain Consistency: Keep the lamp at the same distance throughout the curing process.
- Avoid Interference: Ensure there are no obstructions between the lamp and your nails.
- Mind the Angles: Position your nails directly under the lamp for even curing.
- Adjust When Needed: If the curing is uneven, try moving the lamp slightly closer or further away.
Timer Settings Importance
Maintain optimal curing results by ensuring precise timer settings when using the UV lamp at the recommended distance. Setting the timer according to the gel polish manufacturer's instructions is crucial for achieving the perfect cure. Over-curing can lead to brittle nails, while under-curing can result in chipping and peeling.
To enjoy long-lasting, salon-quality nails, pay attention to the timer settings every time you use the UV lamp. Remember, following the recommended curing times ensures your nails look flawless and last longer.
Take control of your nail curing process by setting the timer accurately and enjoy beautiful, durable nails without the need for frequent touch-ups.
Unclean Lamp Reflectors
When your lamp reflectors are dirty, they can hinder the curing process for your nails. Make sure to clean the reflectors regularly to maintain efficiency.
Dirty reflectors can lead to uneven curing and longer curing times.
Dirty Reflectors Affect Curing
To ensure optimal curing results, regularly clean the reflectors of your UV lamp to prevent any interference with the curing process. Dirty reflectors can hinder the proper distribution of UV light, leading to incomplete cures and potential nail damage.
To address this issue effectively, consider the following:
- Wipe down the reflectors with a soft, lint-free cloth.
- Use a gentle cleanser to remove any buildup or residue.
- Ensure the reflectors are completely dry before using the UV lamp again.
- Regularly inspect the reflectors for any smudges or dirt accumulation.
Clean Reflectors for Efficiency
Regularly cleaning the lamp reflectors is essential for maximizing the efficiency of your UV curing process. When reflectors are dirty, they can block or scatter UV light, reducing its effectiveness in curing your nails.
To ensure optimal curing results, take a soft cloth with some gentle cleaner and wipe down the reflectors. Make sure to do this regularly to prevent any buildup that could hinder the curing process.
By keeping the reflectors clean, you allow the UV light to bounce off them more effectively, ensuring that your nails receive the full curing power they need.
Gel Brand Compatibility
Selecting the right gel brand for your UV lamp is crucial to ensure optimal curing results. When it comes to gel brand compatibility, there are a few key points to consider:
- Chemical Composition: Check if the gel brand you're using is designed to cure under UV light.
- Curing Time: Different gel brands may require varying curing times, so ensure it aligns with your UV lamp specifications.
- UV Intensity: Some gel brands may need a specific UV intensity to cure correctly, so match it with your lamp's power.
- Recommendations: Research or ask for recommendations on gel brands that work best with your specific UV lamp model.
Frequently Asked Questions
Can Using a UV Lamp With Higher Wattage Than Recommended Speed up the Curing Process?
If you're wondering if a higher wattage UV lamp can speed up curing, it's best to stick to the recommended wattage for optimal results. Using a higher wattage can potentially cause issues with curing.
How Can I Tell if My UV Lamp Bulbs Need to Be Replaced?
To check if your UV lamp bulbs need replacement, observe any dimming or flickering during curing, as this indicates worn-out bulbs. Proper maintenance ensures efficient curing. Replace bulbs promptly to maintain optimal performance and achieve the desired results.
Are There Any Specific Nail Preparation Steps That Can Help Improve Curing Results With a UV Lamp?
To improve curing results with a UV lamp, ensure nails are clean, dry, and buffed. Apply thin, even layers of gel polish, avoiding skin contact. Cure each layer for the recommended time. Remember, proper preparation leads to flawless nails!
Can Using a Gel Polish From a Different Brand Affect the Curing Process With a UV Lamp?
Using a gel polish from a different brand might impact how your UV lamp cures your nails. Mixing brands can cause compatibility issues that affect the curing process. Stick to one brand for best results and ensure proper curing.
Is There a Specific Distance That the UV Lamp Should Be From the Nails for Optimal Curing Results?
For optimal curing results with a UV lamp, ensure the lamp is positioned about 1-2 inches away from your nails. Maintaining this distance helps the gel polish cure evenly and effectively, giving you long-lasting and beautiful nails.