Will Liquid Nails Stick to Drywall?
Liquid Nails can effectively bond to drywall when applied correctly. Preparation, cleanliness, and surface texture impact adhesion. Application techniques such as zigzag patterns or dots help achieve a strong bond. Allow proper drying time and curing for maximum strength. Following best practices ensures durability. For more details on achieving optimal results, explore factors influencing adhesion strength and specific application techniques.
Key Takeaways
- Proper surface preparation is crucial for strong adhesion.
- Liquid Nails adheres well to porous drywall surfaces.
- Adhesive application technique affects bonding strength.
- Temperature and humidity impact adhesion performance.
- Allow sufficient curing time for maximum bond strength.
Compatibility of Liquid Nails With Drywall
When considering the compatibility of Liquid Nails with drywall, it is essential to understand the adhesive properties and application requirements to ensure a successful bond. Liquid Nails, known for its versatile bonding capabilities, can indeed adhere well to drywall when applied correctly. The key lies in preparing the surfaces adequately before application.
Drywall, being a porous material, requires the adhesive to penetrate its surface for a strong bond. Therefore, ensuring that the drywall is clean, dry, and free of any dust or debris is crucial. Additionally, using the right amount of adhesive is essential; too little may result in a weak bond, while too much can lead to a messy application.
Liquid Nails' advanced formula provides a reliable bond on drywall when used according to the manufacturer's instructions. Its innovative technology allows for a durable and long-lasting adhesion, making it a popular choice for various construction and DIY projects. By following proper application techniques and understanding the characteristics of both the adhesive and drywall, a strong and lasting bond can be achieved.
Factors Affecting Adhesion Strength
Various variables significantly influence the strength of adhesion between Liquid Nails and drywall surfaces. One crucial factor is the cleanliness and dryness of the drywall surface. Any dust, dirt, or moisture present on the drywall can weaken the bond between the Liquid Nails adhesive and the surface. Additionally, the temperature and humidity levels of the environment where the adhesive is applied play a vital role in determining the adhesion strength. Extreme temperatures or high humidity can impact the curing process of the adhesive, affecting its ability to form a strong bond with the drywall.
The type of drywall texture also affects adhesion strength. Smooth surfaces provide better contact for the adhesive to grip onto, resulting in a stronger bond compared to heavily textured surfaces. Furthermore, the thickness and composition of the drywall can influence how well Liquid Nails adheres to the surface. Thicker or denser drywall may require additional adhesive or specific application techniques to achieve optimal adhesion strength. By considering these factors, users can enhance the performance of Liquid Nails on drywall surfaces and ensure a durable bond.
Preparation Steps for Drywall Surface
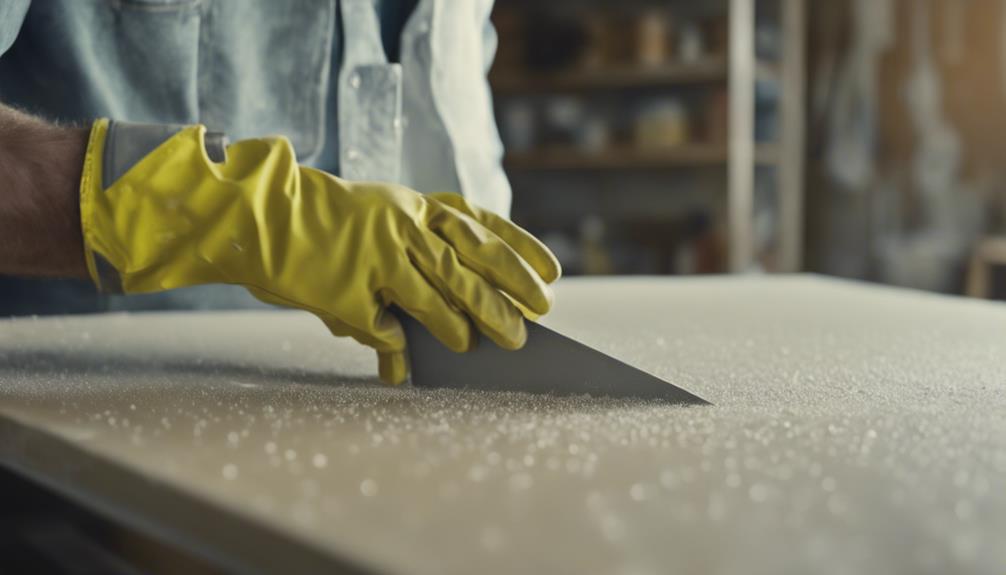
To ensure proper adhesion, the first step in preparing a drywall surface is thorough cleaning to remove dust, dirt, and any other debris. Following this, the application of the adhesive, such as Liquid Nails, should be done according to the manufacturer's instructions to guarantee a strong bond between the drywall and the material being attached. These preparation steps are crucial in achieving a durable and long-lasting result when working with drywall surfaces.
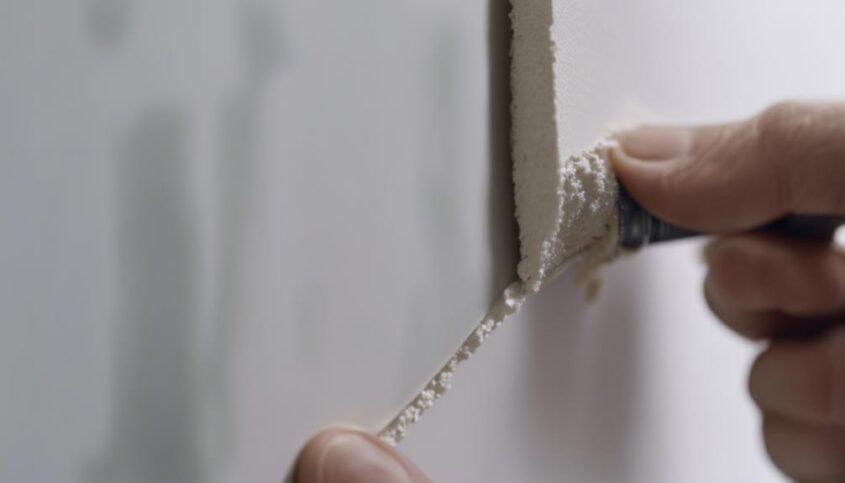
Surface Cleaning Steps
Before applying Liquid Nails to drywall, it is essential to thoroughly clean the surface to ensure proper adhesion. Start by removing any dust, debris, or grease from the drywall surface. Use a clean cloth or a vacuum to eliminate loose particles. For optimal adhesion, consider wiping the area with a damp cloth or sponge to remove any remaining dirt or residues. Ensure the drywall surface is completely dry before proceeding with the application of Liquid Nails. Proper surface cleaning is crucial in creating a strong bond between the adhesive and the drywall, ultimately leading to a more durable and long-lasting result. By following these surface cleaning steps, you pave the way for a successful application of Liquid Nails on drywall.
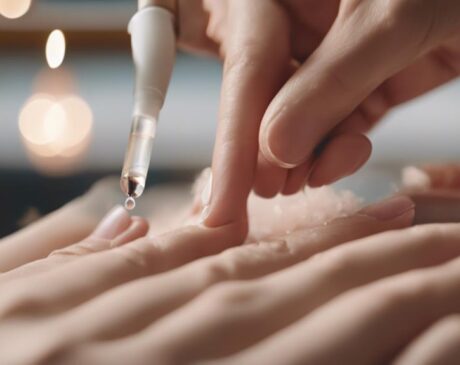
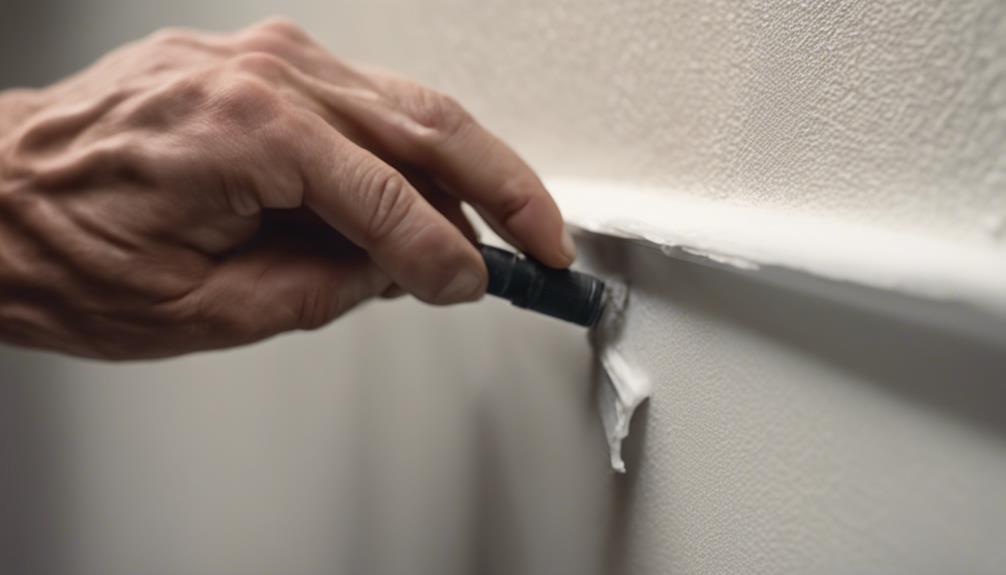
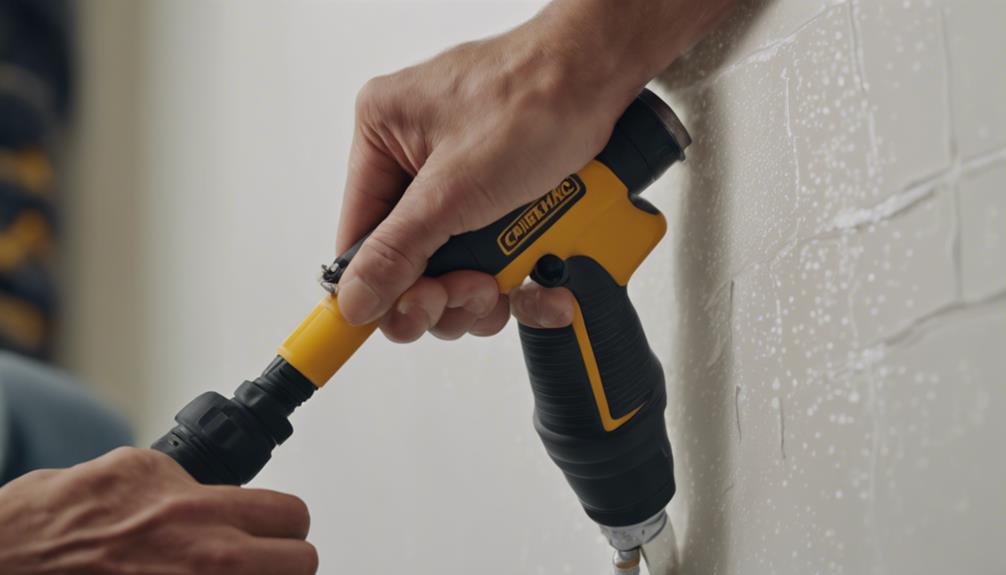
Proper Adhesive Application
Ensuring a meticulous application of adhesive plays a pivotal role in preparing the drywall surface for optimal bonding with Liquid Nails. Before applying the adhesive, it is crucial to inspect the drywall surface for any imperfections or debris that could hinder proper adhesion. Begin by cutting the tip of the adhesive tube at a 45-degree angle to control the flow and apply the adhesive in a zigzag pattern across the back of the item being mounted. Press firmly to ensure full contact with the drywall surface. Allow ample time for the adhesive to cure as per the manufacturer's instructions before subjecting it to any weight or stress. Following these precise steps will enhance the bond strength and durability of the adhesive attachment.
Application Techniques for Liquid Nails
Applying Liquid Nails correctly is essential for ensuring a strong and lasting bond between materials. To maximize the adhesive's effectiveness, follow these innovative application techniques:
| Application Technique | Description |
|---|---|
| Surface Preparation | Ensure surfaces are clean, dry, and free of dust to promote optimal adhesion. |
| Bead Placement | Apply Liquid Nails in a zigzag pattern or in small dots to cover the surface evenly. Avoid applying too much adhesive, as excess can weaken the bond. |
| Pressing and Holding | After placing the materials together, firmly press and hold them for a few minutes to allow the adhesive to set properly. Use clamps or weights if needed to keep the materials in place during drying. |
Drying Time and Curing Process

Understanding the drying time and curing process of Liquid Nails is crucial for ensuring a strong bond. Factors such as temperature and humidity can affect the drying time, while the curing process involves the adhesive reaching its maximum strength. By comprehending these aspects, users can optimize the application of Liquid Nails for various projects.
Drying Time Factors
In the realm of adhesive applications, the drying time and curing process play crucial roles in determining the effectiveness and durability of the bond formed on surfaces such as drywall. When considering drying time factors for Liquid Nails on drywall, certain key points should be taken into account:
- Temperature: Higher temperatures generally result in faster drying times.
- Humidity: Lower humidity levels facilitate quicker drying.
- Ventilation: Adequate airflow can expedite the drying process.
- Thickness of Application: Thicker layers may require more time to dry completely.
- Surface Porosity: The porosity of the drywall can impact drying times.
Curing Process Details
Considering the optimal conditions for drying time, the curing process of Liquid Nails on drywall is a critical aspect to understand for ensuring a strong and lasting bond between the adhesive and the surface. After application, Liquid Nails typically sets in about 15 minutes, allowing for repositioning within the first 10 minutes. However, full curing of the adhesive can take up to 7 days, depending on factors such as temperature, humidity, and the thickness of the adhesive layer. It is recommended to avoid putting stress on the bond during this curing period to allow for maximum strength development. Monitoring the curing process and allowing sufficient time for complete drying will ensure the effectiveness and durability of the bond between Liquid Nails and drywall.
Testing Adhesion on Drywall
To evaluate the adhesive capabilities of Liquid Nails on drywall, a series of rigorous adhesion tests will be conducted. The tests aim to provide insights into the bonding strength and durability of Liquid Nails when applied to drywall surfaces. Here is an outline of the testing procedures:
- Peel Test: Applying a controlled force to assess the adhesive's resistance to peeling off from the drywall.
- Shear Test: Subjecting the bonded surfaces to a sideways force to measure the adhesive's ability to withstand shearing stress.
- Temperature Resistance Test: Exposing the adhesive joint to varying temperatures to evaluate its performance under different environmental conditions.
- Moisture Exposure Test: Introducing moisture to the bonded area to examine how well the adhesive maintains its grip in humid conditions.
- Impact Test: Simulating impact on the bonded surfaces to determine the adhesive's resilience against sudden forces.
These tests will provide valuable data on the adhesion quality of Liquid Nails on drywall, aiding in making informed decisions for various projects.
Best Practices for Long-Lasting Results
For optimal longevity of adhesive bonds on drywall surfaces, adherence to recommended application techniques is essential. When using Liquid Nails on drywall, following best practices can ensure durable and reliable results. Firstly, it is crucial to prepare the drywall surface properly by cleaning off any dust, debris, or oil that could hinder adhesion. Additionally, ensuring the drywall is structurally sound and free from any damage will provide a solid foundation for the adhesive to bond effectively.
Next, applying the Liquid Nails in a consistent, even manner across the surface will help distribute the adhesive uniformly, minimizing the risk of weak spots or uneven bonding. Using the appropriate amount of adhesive is also key – too little may result in a weak bond, while excess adhesive can lead to squeezing out and wastage.
Lastly, allowing sufficient time for the adhesive to cure completely according to the manufacturer's instructions is vital for maximum strength and durability. By following these best practices, you can achieve long-lasting adhesion when using Liquid Nails on drywall surfaces.
Frequently Asked Questions
Can Liquid Nails Be Used on Painted Drywall?
As intricate as a finely woven tapestry, Liquid Nails can adhere to painted drywall if the surface is prepared properly. Thoroughly clean the area, scuff the paint for better adhesion, and follow manufacturer instructions diligently.
Is Liquid Nails Suitable for Outdoor Drywall Applications?
Liquid Nails, a versatile adhesive known for its strength and durability, offers a range of products designed for various applications. When considering outdoor drywall installations, it's crucial to select the appropriate formula tailored for external environments.
How Long Should Liquid Nails Dry on Drywall Before Applying Weight or Pressure?
When using Liquid Nails on drywall, allow adequate drying time before applying weight or pressure to ensure a secure bond. Follow manufacturer's instructions for specific drying times, typically ranging from 24 to 48 hours for optimal results.
Can Liquid Nails Be Used on Damaged or Uneven Drywall Surfaces?
When addressing damaged or uneven drywall surfaces, it is crucial to assess the severity of the issue. Liquid Nails can offer a strong bond, but for significant damage, consider prepping the area with drywall compound for optimal results.
What Is the Recommended Temperature Range for Applying Liquid Nails to Drywall?
The recommended temperature range for applying Liquid Nails to drywall is typically between 40°F and 90°F. Operating within this range ensures optimal adhesion and curing of the adhesive, promoting a secure bond between the drywall and the substrate.