Will Liquid Nails Stick to Wet Wood?
Liquid Nails can stick to wet wood, but proper preparation is crucial. Make sure the surface is clean and dry. Sand it lightly for better adhesion. Test a small amount on damp areas first. Following the manufacturer's instructions is key. By taking these steps, you'll ensure a strong bond.
Key Takeaways
- Properly prepare wet wood for adhesion.
- Test adhesive on damp surfaces for effectiveness.
- Consider using waterproof formulas for wet conditions.
- Ensure clean, dry surfaces for optimal bonding.
- Follow manufacturer's instructions for best results.
Understanding Liquid Nails Adhesion
If you want to understand how well Liquid Nails sticks to surfaces, it's essential to grasp the basics of its adhesion properties. Liquid Nails, known for its strong bonding capabilities, relies on adhesion to create a lasting connection between materials. The adhesive works by forming a molecular bond that attaches firmly to various surfaces, providing a reliable hold for your projects.
When using Liquid Nails, you can trust its adhesive properties to secure items in place effectively. Whether you're working on woodworking projects, installing paneling, or tackling home repairs, Liquid Nails offers a dependable solution for bonding materials together. Its adhesion strength ensures that your projects stay intact and stable over time, giving you peace of mind.
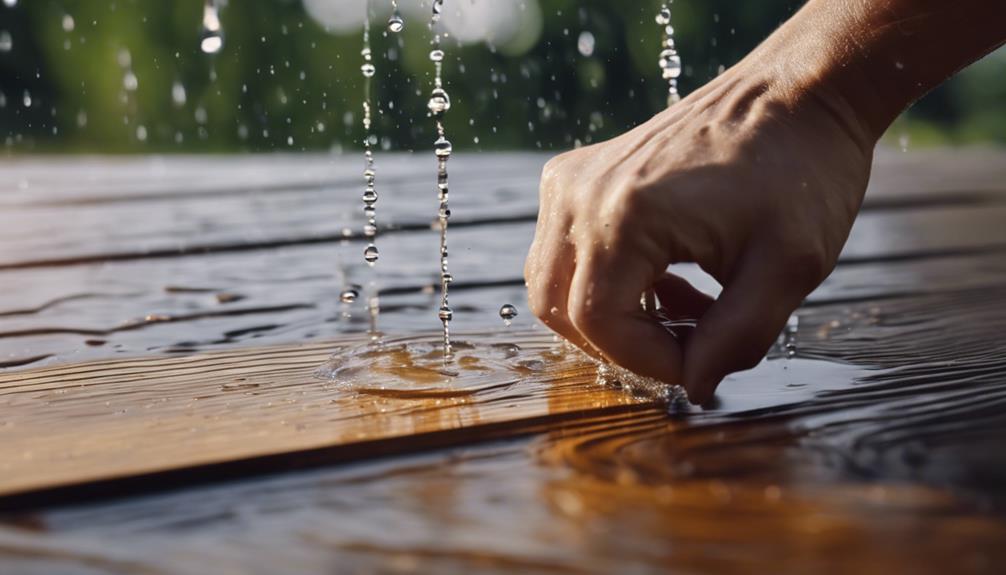
Factors Affecting Bonding to Wet Wood
Understanding how wet wood affects the bonding capabilities of Liquid Nails is crucial for ensuring successful adhesion between materials. When it comes to bonding on wet wood, several factors come into play.
The moisture content of the wood is a significant factor. Excess moisture can hinder the adhesive's ability to form a strong bond with the surface. The type of wood is also essential. Some woods, like cedar or redwood, contain natural oils that can make adhesion more challenging.
Additionally, the temperature and humidity of the environment can impact the drying time of the adhesive and the overall bonding strength. To maximize the bond on wet wood, consider using a waterproof or moisture-resistant Liquid Nails formula.
Ensuring a clean and dry surface before applying the adhesive will also help improve adhesion. By understanding these factors and taking necessary precautions, you can enhance the bonding performance of Liquid Nails on wet wood surfaces.
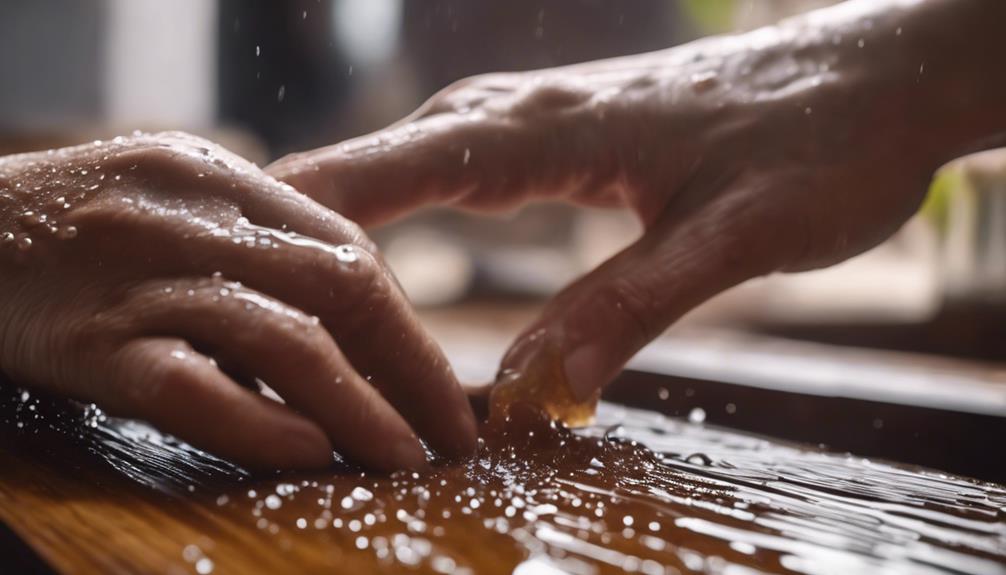
Preparing Wet Wood for Adhesive
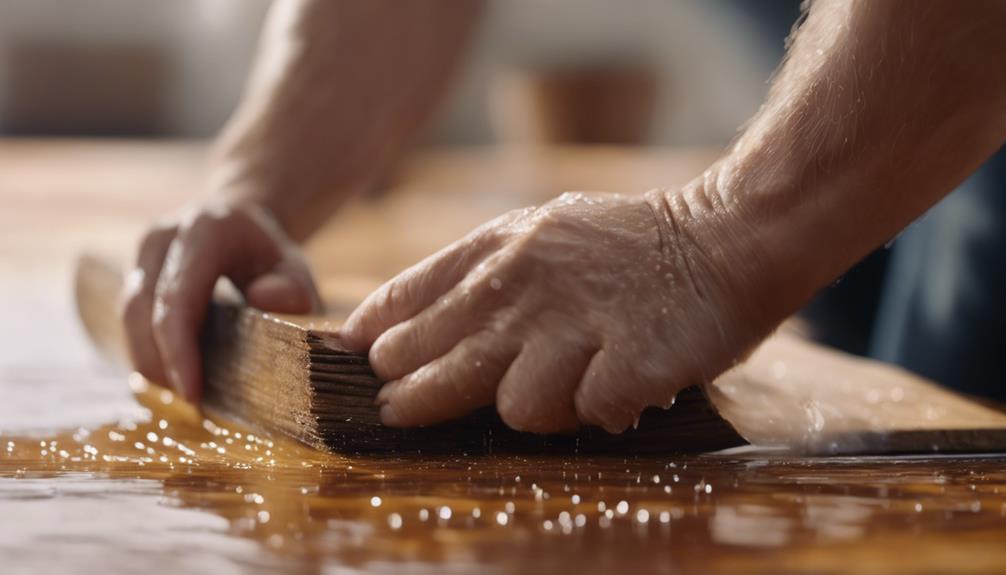
To prepare wet wood for adhesive, ensure the surface is clean and dry before applying Liquid Nails. Start by wiping the wet wood surface with a clean, dry cloth to remove any dirt, debris, or moisture. If needed, you can use a brush or vacuum to ensure the surface is free of any loose particles that could affect the adhesive bond. Allow the wet wood to air dry completely before proceeding with the application of Liquid Nails.
In addition to cleaning the surface, you can also lightly sand the wet wood to improve the adhesion of the adhesive. Use a fine-grit sandpaper to roughen the surface slightly, which can help the Liquid Nails grip better. Be sure to wipe away any dust created by sanding before applying the adhesive.
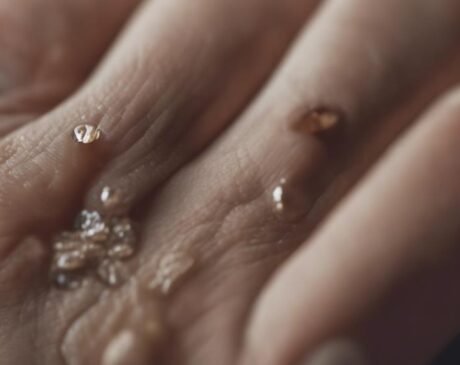
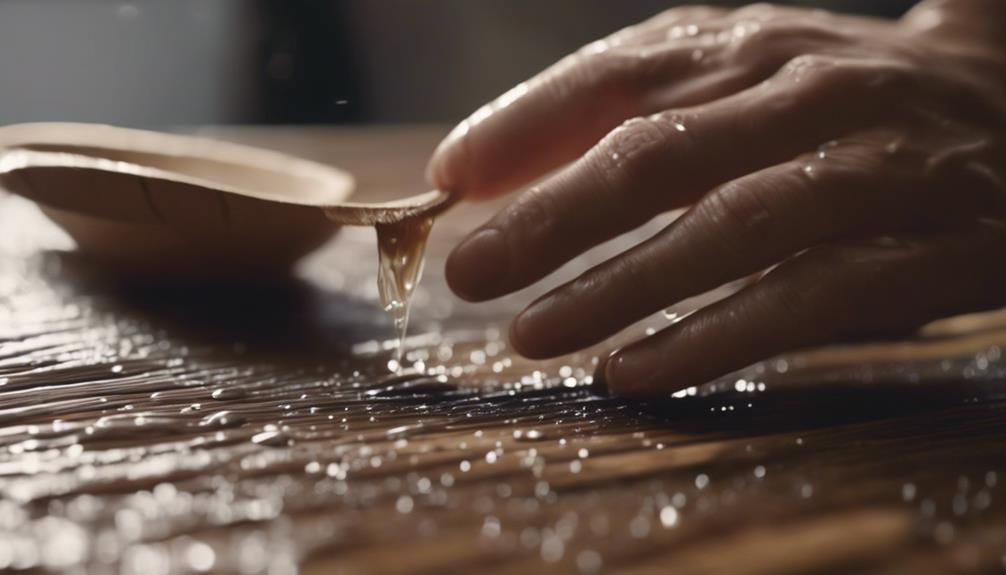
Testing Liquid Nails on Damp Surfaces
Testing Liquid Nails on damp surfaces can help determine its effectiveness in bonding materials even in less-than-ideal conditions. When faced with a situation where the wood isn't completely dry, conducting a small test application of Liquid Nails can give you a good indication of how well it will adhere.
Start by applying a small amount of the adhesive to the damp surface and press the materials together firmly. Allow it to dry for the recommended time before checking the bond strength. This simple test can help you see if the Liquid Nails can withstand the moisture present in the wood and still provide a strong hold.
Tips for Applying on Moist Wood
When working with moist wood, ensure proper wood preparation before applying Liquid Nails to guarantee a strong bond.
Apply the adhesive generously but avoid excess that might compromise the adhesion.
Remember to follow manufacturer instructions for best results.
Proper Wood Preparation
Ensure your wood is thoroughly dried before applying Liquid Nails to achieve optimal adhesion. When working with moist wood, follow these simple tips to prepare it properly:
| Proper Wood Preparation Tips | Description |
|---|---|
| Check Moisture Levels | Use a moisture meter to ensure the wood is below 12% moisture content. |
| Dry the Wood | Allow the wood to air dry or use a dehumidifier to speed up the process. |
| Sand the Surface | Lightly sand the wood to remove any rough spots or debris that could affect adhesion. |
| Clean the Wood | Wipe the wood surface clean of any dust, dirt, or oils before applying Liquid Nails. |
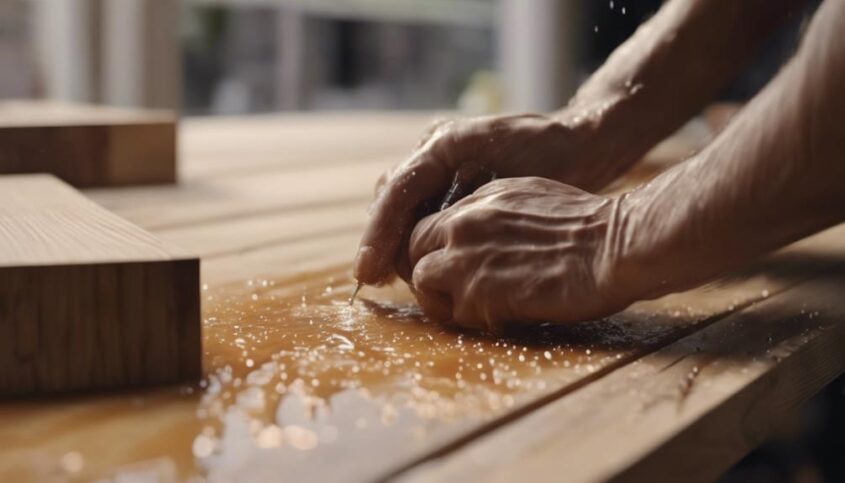
Applying Liquid Nails
Before applying Liquid Nails to moist wood, make sure to follow proper wood preparation steps to ensure optimal adhesion.
Begin by cleaning the surface thoroughly to remove any dirt or debris.
Next, roughen the wood with sandpaper to create a better bonding surface.
Apply the Liquid Nails in a zigzag pattern or dots to allow for air circulation and prevent any trapped moisture.
Press the materials together firmly, ensuring a tight bond.
Be mindful of the temperature and humidity levels during application, as they can affect the curing process.
Lastly, let the adhesive dry completely before subjecting it to any stress.
Common Mistakes to Avoid
To prevent potential issues, be mindful of these common mistakes when working with Liquid Nails on wet wood.
Firstly, avoid applying too much adhesive. Using excessive amounts of Liquid Nails can lead to longer curing times and weaker bonds. Remember, a little goes a long way.
Secondly, make sure the wood is properly prepared. If the surface is dirty, wet, or uneven, the adhesive may not adhere correctly. Clean and dry the wood thoroughly before applying Liquid Nails.
Additionally, don't rush the process. Allow sufficient time for the adhesive to cure fully before subjecting it to stress or weight. Patience is key for a strong and durable bond.
Lastly, store Liquid Nails properly. Keep the tube sealed when not in use and store it in a cool, dry place to prevent it from drying out or becoming ineffective.
Comparing to Other Wood Adhesives
Wondering how Liquid Nails compares to other wood adhesives in terms of strength and versatility? When it comes to choosing the right adhesive for your woodworking projects, it's essential to consider all your options.
While Liquid Nails is a popular choice due to its strong bond and ability to work on various surfaces, there are other wood adhesives worth exploring.
For instance, wood glue is known for its excellent holding power and is ideal for indoor projects where moisture isn't a concern. If you're working on outdoor projects or need a waterproof solution, then polyurethane glue might be the way to go. This type of adhesive creates a durable and water-resistant bond that can withstand harsh conditions.
On the other hand, epoxy resin is a versatile option that works well on both wood and other materials, offering a strong and long-lasting bond. Each type of wood adhesive has its strengths and weaknesses, so it's essential to choose based on your specific project needs and desired outcome.
Handling Drying Time Challenges
When managing drying time challenges with wood adhesives, it's crucial to consider factors that can affect the bonding process. To tackle this issue effectively, ensure the wood surfaces are clean and dry before applying the adhesive. Moisture on the wood can hinder the adhesive from curing properly, leading to weak bonds. Additionally, regulating the temperature and humidity in the environment where the adhesive is applied can help speed up the drying process.
If you're facing time constraints, consider using a quick-drying wood adhesive that's specifically designed to bond rapidly. These adhesives can reduce the overall drying time, allowing you to proceed with your project more swiftly. Moreover, applying the adhesive evenly and using the right amount can also impact the drying time. Too much adhesive can prolong the drying process, while too little may result in weak bonds.
Maximizing Bond Strength
To ensure maximum bond strength when using Liquid Nails, consider key factors like surface preparation, application techniques, and drying time. Properly preparing the surface by cleaning and roughening it can significantly improve adhesion.
Additionally, applying the adhesive correctly and allowing sufficient drying time are crucial steps in maximizing the strength of the bond.
Surface Preparation Tips
How can you ensure maximum bond strength when preparing the surface for applying Liquid Nails to wet wood? To maximize the bond strength, follow these surface preparation tips:
| Surface Preparation Tips |
|---|
| Clean the Surface: Remove any dirt, dust, or debris from the wet wood surface. |
| Dry the Surface: Ensure the wet wood is completely dry before applying Liquid Nails. |
| Sand the Surface: Roughen the wood surface with sandpaper to improve adhesion. |
| Apply Primer: Consider using a primer designed for wet surfaces to enhance the bond. |
| Avoid Contaminants: Keep the surface free from oils, grease, or other contaminants. |
Proper Application Techniques
For optimal bond strength when applying Liquid Nails to wet wood, ensure that the surface is clean, dry, and properly primed to promote adhesion. Clean the surface thoroughly to remove any dirt, dust, or debris that could hinder the bond.
Dry the wood completely before applying Liquid Nails to prevent moisture from weakening the adhesive. Additionally, prime the wood with a suitable primer to enhance the adhesion of the Liquid Nails.
When applying the adhesive, use a generous amount to create a strong bond, but avoid excess that could squeeze out and create a mess. By following these proper application techniques, you can maximize the bond strength and ensure a reliable hold for your project.
Drying Time Considerations
When ensuring optimal bond strength with Liquid Nails on wet wood, consider the drying time as a key factor in maximizing the adhesive's effectiveness. For the strongest bond, allow ample time for the adhesive to dry fully.
The drying time can vary depending on factors like temperature, humidity, and the thickness of the applied adhesive. To speed up the process, ensure proper ventilation and maintain ideal environmental conditions.
Avoid exposing the glued surfaces to excessive moisture during the drying period, as this can compromise the bond strength. By allowing Liquid Nails to dry completely, you ensure a strong and reliable bond between materials, providing lasting results for your project.
Safety Precautions and Cleanup
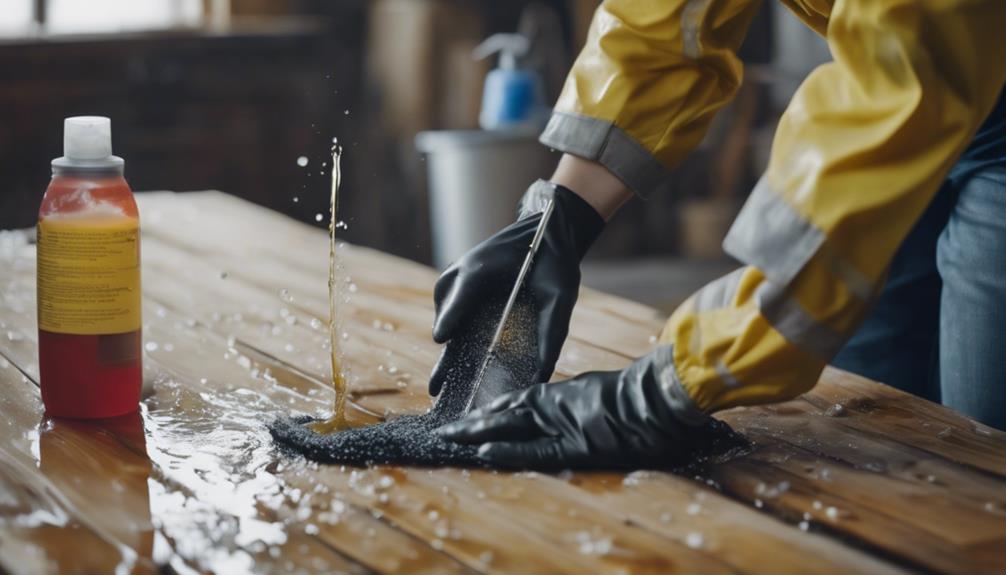
Be sure to wear protective gloves and eyewear when working with Liquid Nails and always have a solvent-based adhesive remover on hand for cleanup. When using Liquid Nails for your projects, safety should be a top priority to prevent any accidents or skin irritation. Here are some safety precautions and cleanup tips to keep in mind:
- Ventilation: Work in a well-ventilated area to avoid inhaling fumes from the adhesive, which can be strong and potentially harmful. Opening windows and using fans can help dissipate any odors quickly.
- Avoid Skin Contact: Liquid Nails can be difficult to remove from the skin once dried. To prevent any unwanted contact, wear protective gloves throughout the application process.
- Cleanup: Have a solvent-based adhesive remover on hand for any spills or excess adhesive. This will help you clean up any mess efficiently without damaging the surface you're working on. Remember to follow the manufacturer's instructions for proper cleanup procedures.
Frequently Asked Questions
Can Liquid Nails Be Used on Wood That Is Submerged in Water?
You can't use Liquid Nails on wood submerged in water. It needs a dry surface to adhere properly. Wait until the wood is dry before applying the adhesive. Following the instructions will ensure a strong bond.
Will Liquid Nails Bond to Pressure-Treated Wet Wood?
Liquid Nails typically won't bond well to wet wood. To ensure a strong hold on pressure-treated wet wood, allow it to dry thoroughly before applying the adhesive. This preparation will help you achieve a secure connection.
How Long Should I Wait Before Exposing Wet Wood Bonded With Liquid Nails to Water?
Wait at least 24 hours before exposing wet wood bonded with Liquid Nails to water. Let the adhesive set properly for maximum effectiveness. Remember, patience is key for a strong bond that lasts.
Can Liquid Nails Be Used on Wood That Is Constantly Exposed to Moisture?
Using Liquid Nails on wood constantly exposed to moisture is not recommended. Over time, the adhesive may weaken or lose its bond. To ensure a lasting hold, it's best to avoid such conditions.
Is It Safe to Use Liquid Nails on Wet Wood in Outdoor Applications?
Using Liquid Nails on wet wood for outdoor projects is not recommended. Moisture can affect the adhesive's ability to bond properly. For best results, wait until the wood is dry before applying Liquid Nails to ensure a strong hold.